I initially made these pliers to help students learn an easy way to gypsy set small stones with minimal effort. Once I produced the first version, I found they were not only easy to use but also opened up many unique stone-setting techniques. This tutorial shows how to create a four-petal setting using ezi-set pliers.
Step 1:
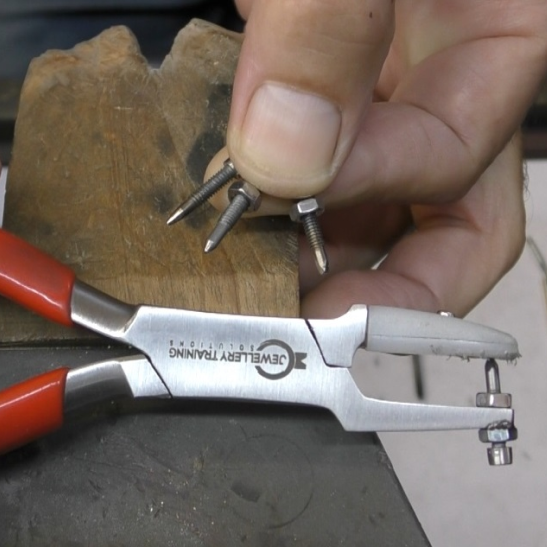
The pliers include three extra burnishing tips that can be fashioned into different shapes to create a variety of pressure-setting designs. This setting requires a polished end tip. The online course shows you how to prepare the burnishing tips.
Step 2:
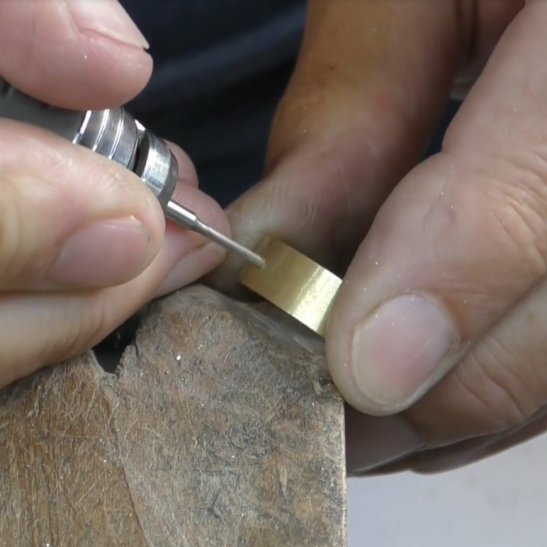
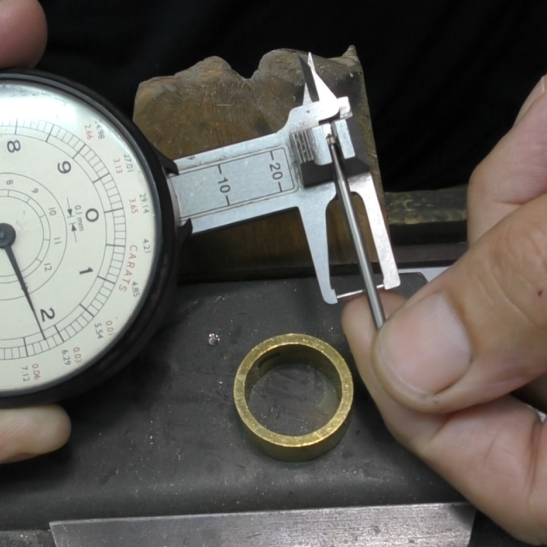
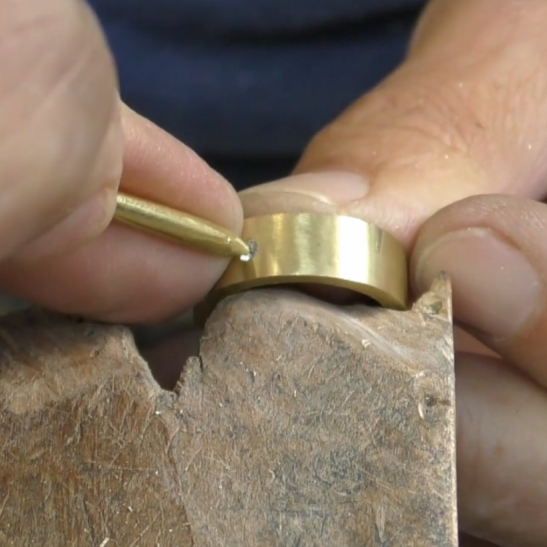
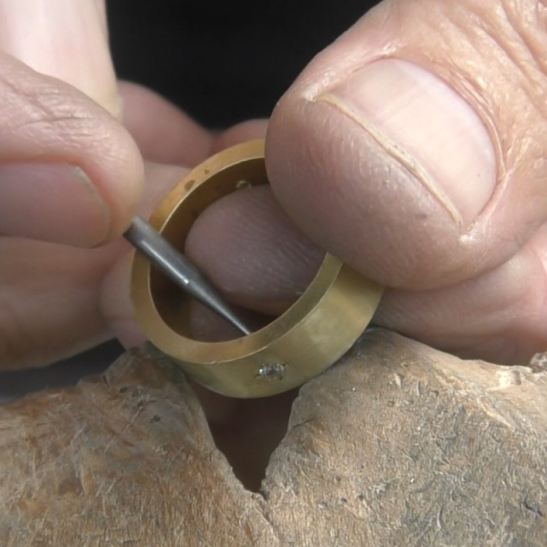
I am using a JTS brass ring and a 2.25mm cubic zirconia. Centre punch or make a small divot with a fine ball bur. This divot will keep the drill on track. I recommend using a twist drill around half the size of the stone. Drill all the way through the ring and countersink the inside ring hole with a 1.8mm ball bur.
Step 3:
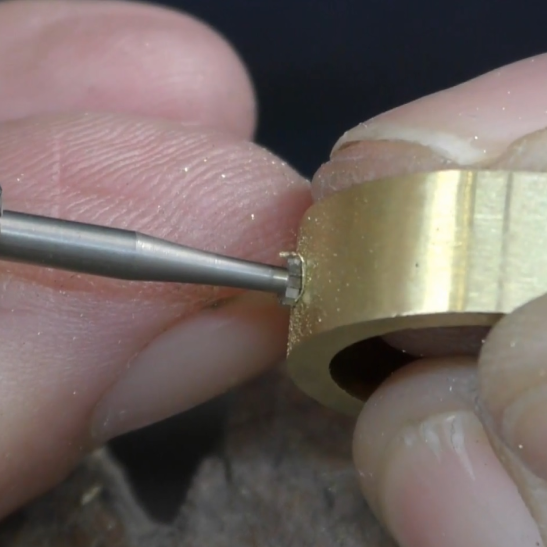
The drill hole can now be opened with the 1.8mm ball bur. Run the bur into the setting until around two-thirds of the ball is inside. Lubricate the bur with wax so that it cuts more efficiently.
Step 4:
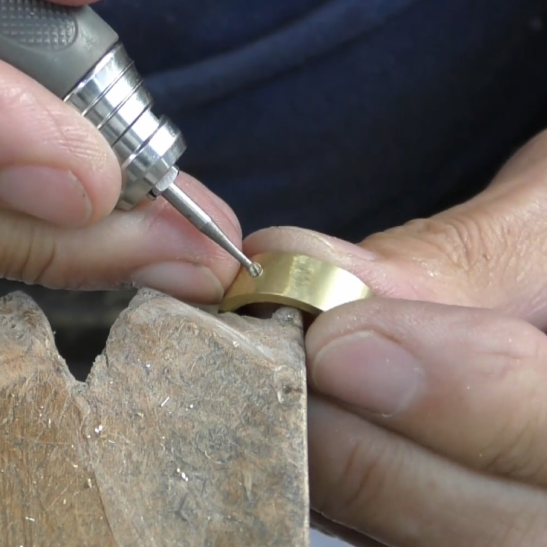
To create the seating or bearing, I am using a 2.2mm tapered setting bur. If you are setting a different size stone, find a setting bur that’s the same size as the stone or as close as you can get. The bur cannot be larger than the stone size.
Step 5:
Run the setting bur in until half of the straight part of the bur head is inside the setting. Keep checking the seating depth. Once you have cut to the correct depth, test fit the stone. You may need to rotate the bur around until the stone fits.
Step 6:
Burring will have created a swarf or metal that needs removal with emery paper before fitting the stone.
I use a brass pushing tool to fit the stone as it has a similar hardness and will not scratch or damage the stone. Ideally, the stone should fit tight enough to hold firmly before pressure setting.
Step 7:
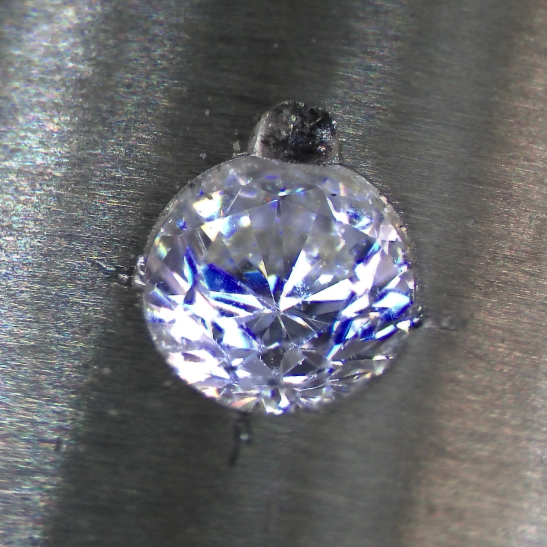
Make sure that the stone is level. The table of the stone should just be visible when you look across the surface of the ring. You should also just be able to see the inside rim of the setting. For your first setting, I recommend that you mark out the four pressure points lightly with a scribe.
Step 8:
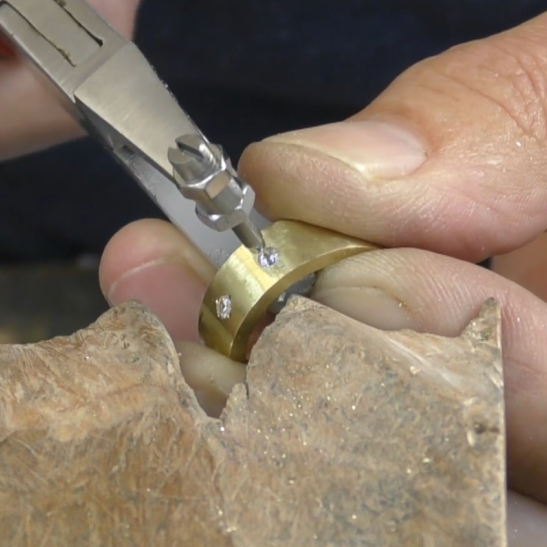
Prepare and fit the screw pin to the pliers. Applying a nut on top of the plier jaw as well as a nut inside the jaw will help to stabilise the screw pin. Working from your bench peg, place the tip onto the stone and carefully run the tip to the inner edge of the setting.
Step 9:
You will feel resistance as the tip finds the inner edge. Bring the tool tip up onto the surface of the ring and carefully squeeze the pliers. Before you add firmer pressure, inspect the impression to ensure it’s in the right place. Adjust the position, if necessary, and then apply enough pressure to make the metal swell onto the stone.
Step 10:
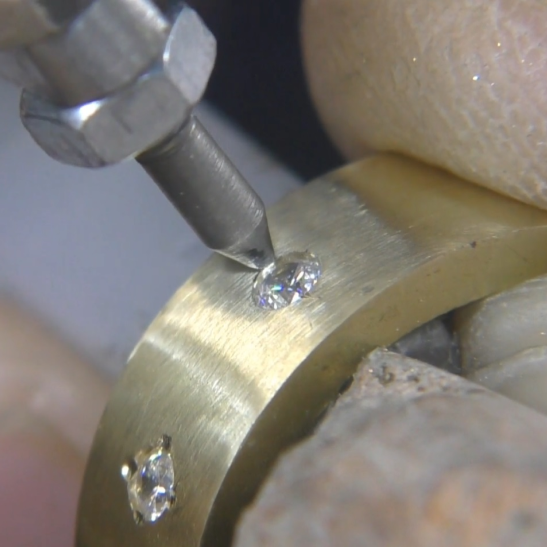
Repeat the process on the opposite side. At this stage, you can check the security of the stone by probing it from underneath. You will discover that even with just two pressure points applied, the stone is fully secured and should not fall out. The other pressure points are pure decoration, and there are many design options.
Step 11:
The stone is not only secured by the metal that you can see pushed onto the stone but also by the metal being pressed internally, as it swells into the stone girdle. Now, finish off by applying the other pressure points. Try to stay on the scribed markings.
Step 12:
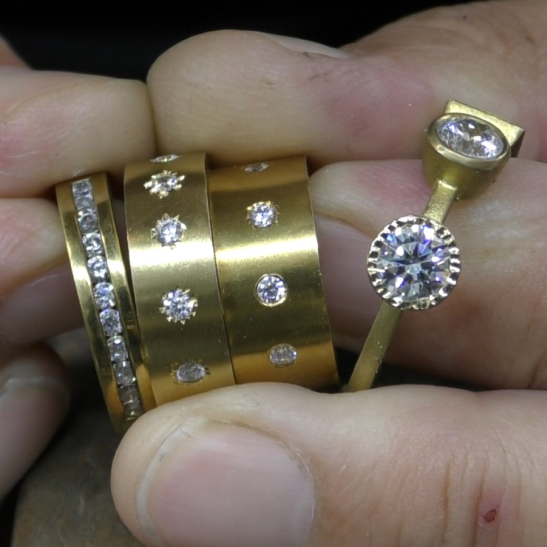
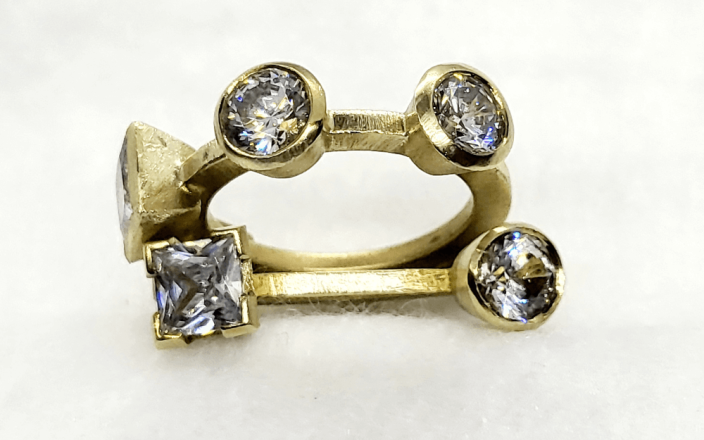
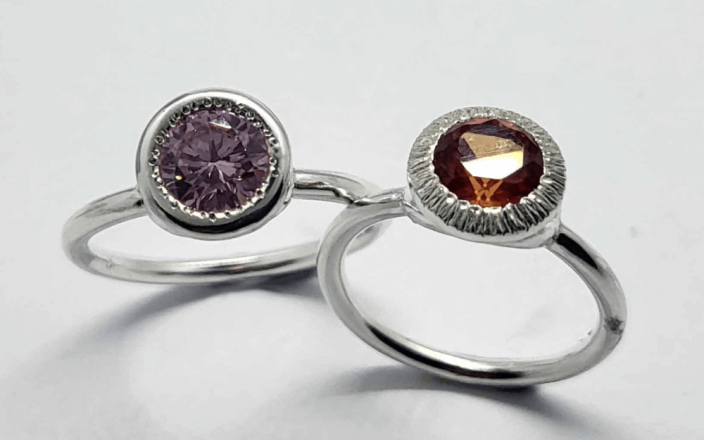
Once you see how easy it is to use the pliers for pressure setting, you can be more adventurous and try different designs. The online course shows you how to shape the burnishing tips and create a variety of flower-shaped settings, star settings, gypsy settings, and bezel settings.
Jewellery Training Solutions offers a comprehensive online training service.
The video lesson for this tutorial can be found at this link jewellerytrainingsolutions.com.au/courses/ezi-set-pliers-course.
Check out other courses at jewellerytrainingsolutions.com.au.