This project was created to help high school manual arts teachers introduce jewellery-making into their curriculum. It’s a simple but effective design that doesn’t require soldering and can be made with any non-ferrous metals.
Step 1:
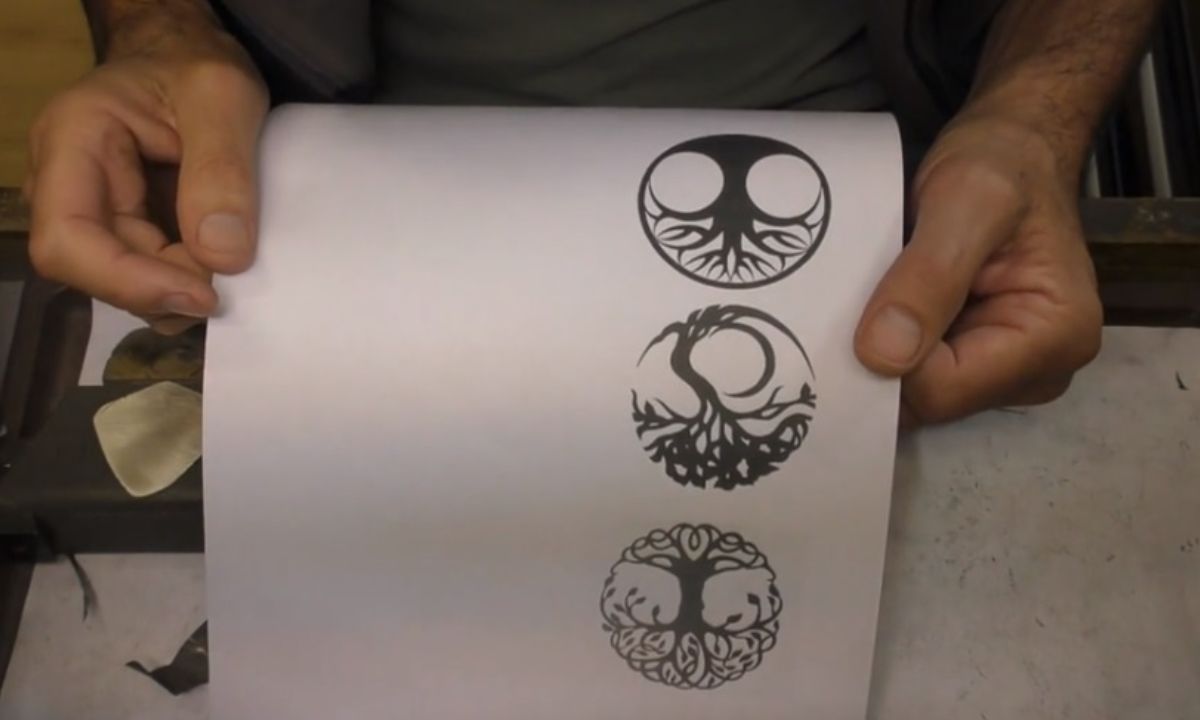
Students are encouraged to create a unique design to fit within a 35mm diameter circle. I have chosen a tree of life design and I’m using sterling silver for this demonstration. For schools on a small budget, the front disc could be nickel silver, with a brass back plate.
Step 2:
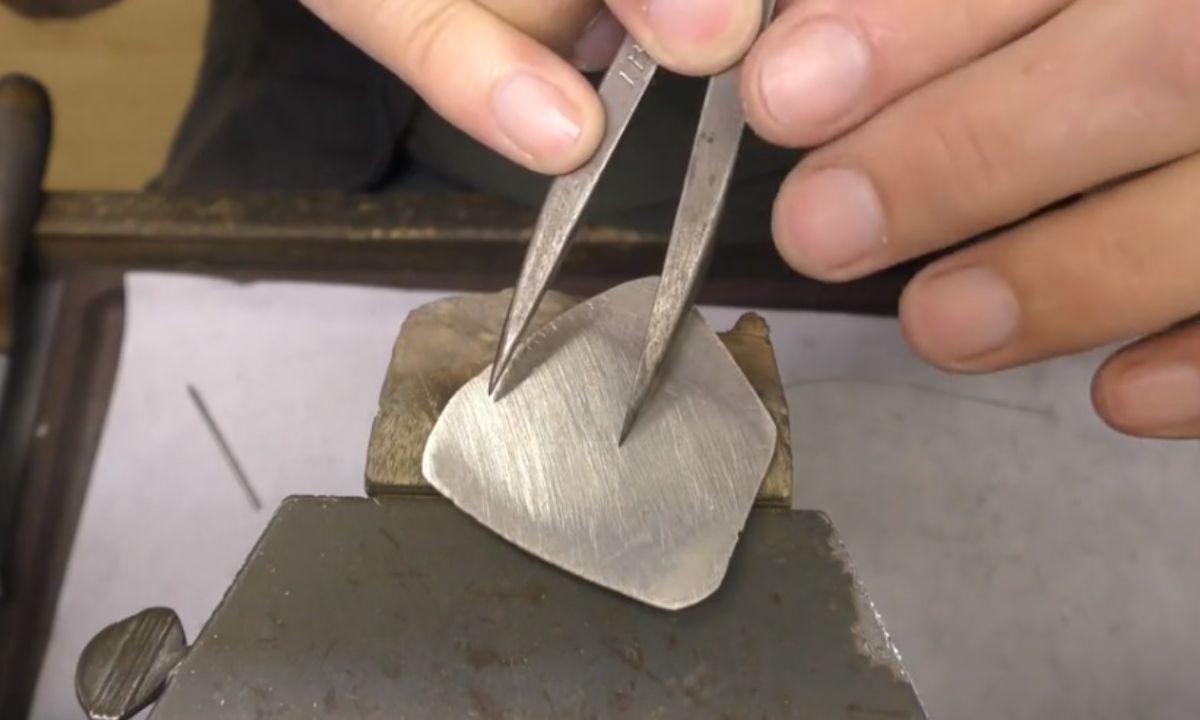
Start by cutting out the front disc from a 1mm sheet. Set your dividers to half of the diameter required and scribe a circle. I am making this disc 35mm in diameter, but if your cutting skills are good, you can make it smaller.
Step 3:
To select the correct size blade for your piercing saw, ensure that two teeth of the blade are in contact with the metal thickness. This will prevent excessive vibration and blade breakages. I’m using a 4/0 blade.
Step 4:
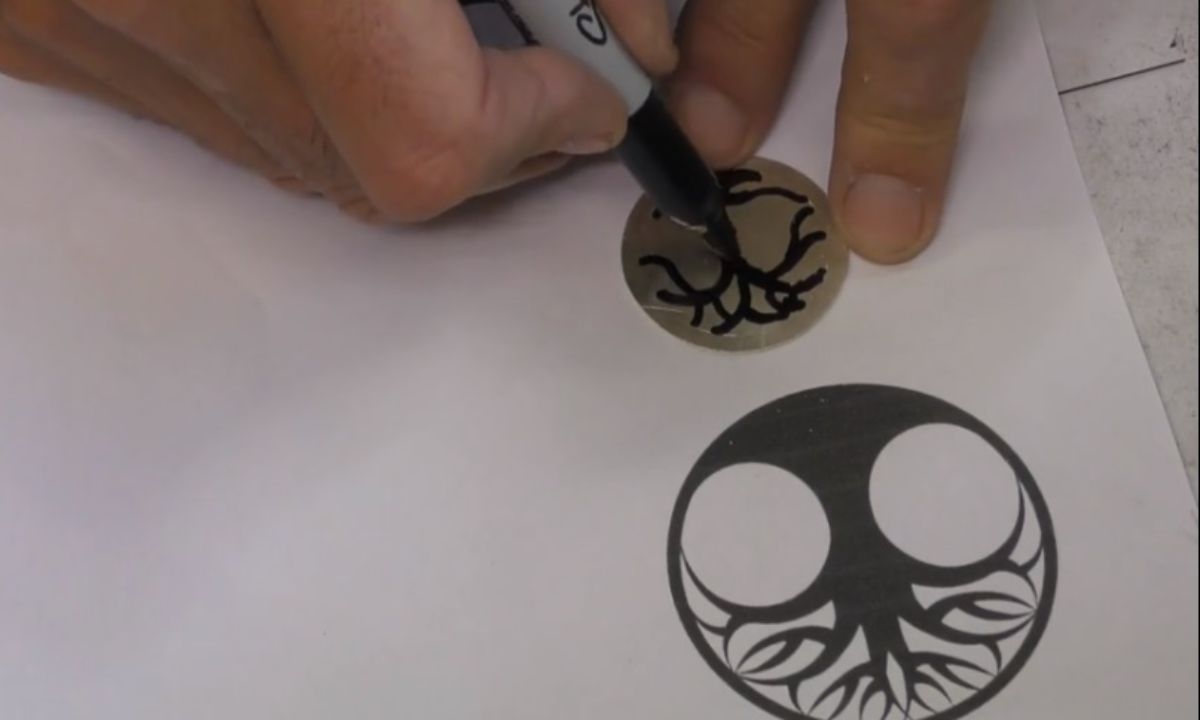
Use your dividers to mark out a 3mm internal frame line. Now draw the design within the frame. I am using a Sharpie permanent marker. This nib thickness will ensure that the structure will not be too thin and fragile.
Step 5:
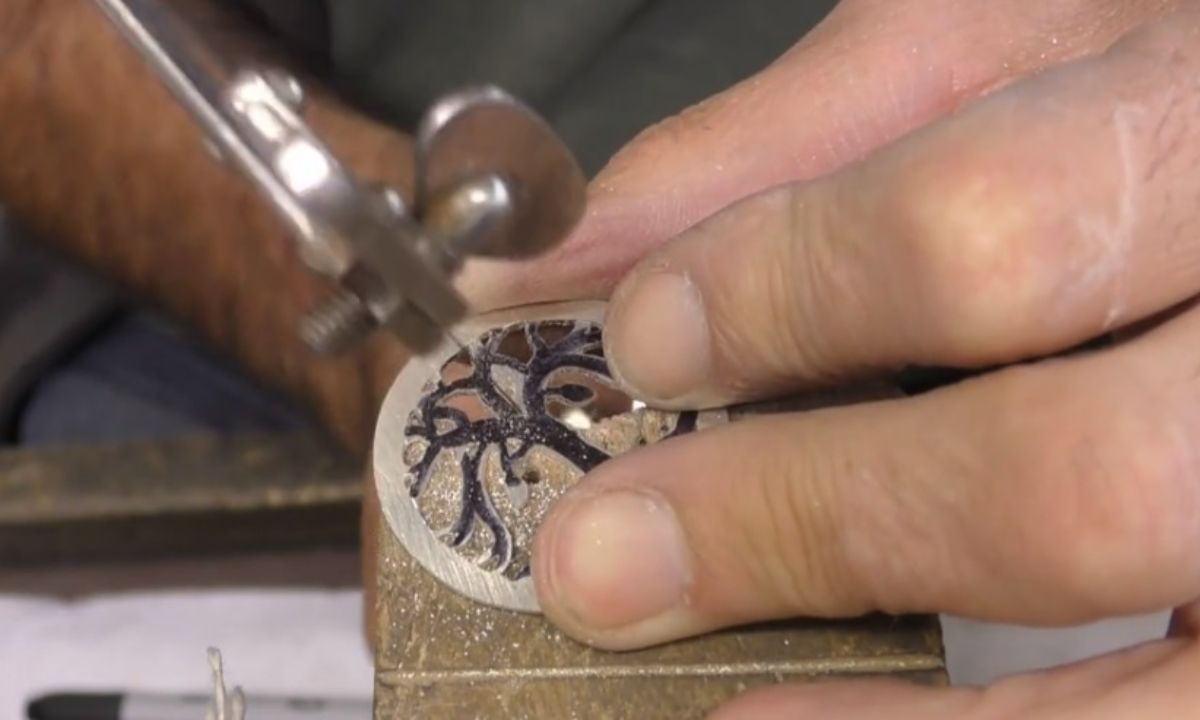
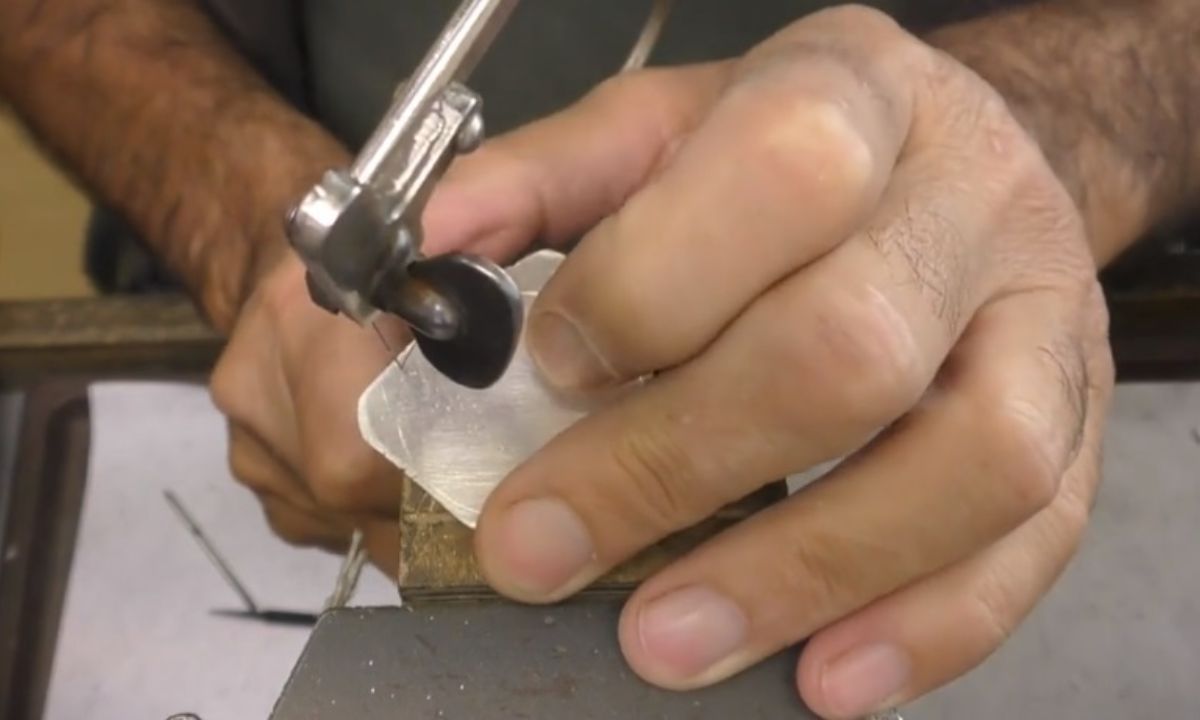
Drill into each unmarked space with a 1mm to 1.2mm twist drill. Make sure that you centre punch before drilling to avoid the drill slipping. Insert your saw blade and carefully cut each section out. Use needle files to tidy the cut works and polish the front.
Step 6:
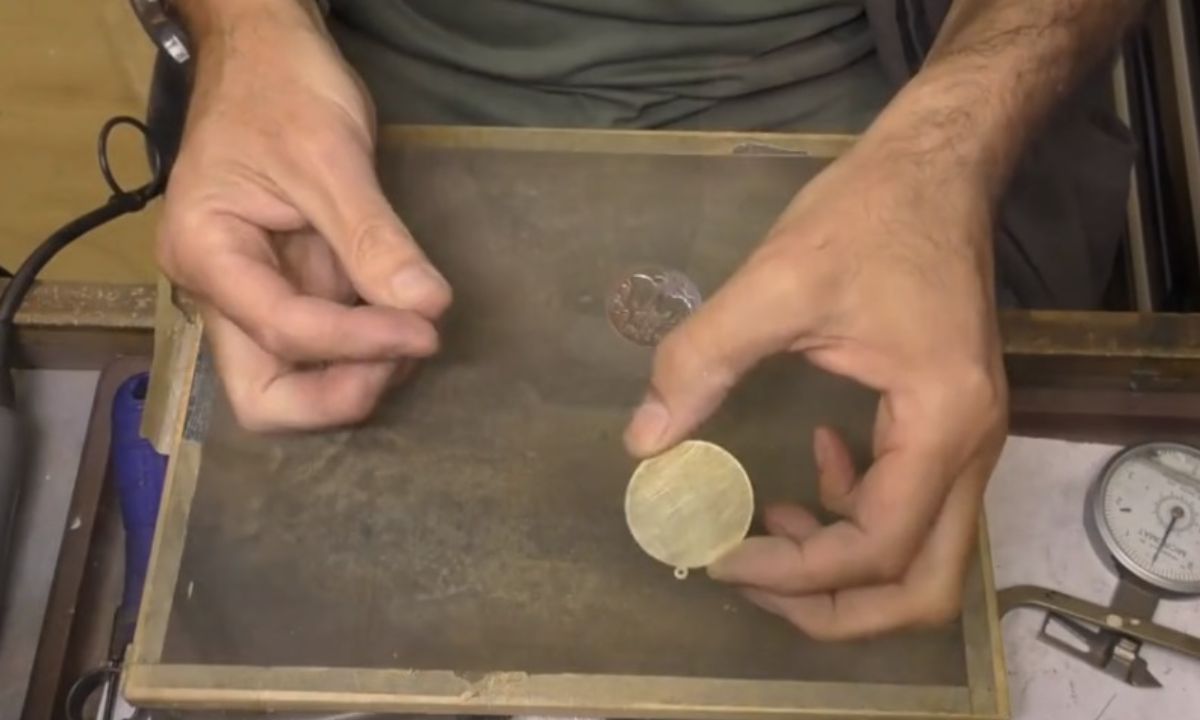
Place your disc onto a piece of 0.8mm thick sheet and scribe around. I’m using brass for this demonstration. Make sure you also scribe a small connecting circle and drill into it. This is to hang the jump ring from later. Carefully cut around your scribe marks. Emery clean and polish the back, leave the front unpolished. The resin will bond better to a rough surface.
Step 7:
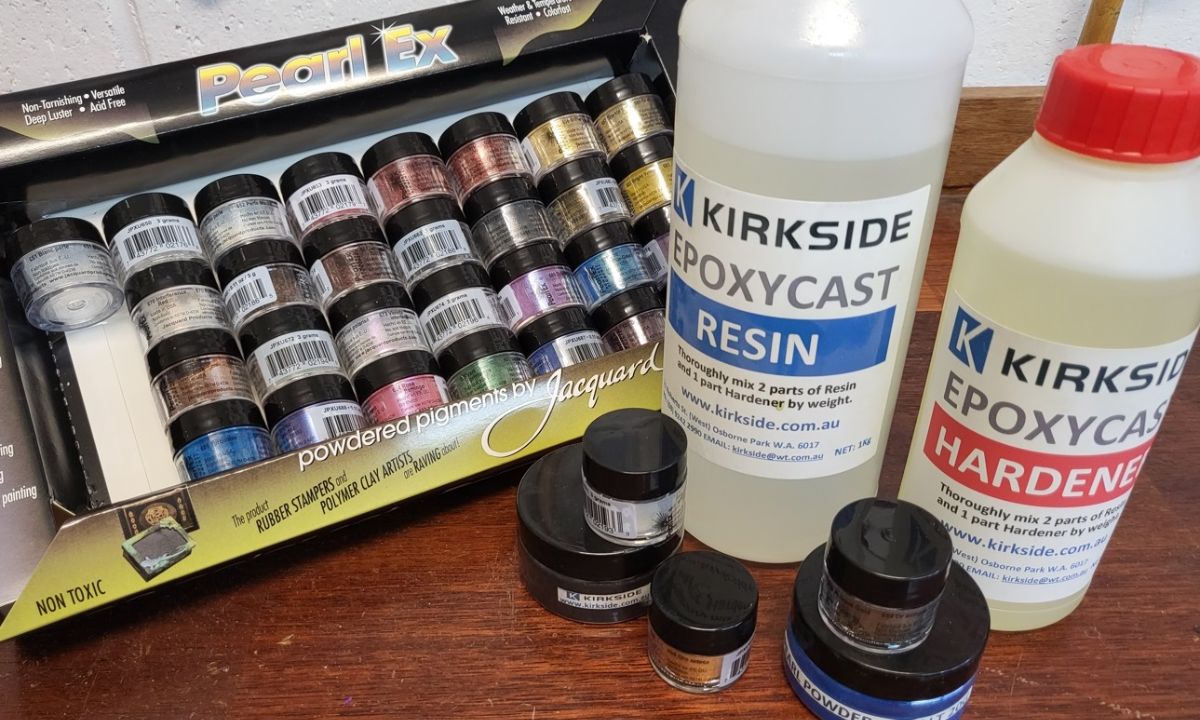
The resin product I’m using is Epoxycast clear resin. The mix ratio is two parts resin to one part hardener. Once the two ingredients are mixed, a chemical reaction is set in motion. This not only releases heat but also allows the mass to harden completely after a certain time. There are several ways to colour resin using a variety of different media. This project uses pure pigment powder.
Step 8:
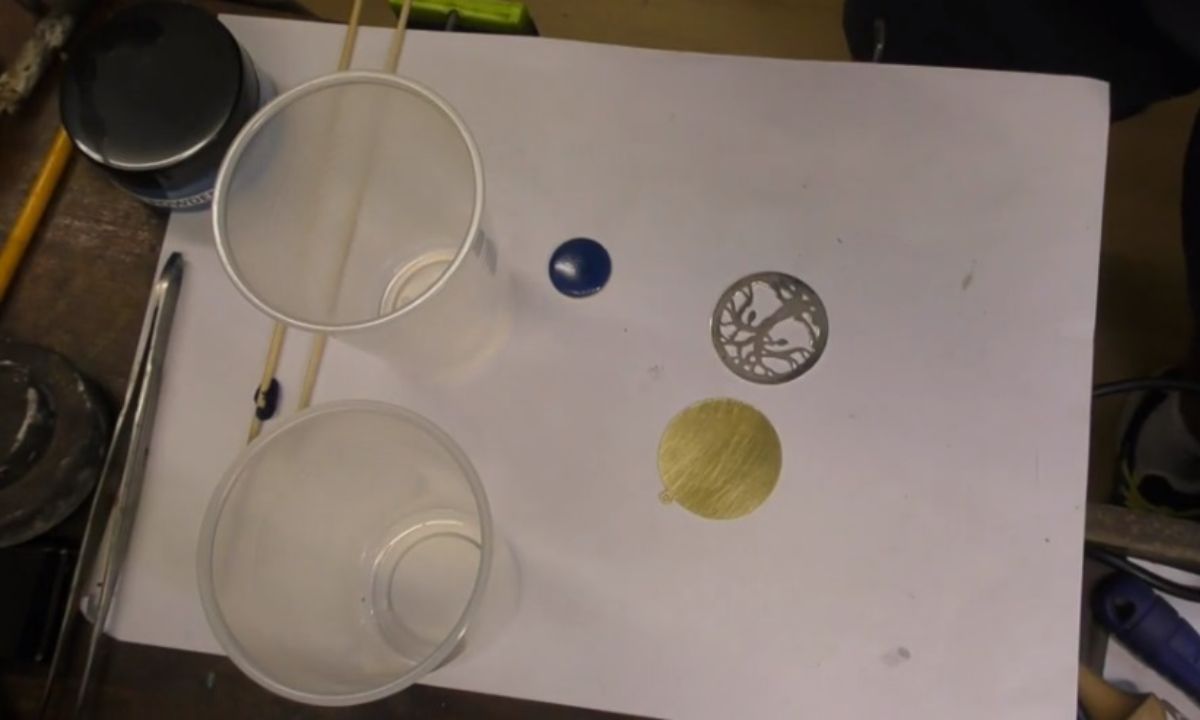
It is important to measure out the ration correctly to ensure that the resin sets properly. Once you have mixed your resin and stirred it through, you can add the colouring powder. The more you add the deeper the colour will become. Apply an even resin layer to the rough side of the brass disc.
Step 9:
Now line up the front cut-out disc and place it onto the brass/resin disc. At this stage, you could allow the resin to set before applying further layers. It will take around 18 hours before you can proceed.
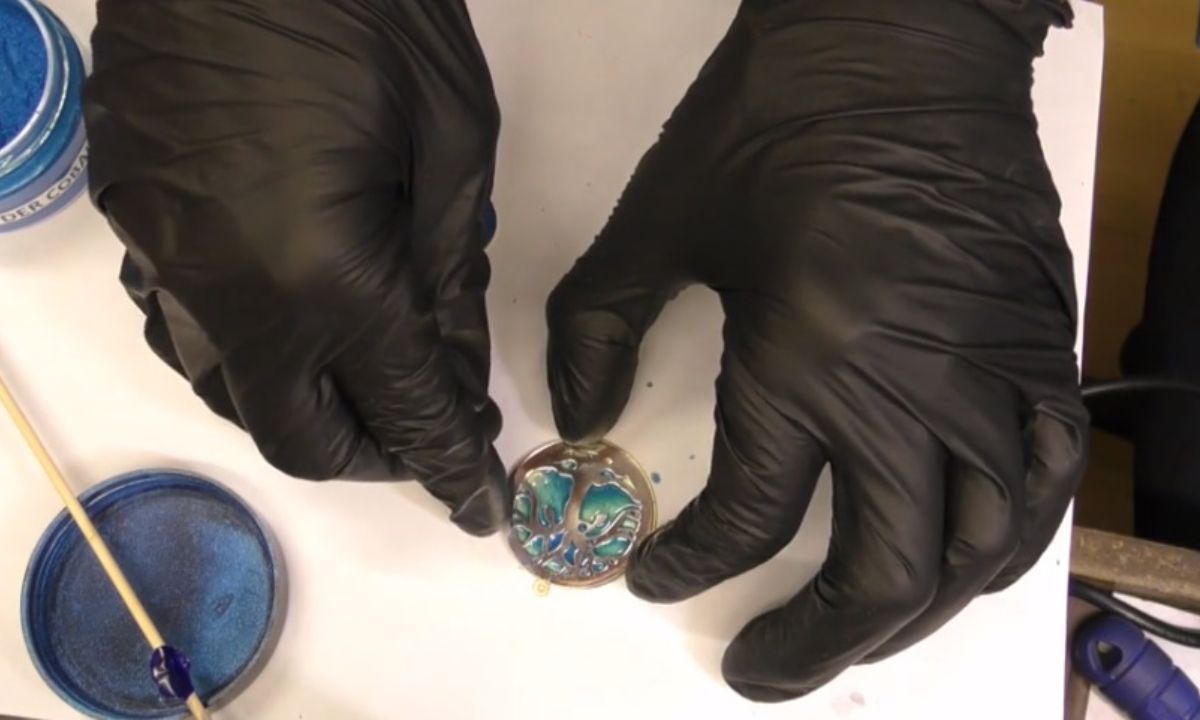
Step 10:
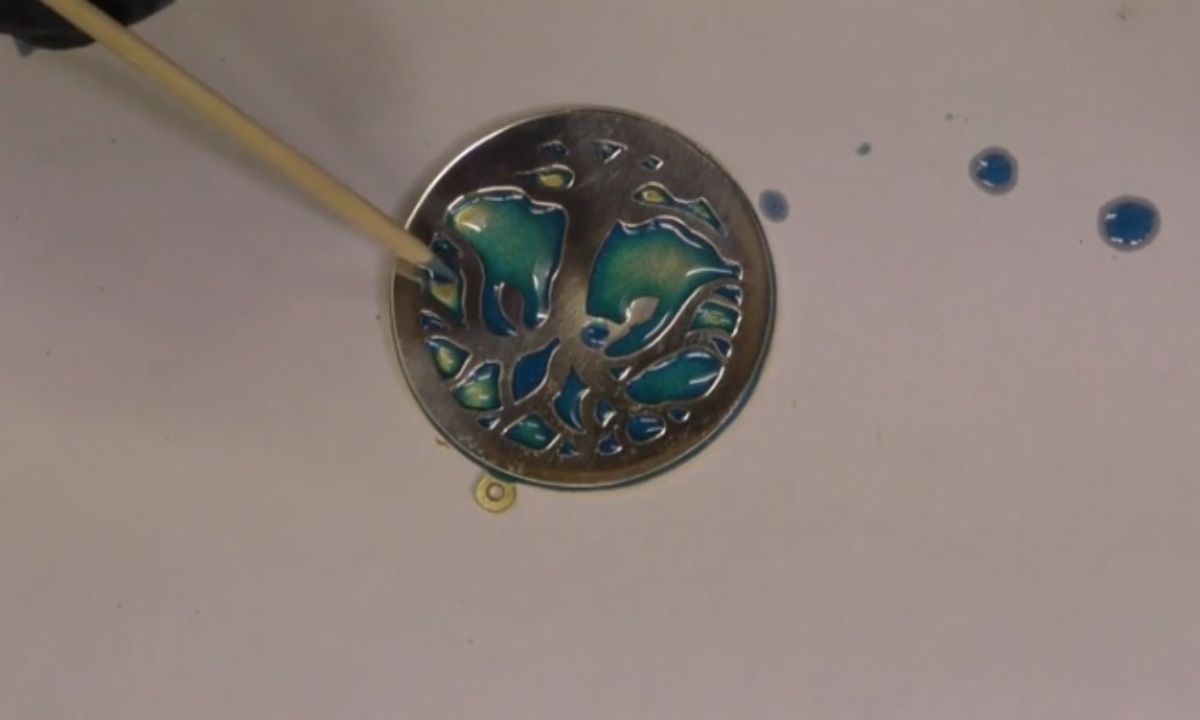
To add further layers to the open spaces, I am using a kebab stick. Carefully apply the coloured resin being careful not to get any onto the front surface. Again, allow it time to fully set before finishing off.
Step 11:
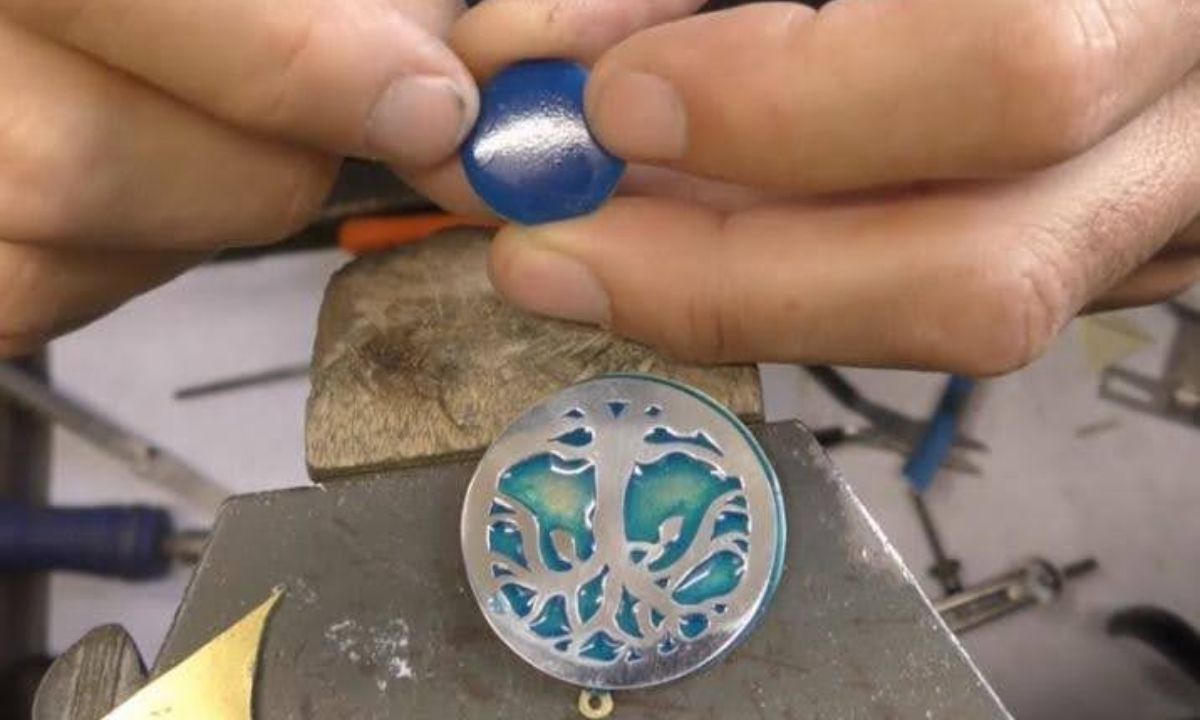
It is recommended that you carry out some simple experimental work with the resin and the various colours before you commit to your project. Applying other materials to the resin such as metal filings can also be very effective.
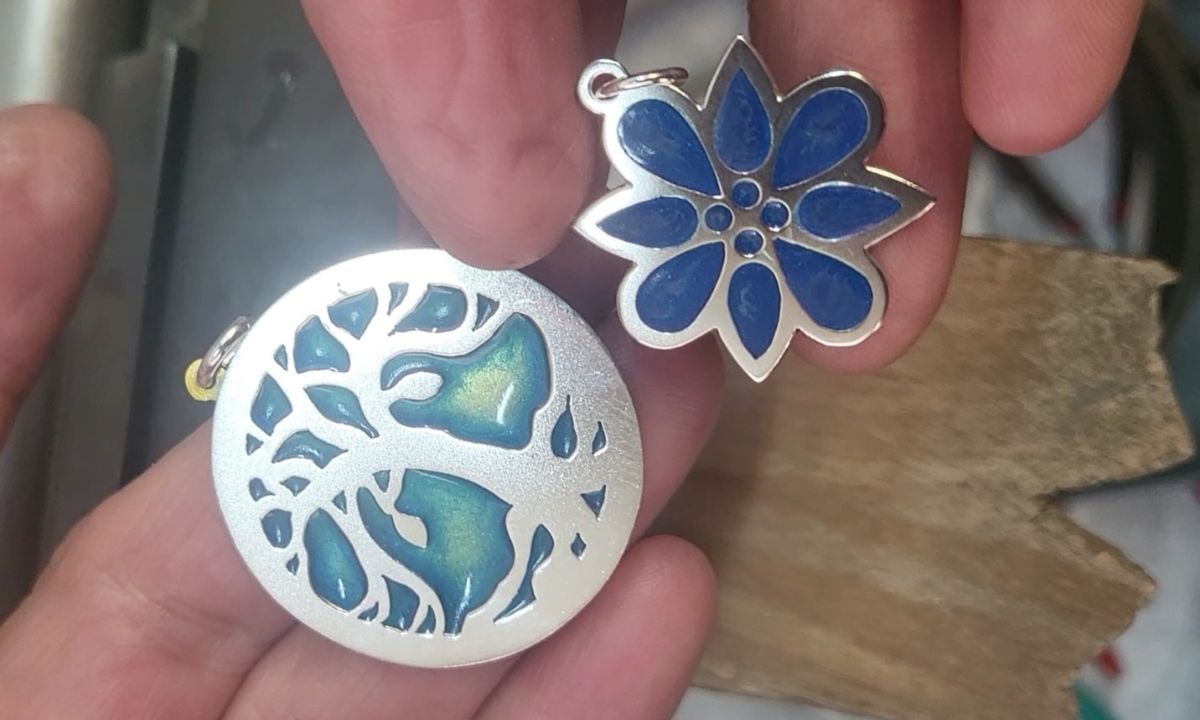
Step 12:
Make a jump ring large enough to fit with your chain or neoprene and link it to your pendant. The online course includes more resin jewellery techniques.
Jewellery Training Solutions offers courses that are ideal for school students as well as apprentices.
For the video of this project go to jewellery-training-solutions.thinkific.com/courses/tree-of-life-pendant. Check out the other courses and options at jewellerytrainingsolutions.com.au.