This tutorial will show you how to make a tubular clasp finding with a folded tongue clip.
This clasp is the perfect project for advanced students who want to learn how to make a fastening mechanism.
Step 1:
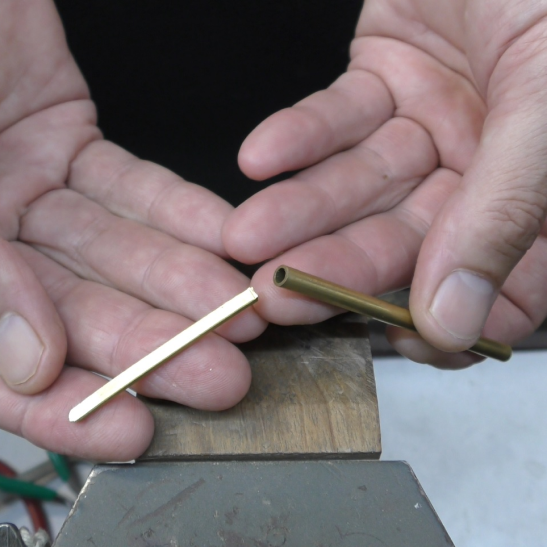
This project requires the following materials: 20mm (minimum) long x 4.7mm diameter tube with a wall thickness of around 0.7mm and a strip that measures 1mm x 3.4mm x 40mm. We will start off by forming the button.
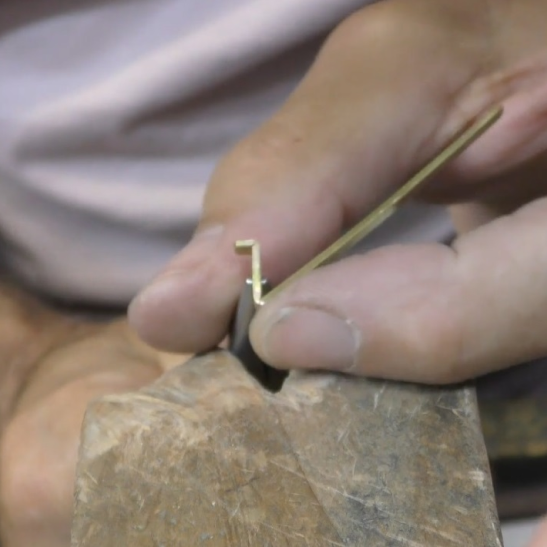
Step 2:
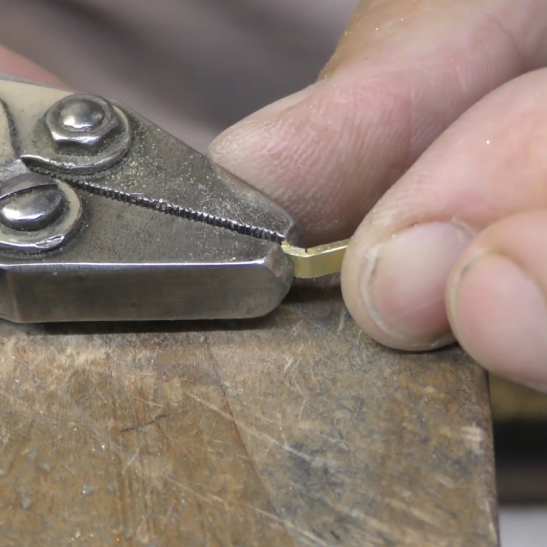
Mark off 4mm from the end of the strip and use your piercing saw to cut halfway into the thickness. Bend until the cut closes, then cut and bend again. Repeat this process until the mitred bend is at a right angle. Solder the joint if it shows signs of stress.
Step 3:
Mark across the strip at 10mm on the opposite side of the button, then file a wide ‘V’ shape around a third into the thickness. Doing this will make bending the strip easier. Now bend and fold the strip right over to form the hairpin shape.
Step 4:
The tongue needs to fit into the tube, so file it to the correct thickness and width. Working on a small component is tough on the fingers. I work on a strip that’s longer than needed so that I have metal to hold onto.
Step 5:
Now, cut a slot out of the end of the tube for the button to fit into. I use my piercing saw to start with, then I use a small crosscut tapered bur. Ensure that the button fits and is flush with the end of the tube.
Step 6:
Mark off 3mm from the end and cut the section of the tube, ensuring that you cut it perfectly square.
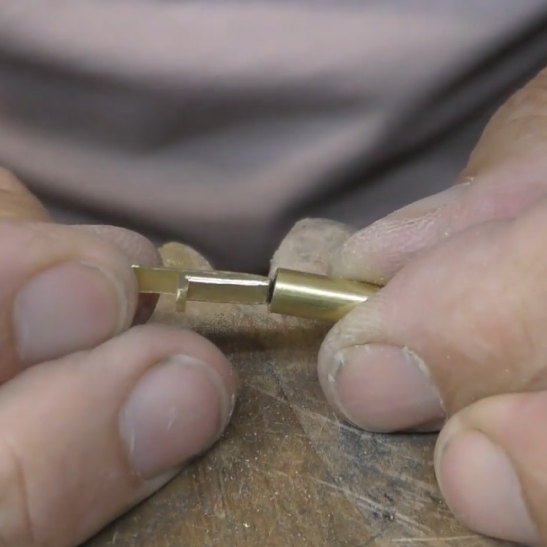
Measure 5mm from the button and cut the strip off. Having extra metal protruding from the tube will make soldering easier.
Step 7:

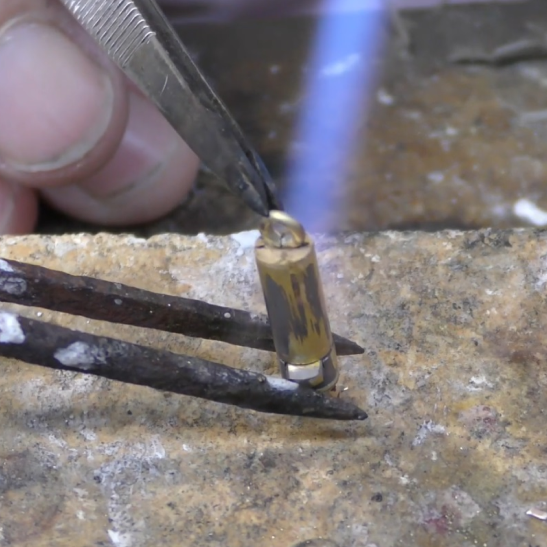
Position the tube onto the tongue making sure the button fits into the tube slot.
Use a small amount of hard solder where the back of the tongue contacts the inside of the tube. Once it is pickled, you can trim off the excess metal to flatten the back of the clasp component.
Step 8:
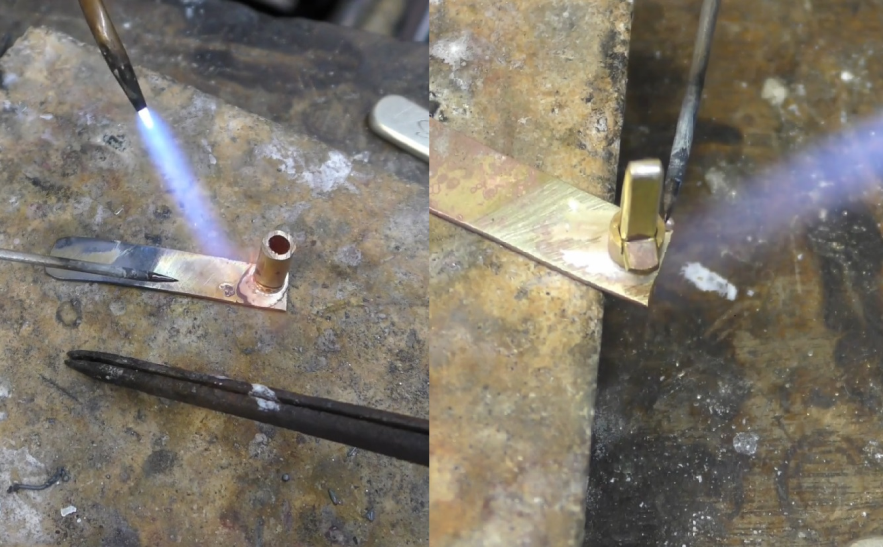
Now, solder it to a piece of 0.8mm thick sheet using medium-grade solder. Whilst it is in the pickle, turn your attention to the body of the clasp. Cut a 10mm section of the tube and solder it onto a piece of sheet.
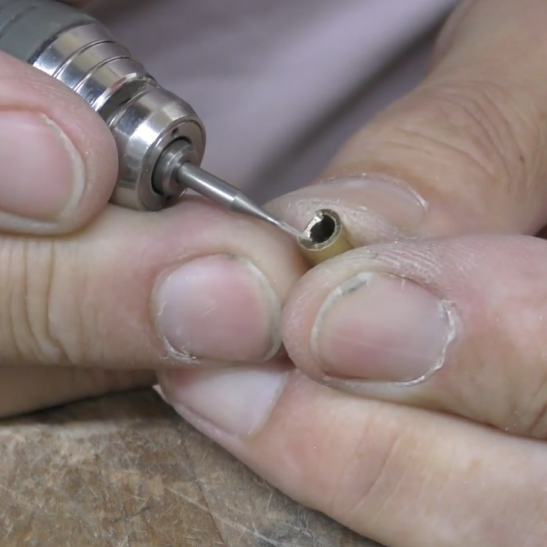
Step 9:
Cut off the excess sheet from both components. Drill into the end of the body of the clasp. Insert your piercing saw blade and cut an oblong shape out to match the profile of the tongue clip.
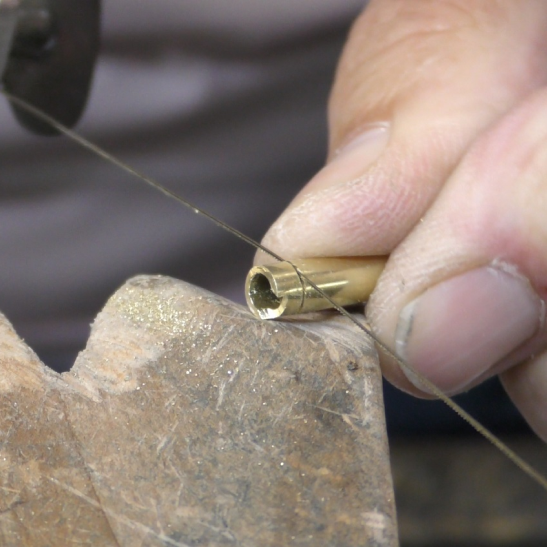
Step 10:
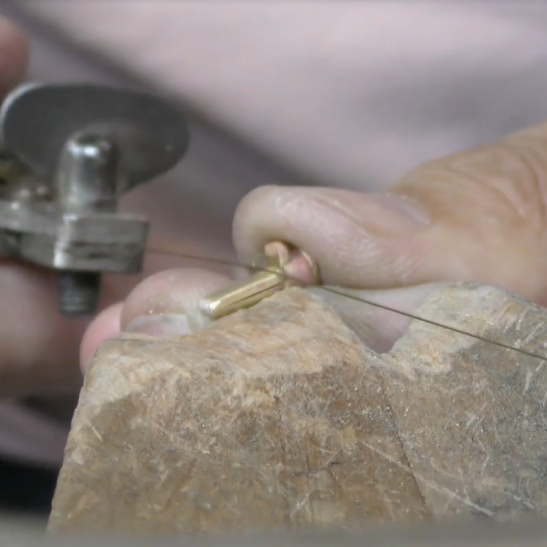
When the tongue clip can fit all the way into the body, use your piercing saw to cut a 0.8mm wide groove where the button bends up. Insert the tongue and check if it begins to catch.
You can now create a thumbnail grip by cutting a groove along the top of the button.
Step 11:
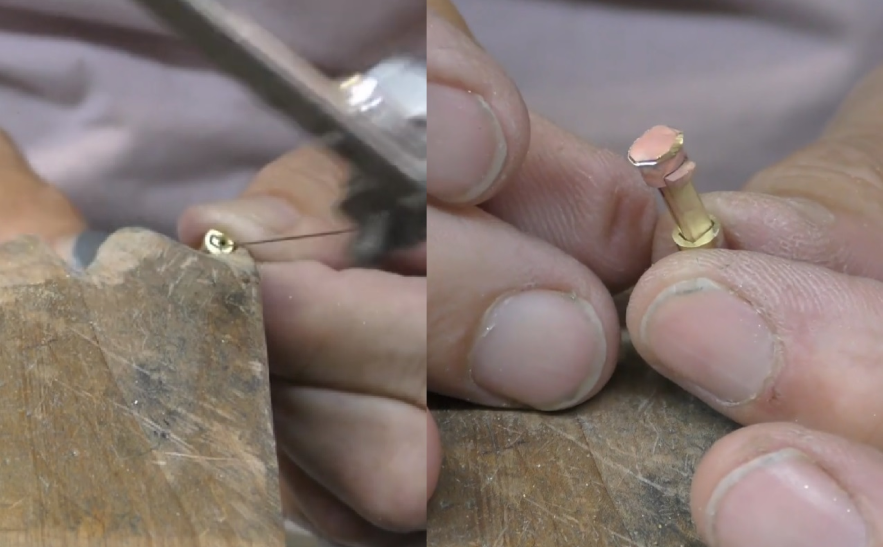
Seal off the other end of the clasp body by soldering a piece of sheet to it and trimming it to size.
Solder a 4mm jump ring to both ends assuring they are lined up with the button. Pickle the clasp and emery clean all the surfaces.
Step 12:
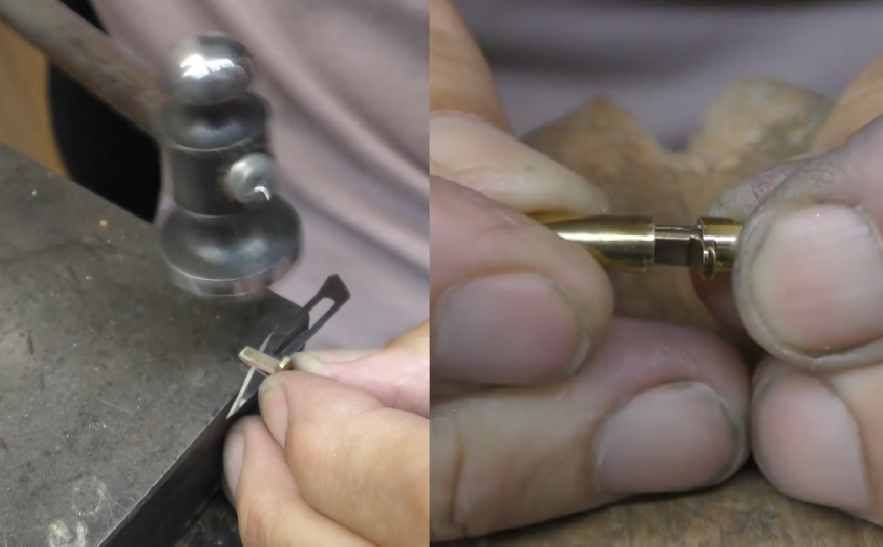
To get the maximum click from your clasp, slip a blade in the gap and tap the folded end carefully with a hammer.
Ensure that the mechanism operates smoothly and it locks into place with an audible click. The video lesson will show you how to make a safety clip for the barrel clasp.
Jewellery Training Solutions offers a comprehensive online training service.
The video lesson for this tutorial can be found at this link, jewellerytrainingsolutions.com.au/courses/barrel-clasp
Check out other courses at jewellerytrainingsolutions.com.au