When students first try bezel setting, it’s usually setting a large cabochon stone into a setting with a thin bezel wall. Bezel setting small, faceted stones is a very different technique that requires more advanced skills. In this course, you will learn how to set a 6mm CZ into a Jewellery Training Solutions setting blank.
Step 1:
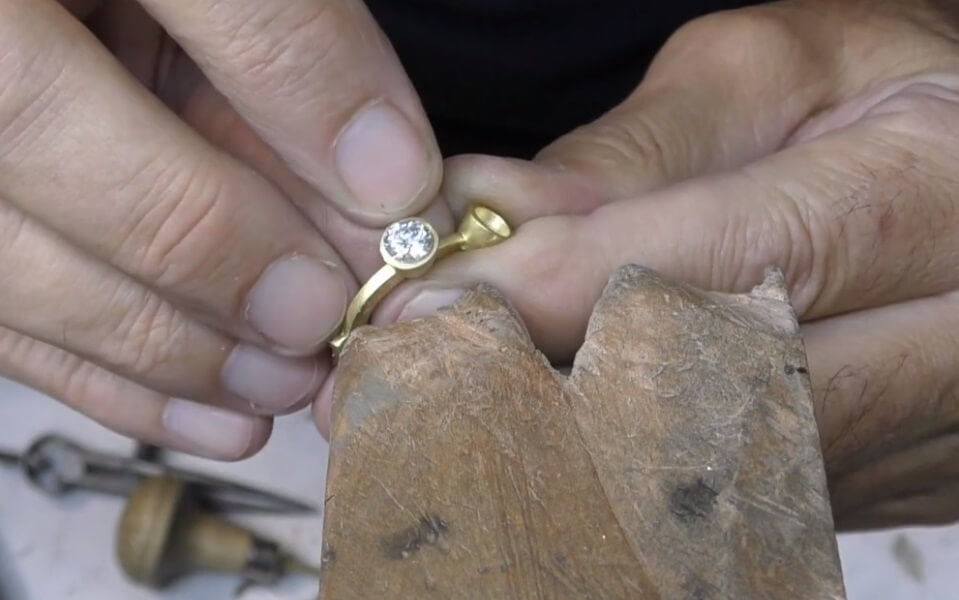
The setting and stone I’m using are the correct size and ready to use, but for commission setting jobs, you should always begin with a thorough examination of the stone and setting. Place the stone on top of the setting and ensure that around 50 percent of the wall thickness can be seen from the top view.
Step 2:

Set your dividers to the stones girdle to table measurement. This reading will be used to mark the depth of the seating/bearing cut.
Step 3:
To help you guide your marking and cut work, use a permanent marker to mark four even points on top and around the inside of the setting. Now, scribe around the inside of the setting with your dividers.
Step 4:
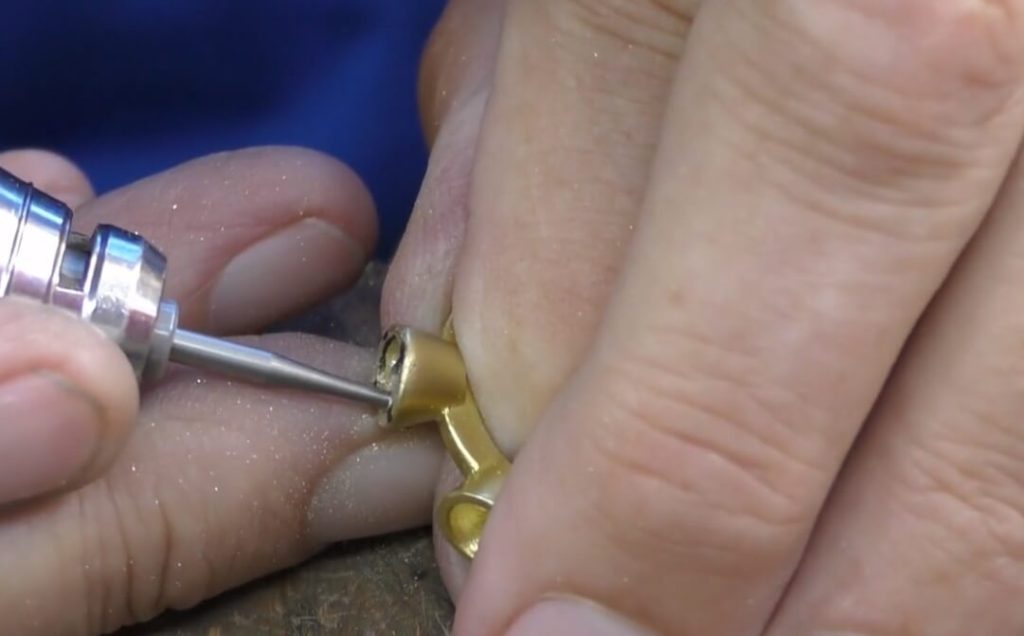
Start the seating cut with a hart bur. You will be able to guide your burring more accurately with a smaller bur, so I’m using a 2.2mm hart bur. Cut halfway into the thickness at the four marked points to start with, then join the cuts together. Doing it this way ensures that your cutwork is straight and level.
Step 5:

Now change to a ball bur that’s around 2mm. Carefully trim the top part of the seating cut until the stone is close to fitting in.
Step 6:
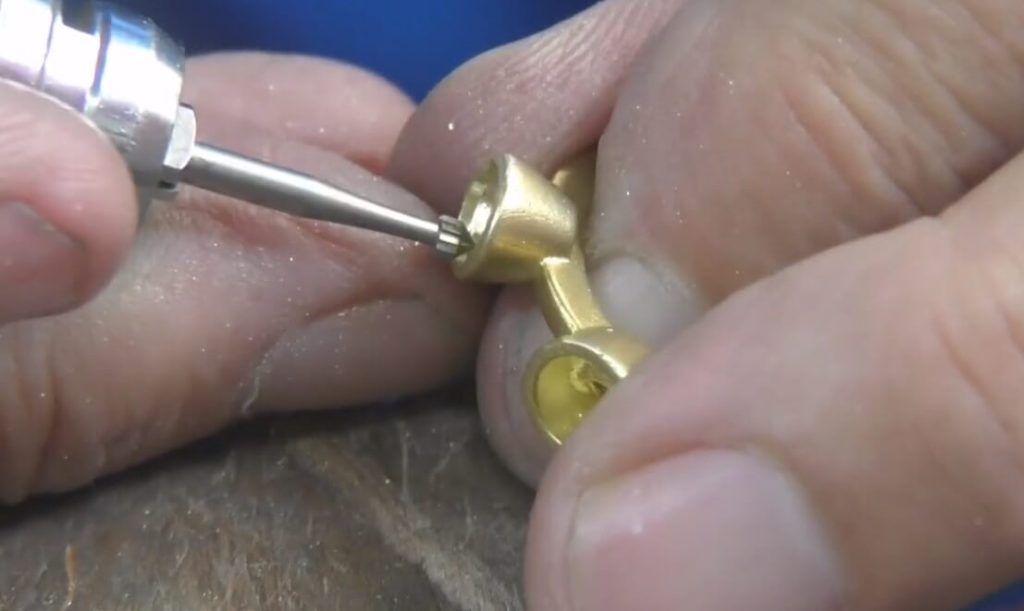
A straight-sided setting bur will shape the seating cut perfectly, as the taper angle is the same as the pavilion of the stone. Any size under the stone size can be used, however you may find that a smaller bur is easier to keep on track.
Step 7:
Carefully trim around the seating cut until the stone fits. Ideally, the stone should friction fit so that it doesn’t move once it is in place. Push the stone in with a brass pusher or wooden dowel and check that it is perfectly level and does not rock around. Remove it and correct the cutwork if necessary.
Step 8:
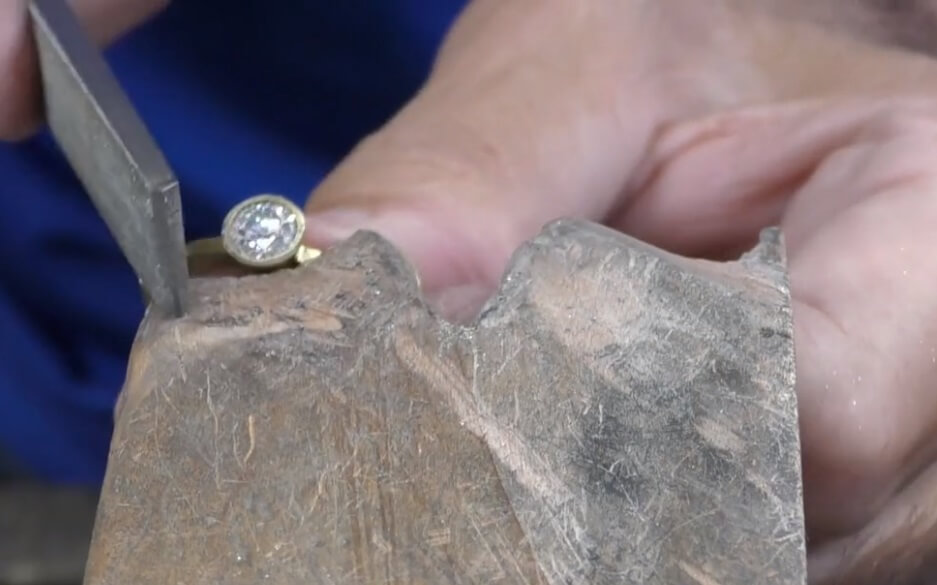
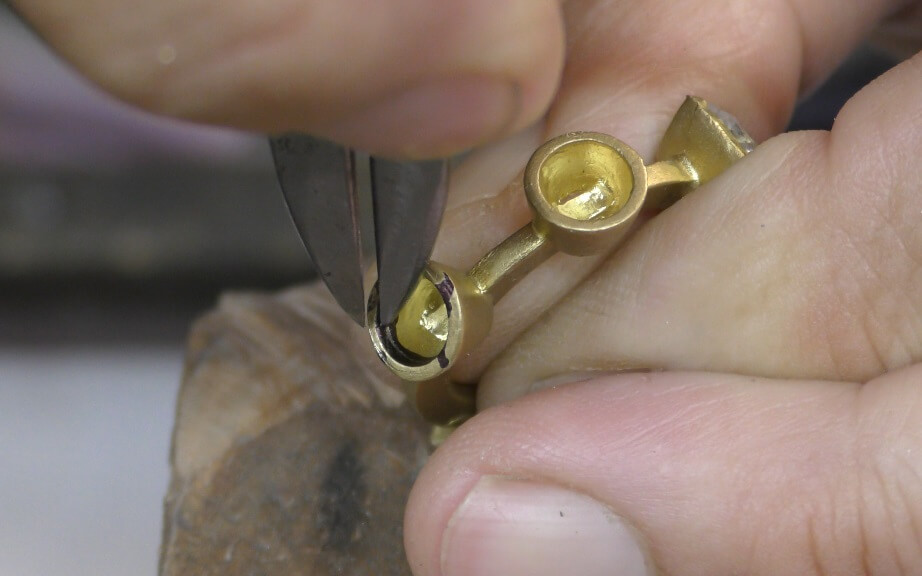
The bezel will be too thick to set at this stage, so trim off a small amount of metal from the outer edge of the setting. File at a 45° angle with a fine-cut flat file. Now, you are ready to secure the stone. Brace the setting in a ring clamp of the Bench Mate.
Step 9:
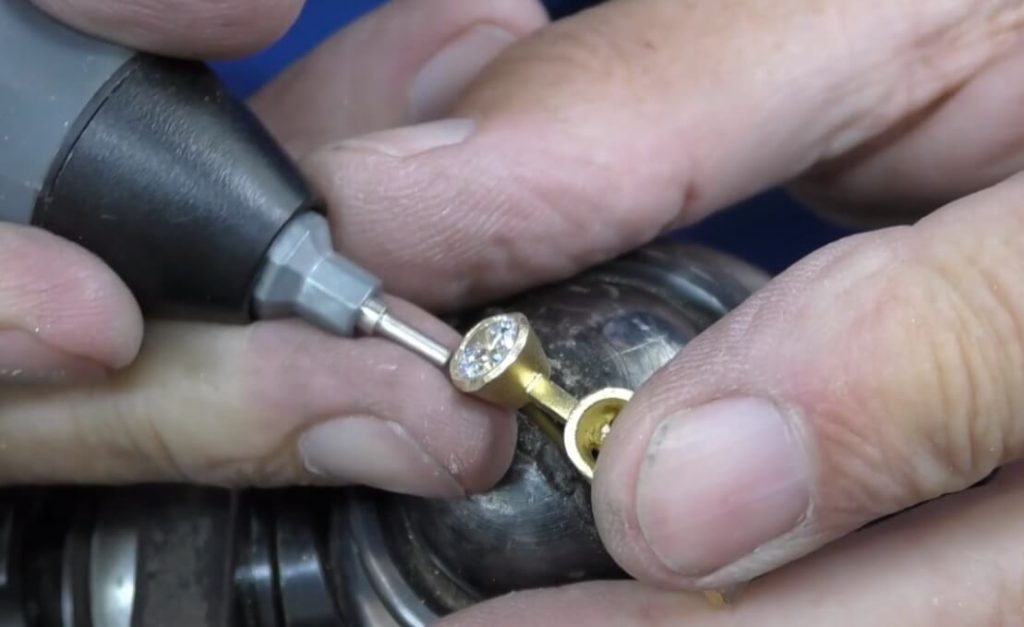
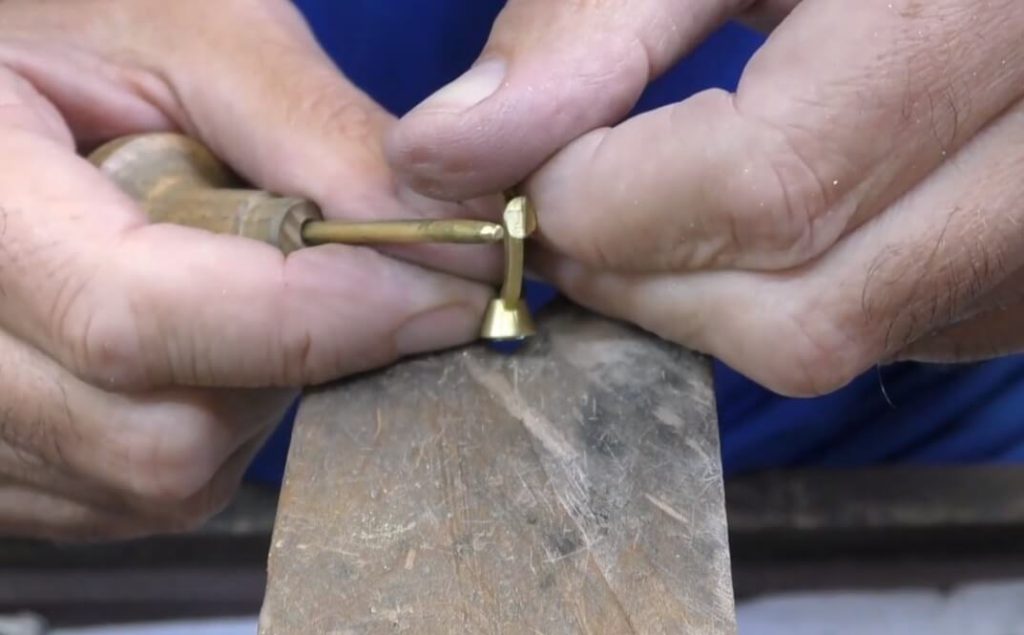
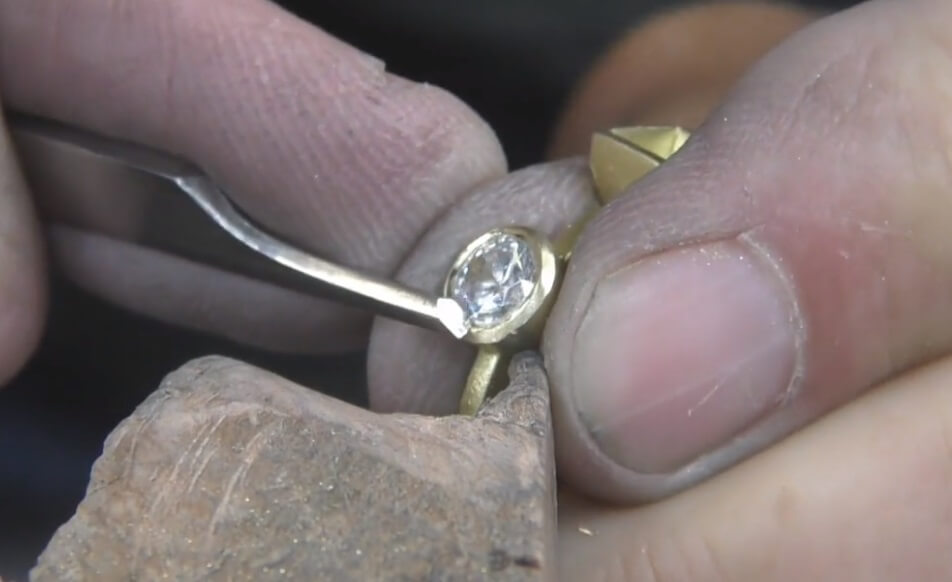
In some cases, you can use a bezel pusher, but as this is a thick setting it would take a lot of work and strength. I recommend using a hammer tool such as a Dremel electric engraver. JTS supplies special setting tips for this tool that make light work of this type of setting. Hammer at a 45° angle at the four marked points to ensure that the stone stays level, then hammer all around the bezel.
Step 10:
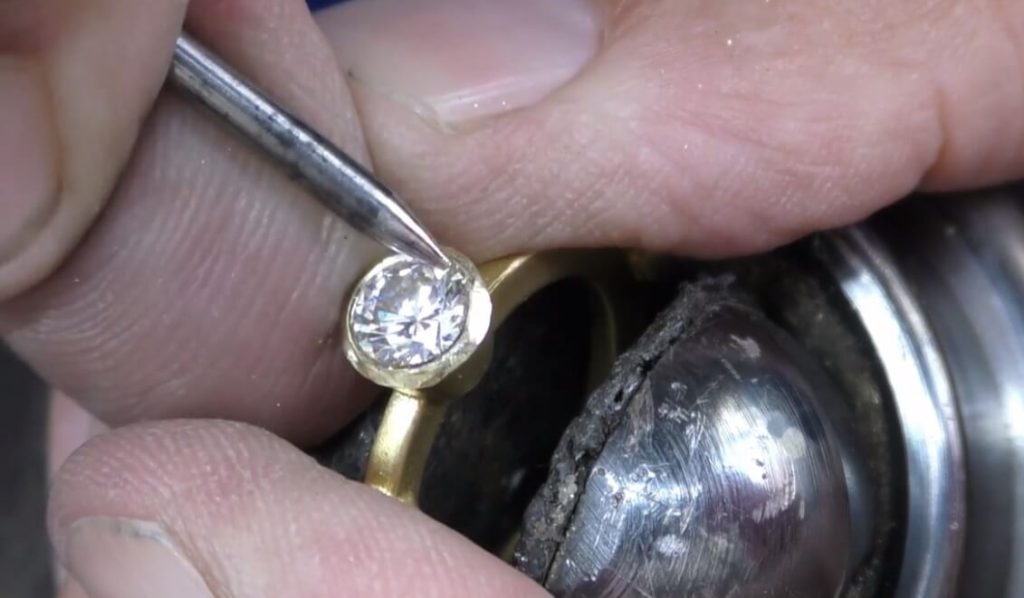
Once the bezel is flush with the crown of the stone, check to see if there is any movement. You can work on tightening it with a pointed burnisher. I use a beading tool with a rounded, polished end. Rub the inner lip at a 45° angle. The burnisher will also leave a bright-cut finish.
Step 11:
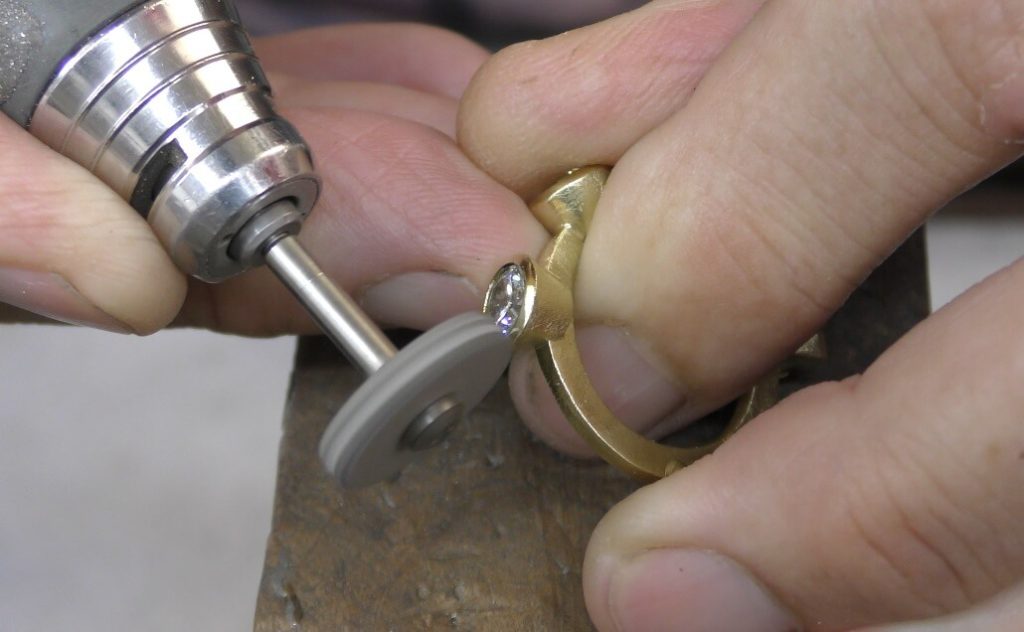
Prepare the setting for a final polish but be careful when using buff sticks or abrasive discs, as this could damage the stone if it’s contacted. In this case, I am using a pumice wheel. Maintaining a crisp bevelled edge gives the setting a professional look, so be careful not to round it off.
Step 12:
To create that perfect bright-cut inner lip, use a flat graver with a polished belly. Only perform this task if you have some graver experience. Our online courses cover all setting techniques. Assess your work as if you are a customer and keep practicing until you perfect it. The more time invested into practice will pay off in the long run.
Stone Setting Courses: Jewellery Training Solutions offers a comprehensive online training service including the very popular Ten Stage Stone Setting Course and the complete Stone Setting Student Packs. Check out the courses and options.