One of the first things an apprentice needs to learn is how to make a chenier tube. The tube is used for many tasks such as making settings, hinges, and other types of findings. The following tutorial will show you how to make a length of a chenier tube measuring 5mm (outside diameter) x 0.7mm (wall thickness) x 70mm (length). This tube was used to make tennis bracelet links.
Step 1:
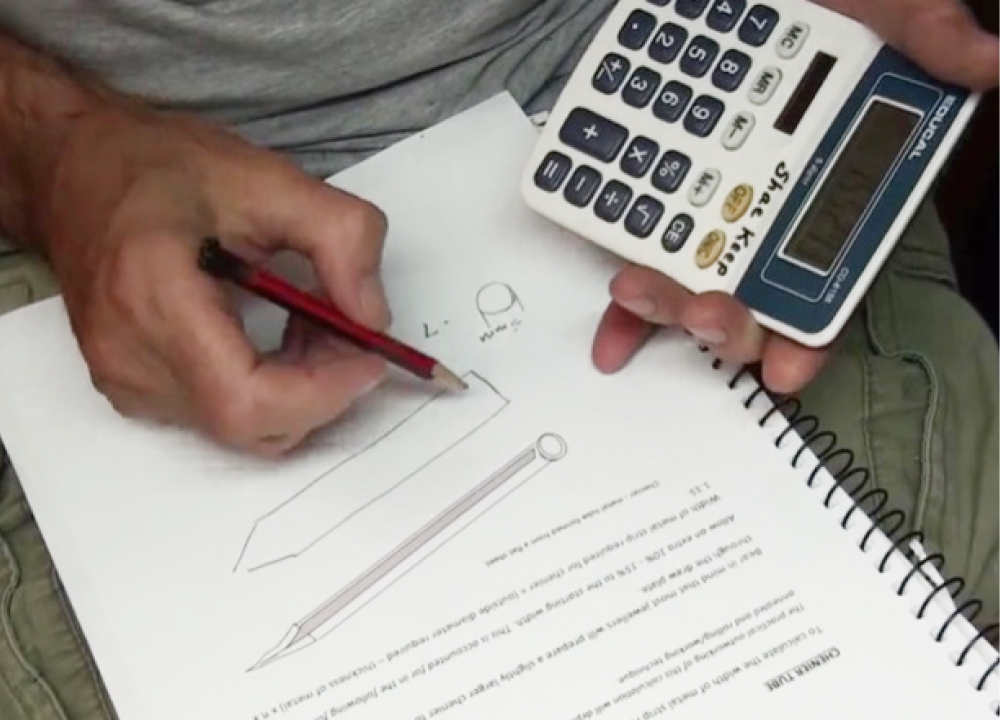
To make the right size tube, you will need to start with a strip of metal using the correct measurements. The width of the strip will determine the diameter of the tube. So, multiply the required outside tube diameter minus metal thickness by pi (3.14). Then, add around 15 percent to allow for drawing out any imperfections later.
Step 2:
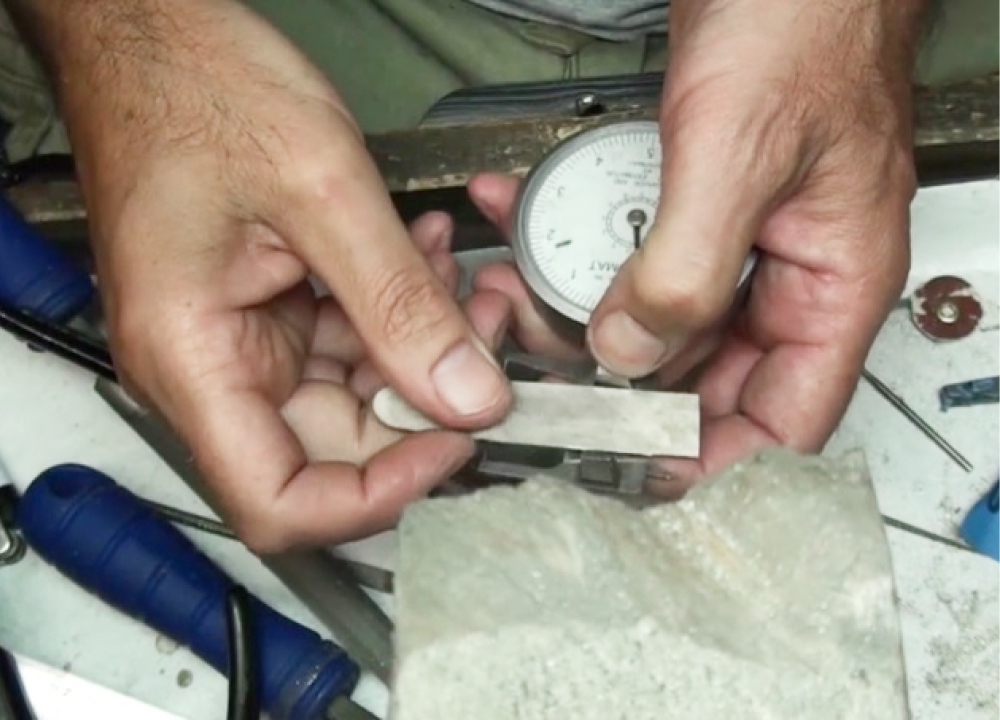
The thickness of the strip will determine the tube wall thickness. The required tube length depends on how many settings you will make. So, for this demonstration, the measurement of the strip will be 0.7mm x 15.5mm x 70mm. Mark off around 10mm from one end and cut at an angle to form a point.
Step 3:
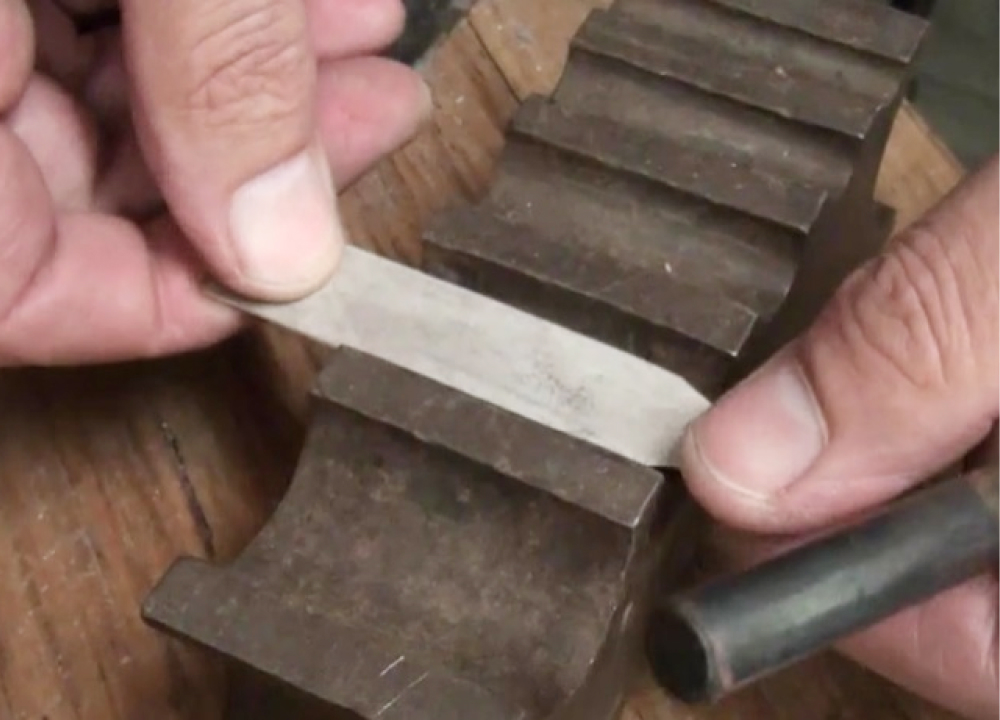
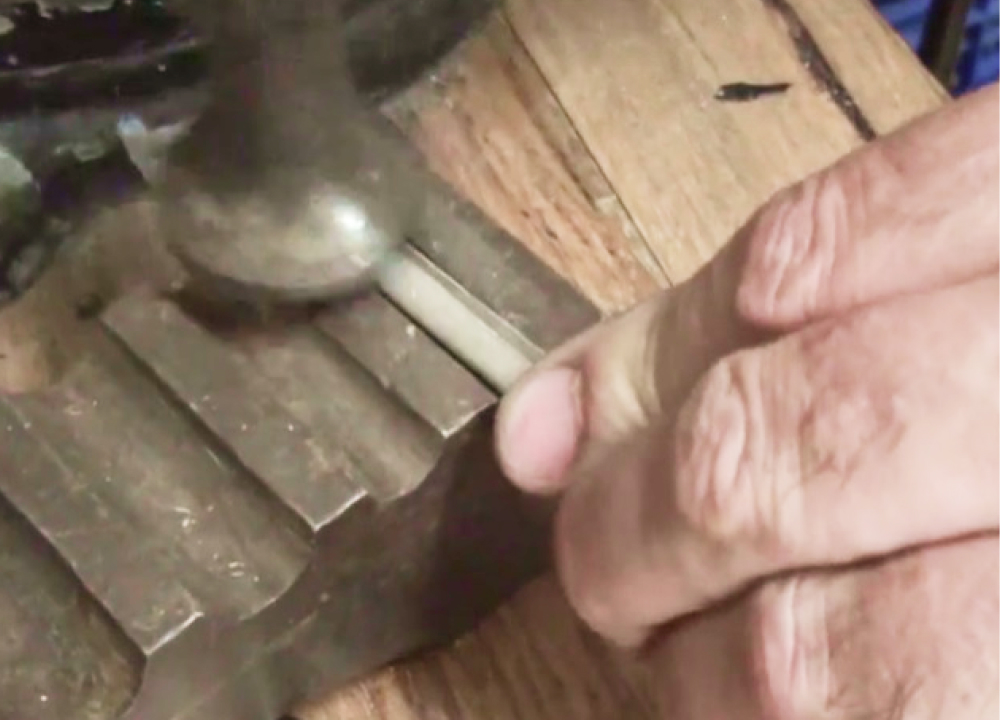
Anneal the strip to soften the metal before you begin forming. You will need a swage block with a groove that the strip fits into without overhanging the edges. Begin to shape it using a round stake and hammer.
Step 4:
As the strip begins to curve around, move on to a narrower groove and hammer along the edges of the strip. Avoid scarring the metal on the swage block edges. Form the tapered end into a fine point.
Step 5:
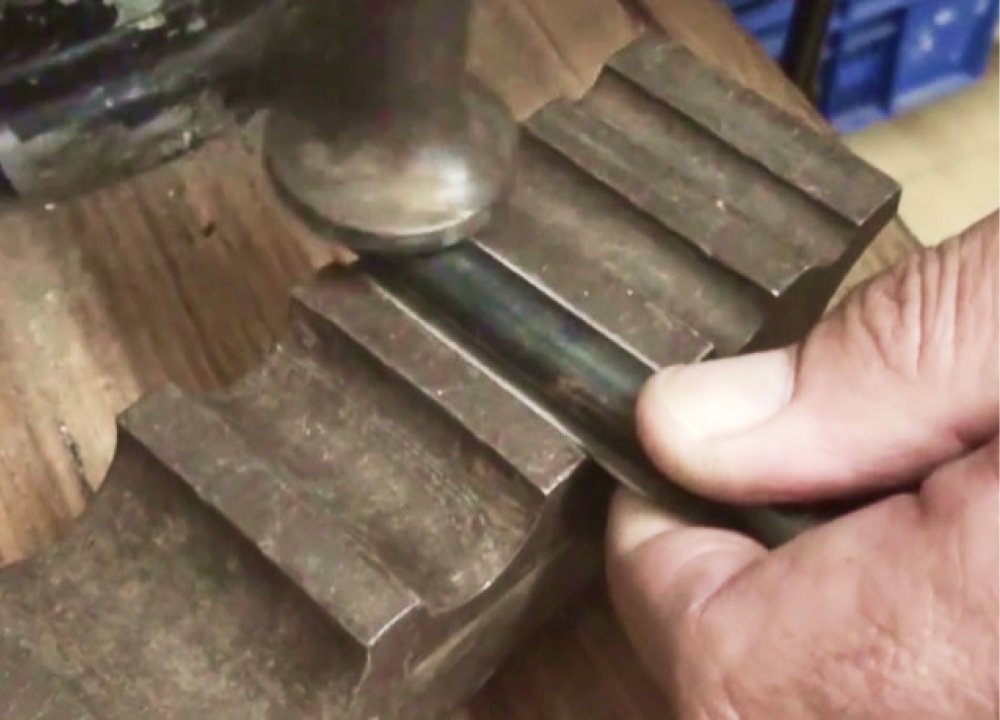
Once the strip is looking more like a tube, finish off the forming in the swage block without using a stake. Tap along the edges until the tube fits into one of the holes in your large round draw plate.
Step 6:
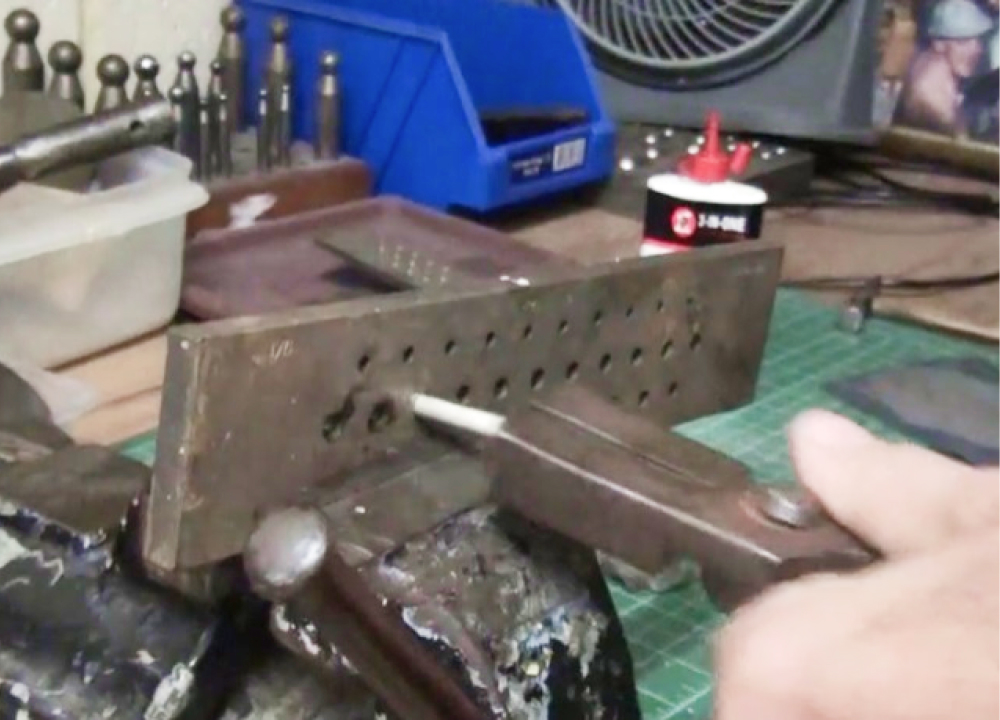
If you have a purpose-built draw bench, this will make light of the work. If not, pull your sleeves up and draw by hand. Move on to the next hole. Smear each hole with lubricant to reduce friction. The seam will begin to close together. Stop drawing when the seam has closed completely. Then, anneal and pickle to remove the oxides.
Step 7:
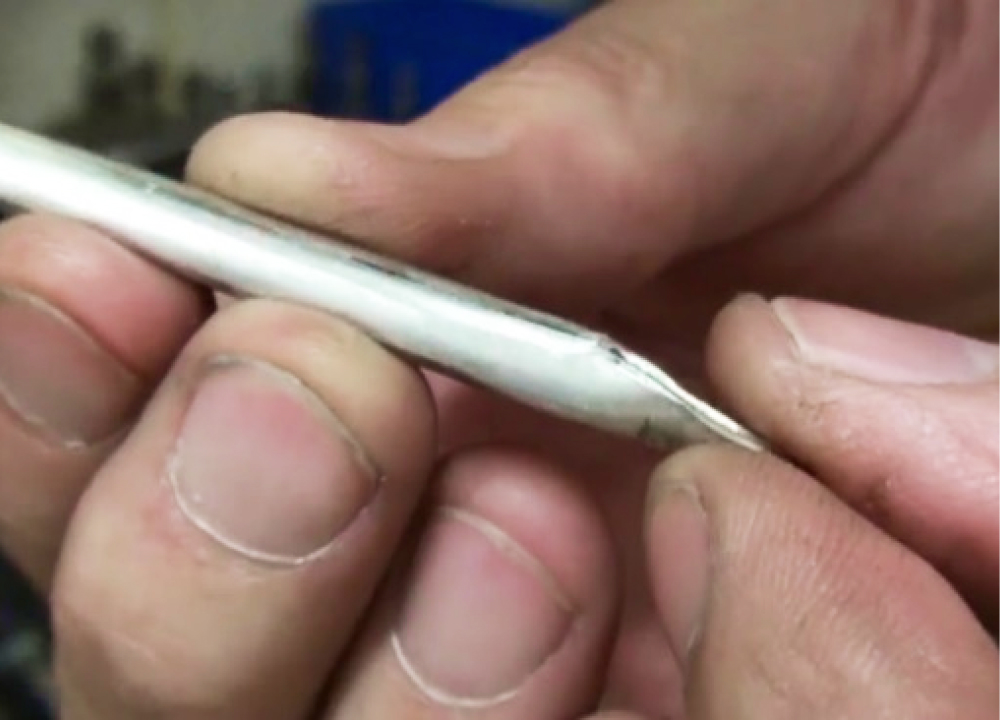
You may find that the seam has opened slightly due to thermal expansion. Scrape along the seam with a sharp tool such as a scribe or graver to clean it ready for soldering. Now either draw it again through the next hole in your draw plate or place it in your swage block and tap either side of the joint until it fully closes.
Step 8:
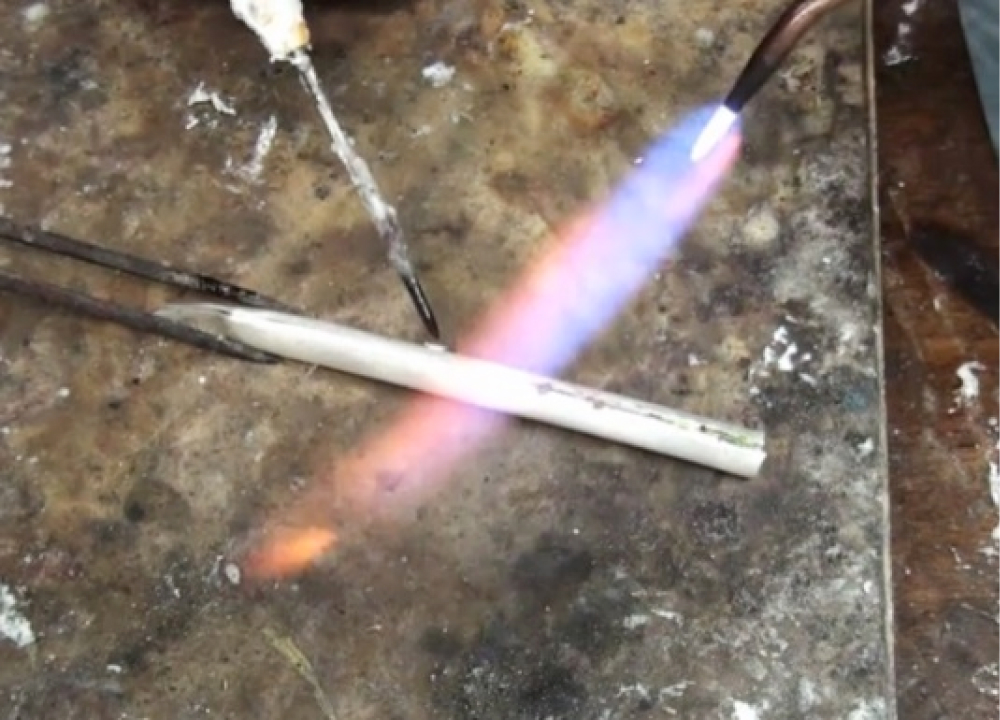
The tube is now ready for soldering. Flux along the seam and place enough small pallions of hard solder to flow into the joint. Remember, this is a big joint. Make sure you use an ample amount of solder. Use a neutral flame and push the solder in place with a pick as needed.
Step 9:
Quench and pickle the tube, then file off any excess solder.
At this stage, the tube diameter will still be slightly over the required size and will still have some imperfections.
Step 10:
Pull the tube through the draw plate until the outside diameter is the required size. If the tube begins to bend, anneal it, and pull it through again. A longer tube can be straightened by hand. Do not use a mallet or hammer as this will distort it.
Step 11:
Keep checking the measurements. As you draw the tube down, you will reduce the diameter size, then the wall will thicken slightly. Allow for this in your calculations. The extra drawing will also add to the tube length.
Step 12:
Once you master chenier tube making, you can apply this crucial skill to many jewellery making tasks. The online course includes other tube-making techniques.
The video lesson for this tutorial can be found at this link; jewellerytrainingsolutions.com.au/courses/making-chenier
Check out other courses at jewellerytrainingsolutions.com.au
Further reading: