This tutorial demonstrates how to make a simple oval setting, ideal for pendants or rings. This technique requires intermediate soldering skills and is the perfect project for beginners or first year apprentices.
This project requires the following materials:
1mm x 100mm Sterling silver round wire
7mm x 9mm oval stone.
This technique can be adapted for any size round or oval stone.
Step One
Wrap the wire around a stake to make a jump ring with an outside diameter of 8mm. If you are using a different size stone, use this calculation: oval stone width + length ÷ 2.
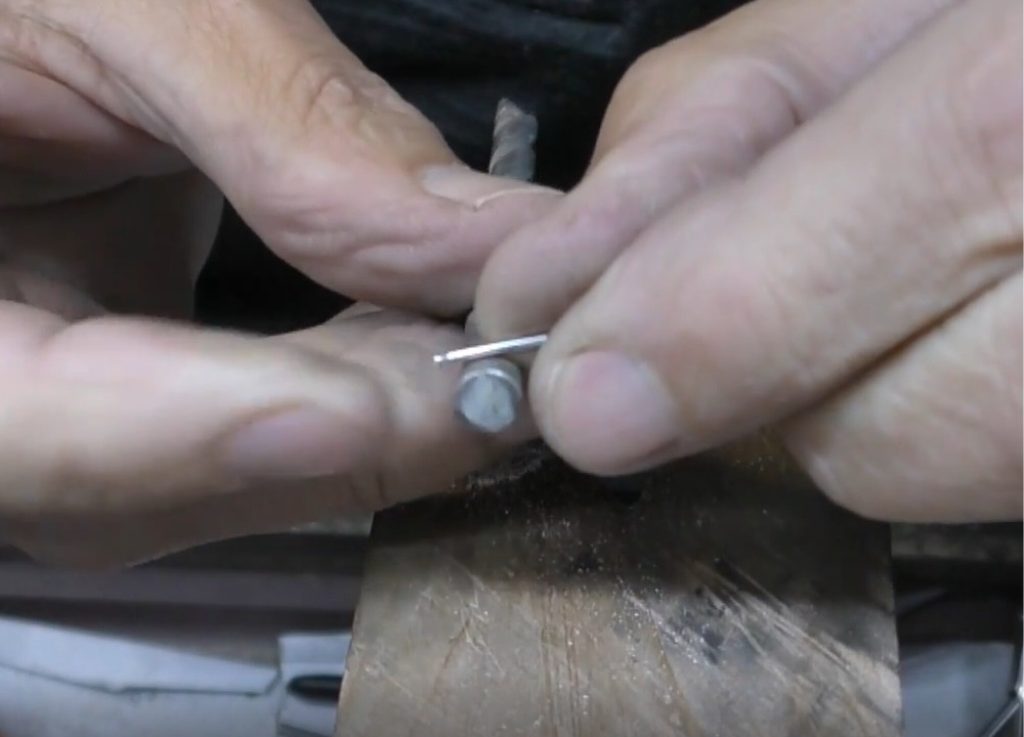
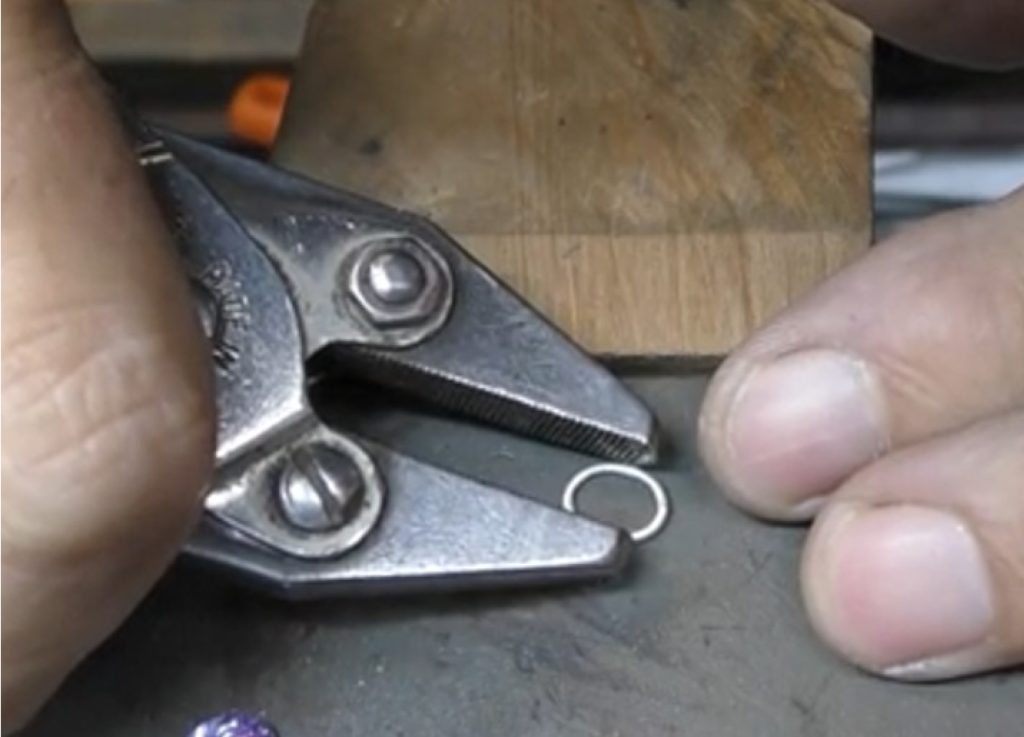
Step Two
Masure to check that it is the correct size: If it is too large, cut a piece out. If it is too small, size up on a mini mandrel later. Then close the joint using hard grade solder then pickle to remove the oxides.
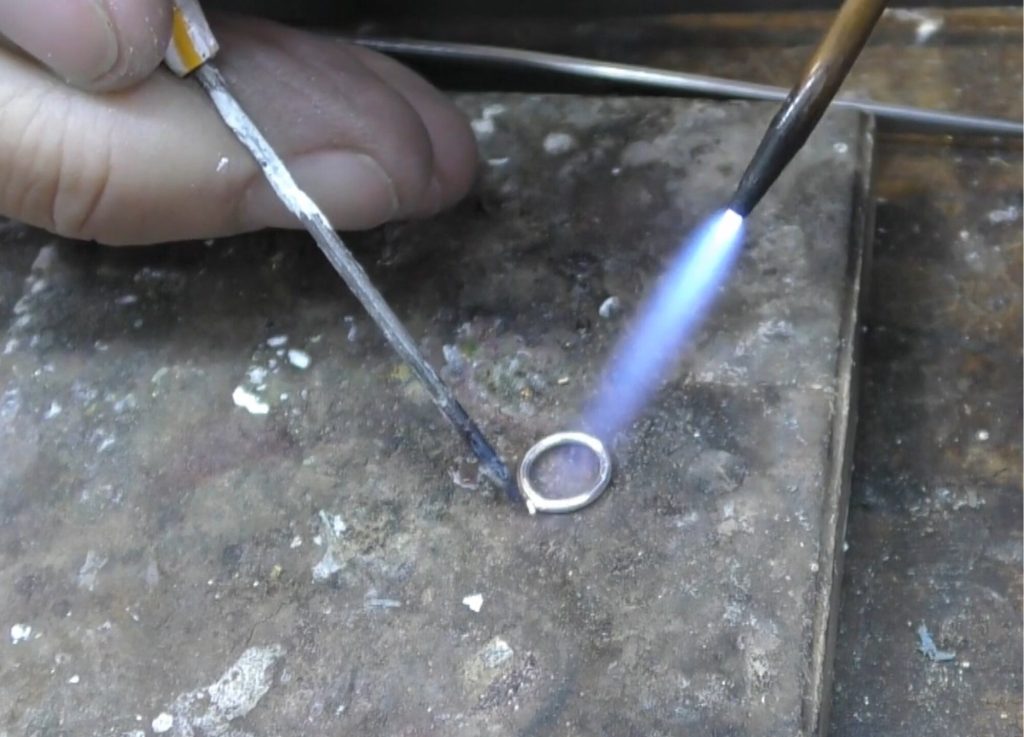
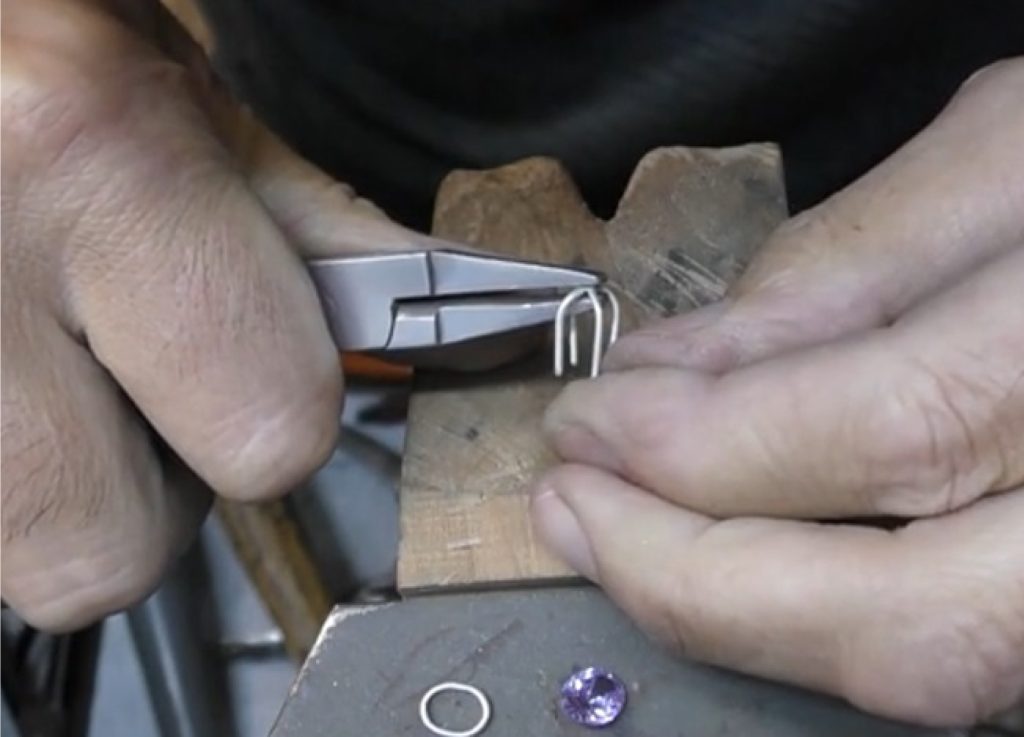
Step Three
While the jump ring is in the pickle, cut 2 x 25mm lengths of wire, using either a 5mm stake or half round pliers to form two ‘U’ shapes. Lay them over each other and make sure they are exactly the same.
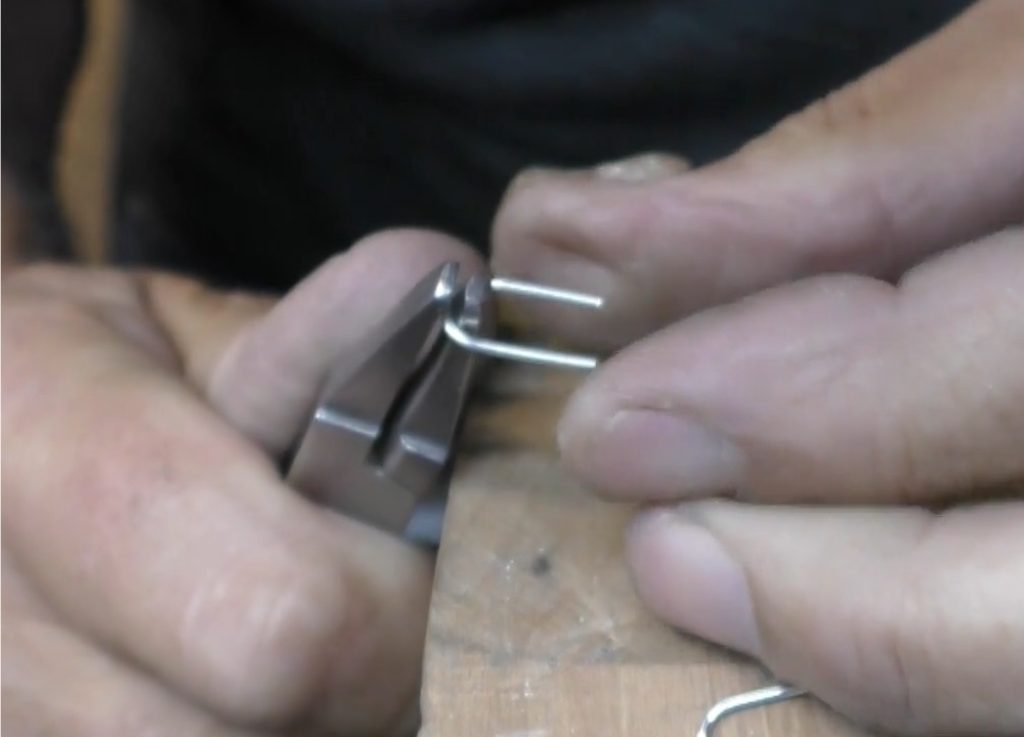
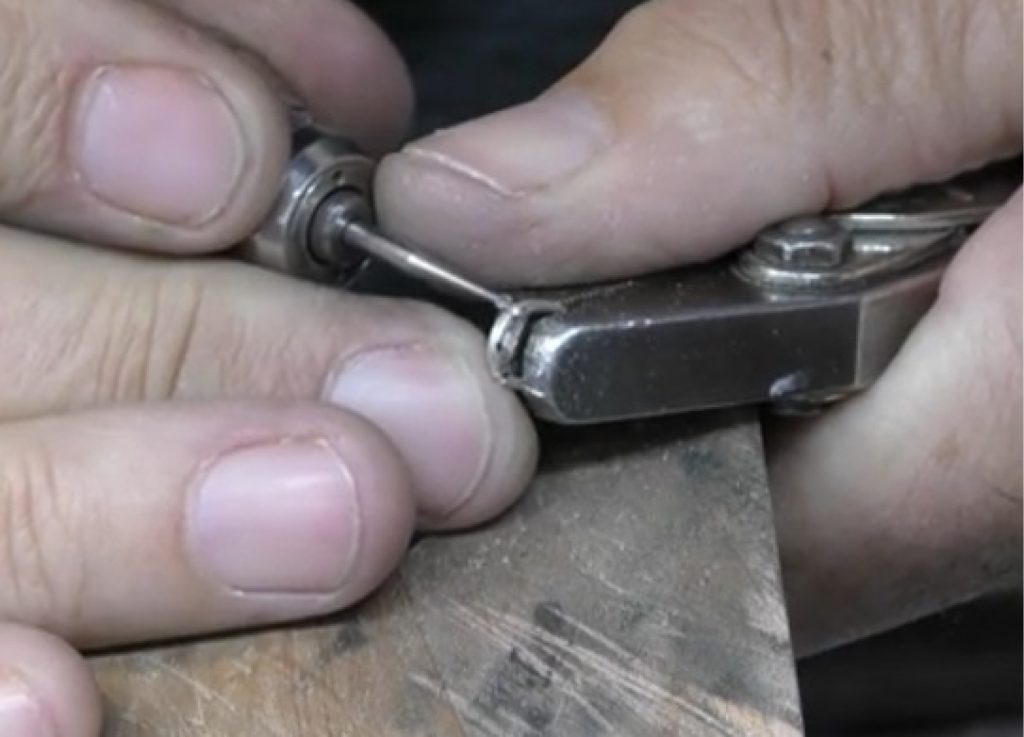
Step Four
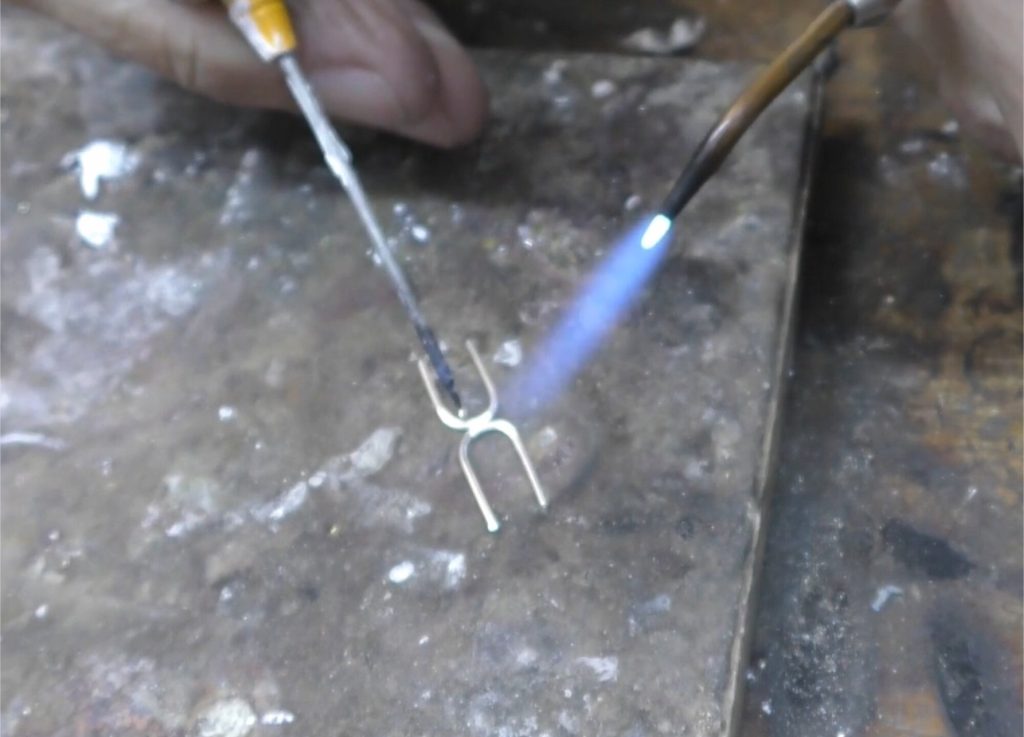
File or emery a flat spot at the bottom of the ‘U’ shapes to clean them. This also creates a larger surface area for the solder. Now solder them together using hard grade solder, making sure they line up perfectly.
Step Five
Carefully squeeze the jump ring with your parallel pliers until it is the correct oval shape. Keep placing the stone or measuring the bezel to ensure it is the same size and shape as the stone.
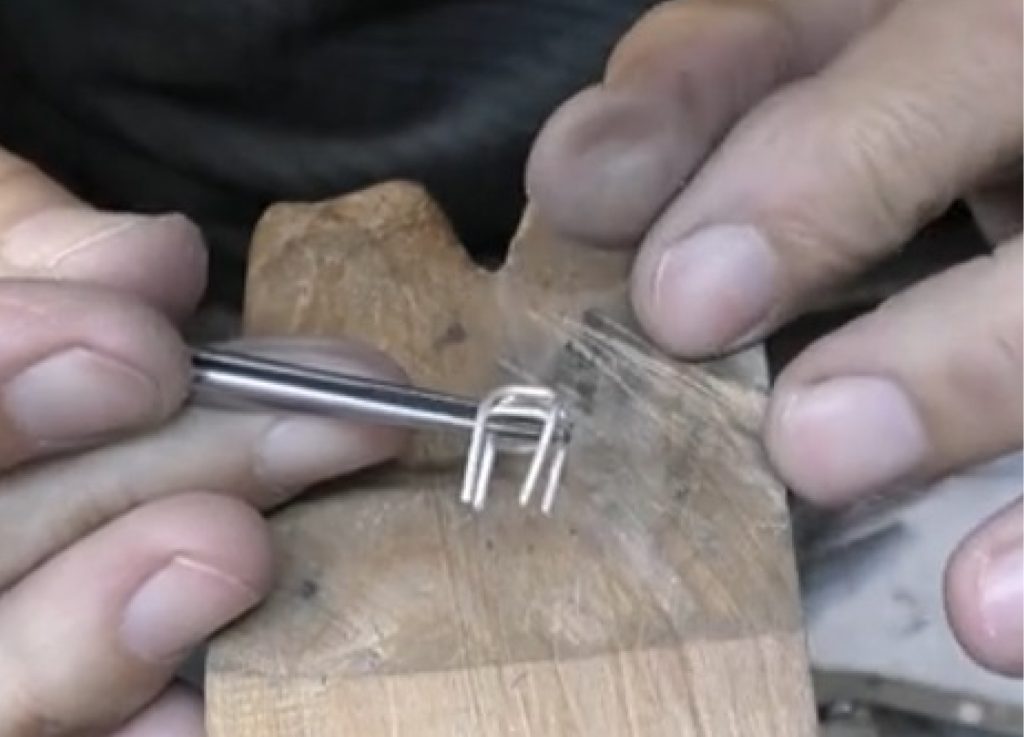
Step Six
To form the basket, clamp your half round pliers onto the joint of the hourglass shape and bend the wire ends around the rounded jaw of the pliers until they are all facing the same way. Ensure that the claws are all straight and spaced evenly.
Step Seven
Mark out the four claw positions on the bezel. Use dividers to ensure they are spaced correctly. Now use a 1mm ball bur or crosscut tapered bur to cut the grooves in for the claws. The 1mm wire should fit nicely into the grooves.
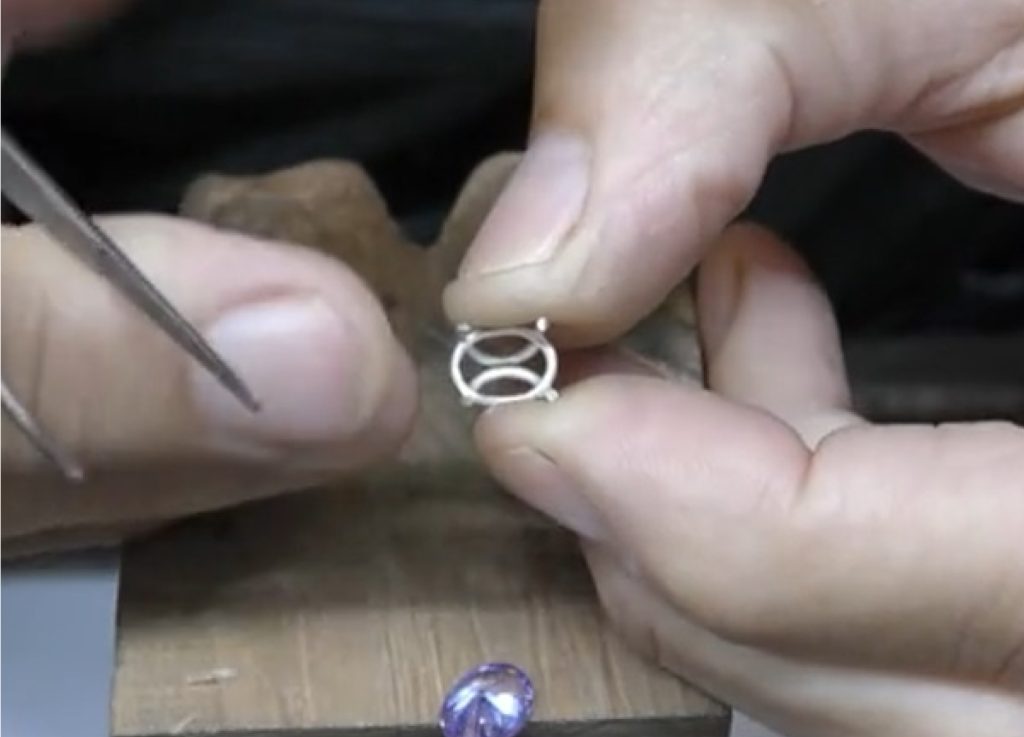
Step Eight
The grooves should be cut approximately one third into the bezel thickness. Try to fit the bezel and cut a little further if it does not friction fit into place. This makes soldering so much easier.
Step Nine
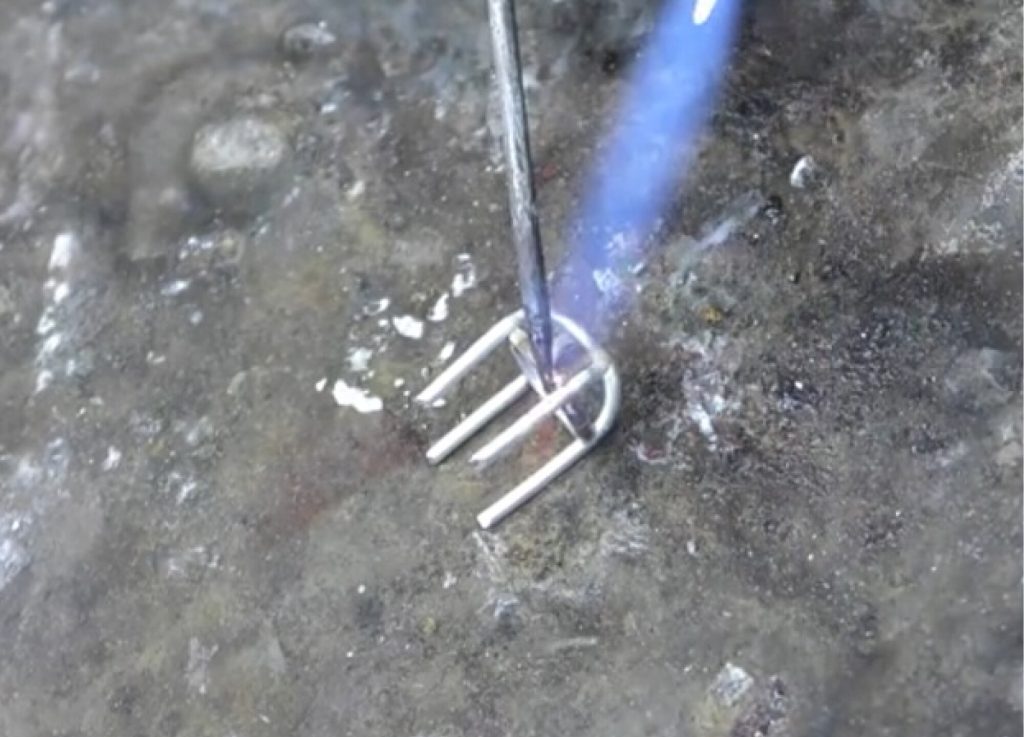
Next, solder the bezel into the basket. Use a small oxidising flame (more oxygen than gas), this will reduce the chance of sweating the other joint during the process. Use a small amount of medium grade solder to minimise clean up later.
Step Ten
Pickle the setting and remove tool marks before preparing it for polishing with 1200 grit emery paper. If you are making a pendant, solder a jump ring or bail to the bezel before setting the stone.
Step Eleven
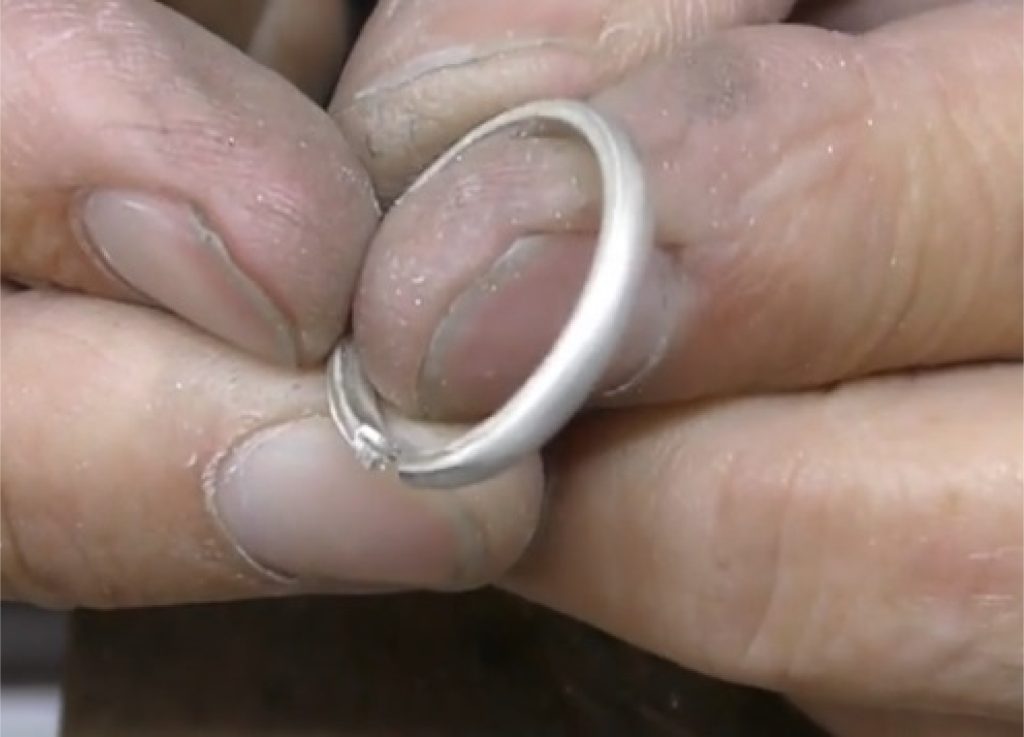
If you are going to use this setting to make a ring, form a simple half round ring. Open the joint and file the ends to the same shape as the curved wire at the bottom of the setting.
Step Twelve
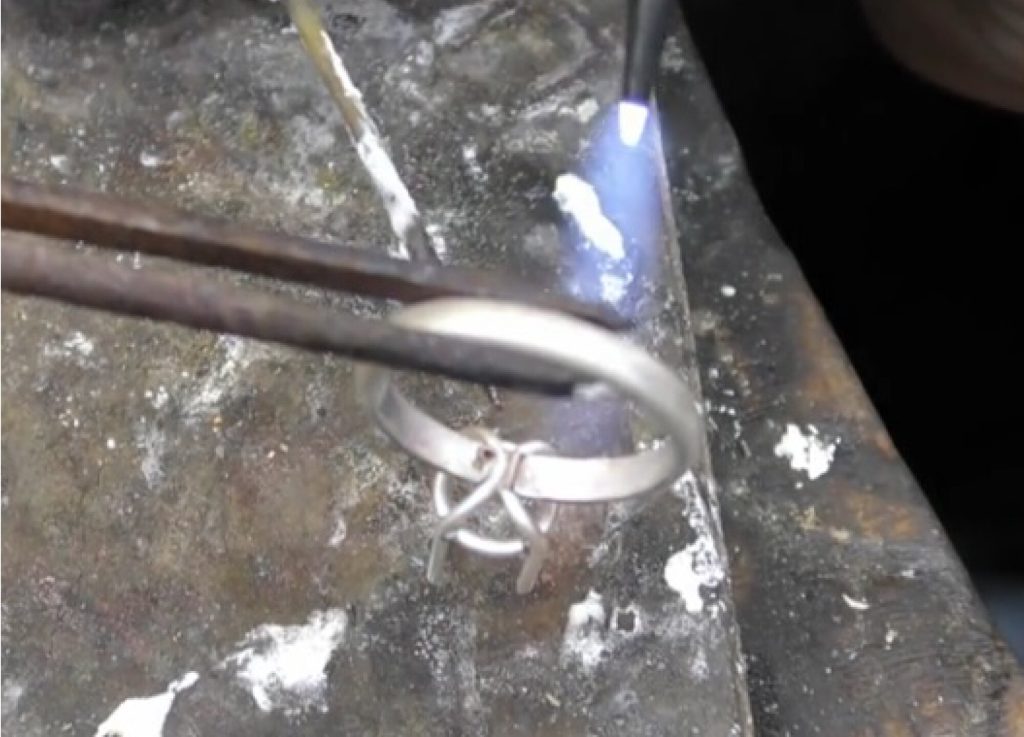
Bur a groove along the ends with a round or crosscut tapered bur. This will help to hold the setting firmly in place during soldering. Use easy grade solder. The ring is now ready for setting, the video lesson includes instructions on how to set the stone.
Jewellery Training Solutions offers a comprehensive online training. The video lesson for this tutorial can be found here: jewellerytrainingsolutions.com.au/courses/simple-basket-settings
Check out the JTS website for more tutorials & video courses: jewellerytrainingsolutions.com.au
Further reading: