Peter Keep has been creating beautiful jewellery for over 40 years and is dedicated to sharing his experienced knowledge with his students at Jewellery Training Solutions and Jewellery World’s readers.
This tutorial will show you how to make a hinged catch for a chain or bracelet. This is the perfect project for beginners or first year students who want to learn how to make a simple mechanism.
Step One
This project requires the following materials: 1.2mm x 7mm x 35mm strip. The dimensions should be adjusted to suit the chain it’s being made for.
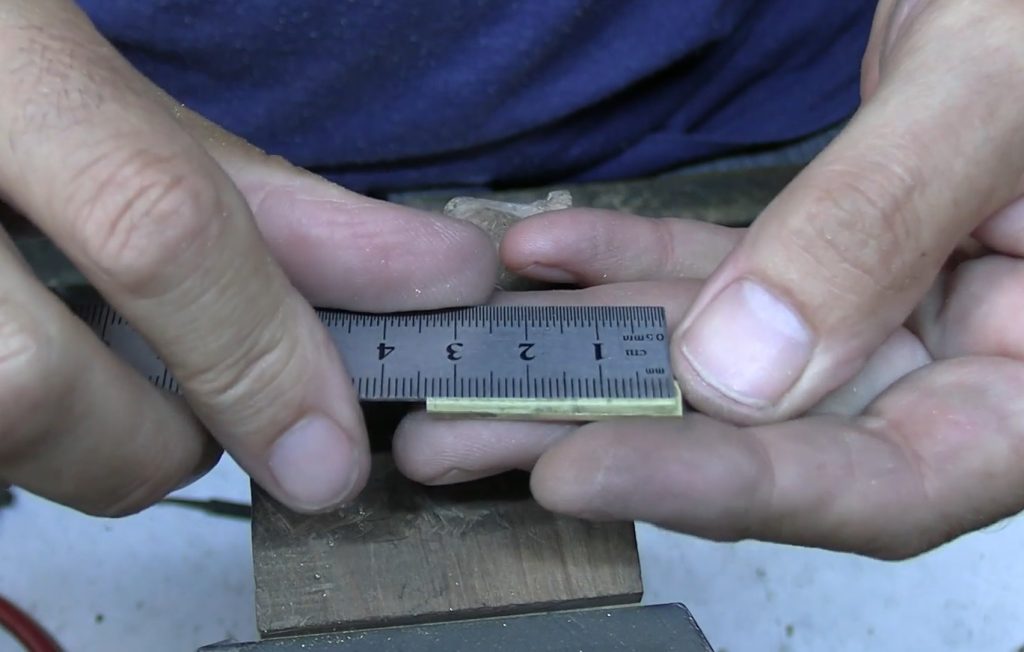
Step Two
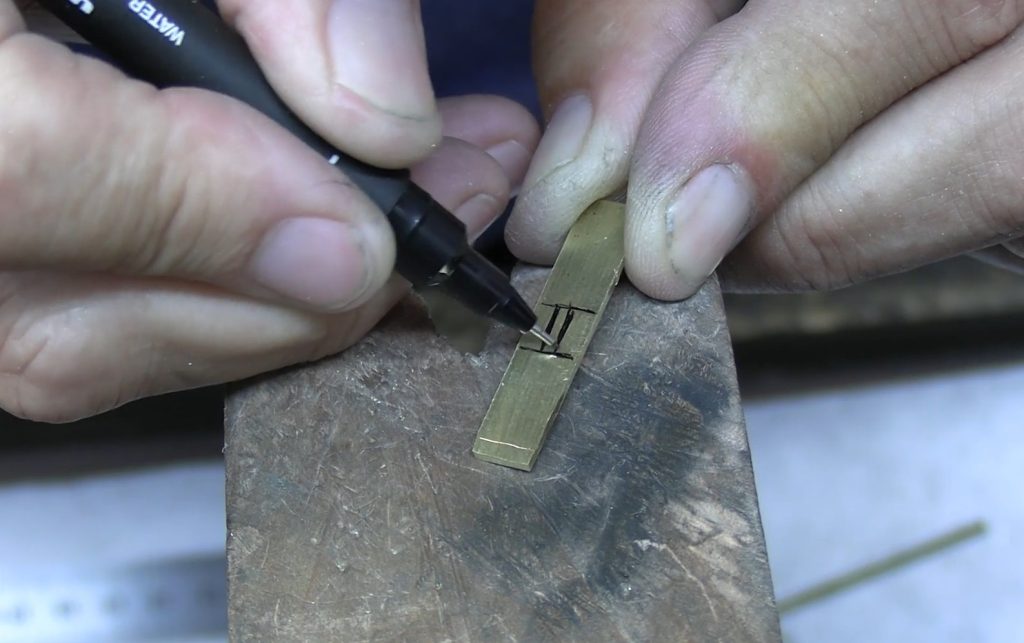
For this catch the body length will be 14mm – mark off 14mm from both ends and mark out for the connecting strip. This is where the strip will be folded, so it should be at least 5mm long x 2mm wide.
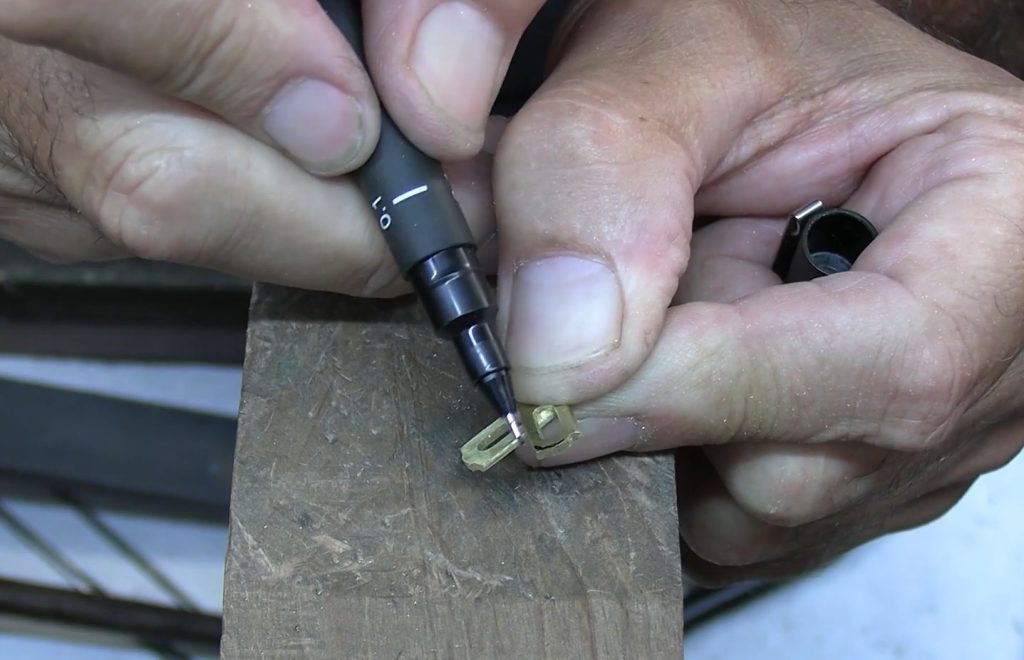
Step Three
Cut out the sections either side of the folding strip, then round off the inner corners with your saw and then file into shape.
Step Four
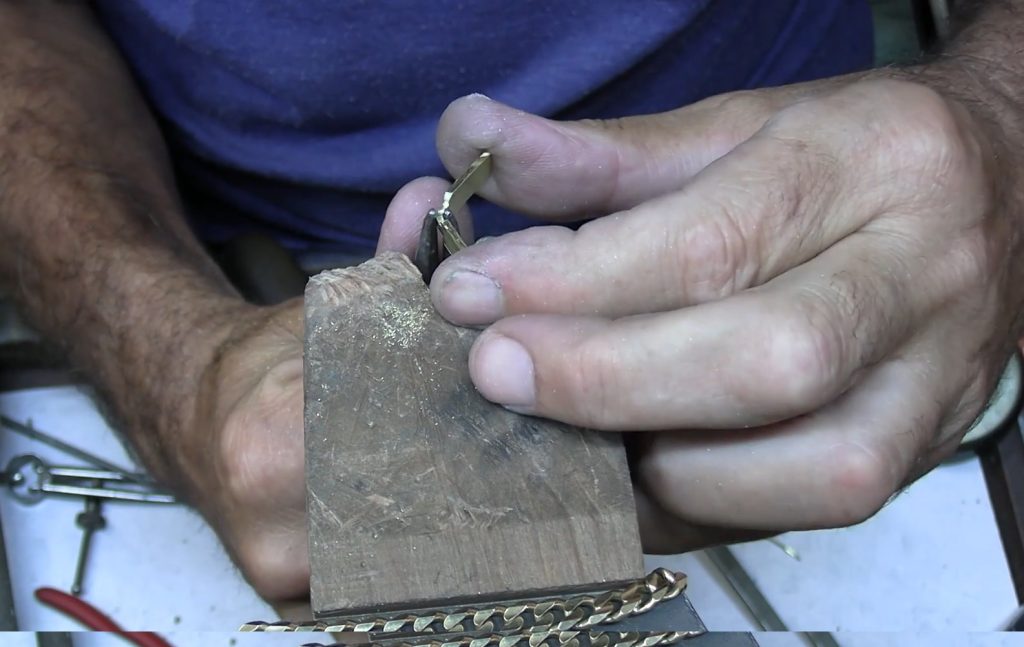
Use round nose pliers to bend the strip and fold the two ends until they line up together. To get the two sides completely flat, hammer the bend on a flat stake. Now file the other end to round it off.
Step Five
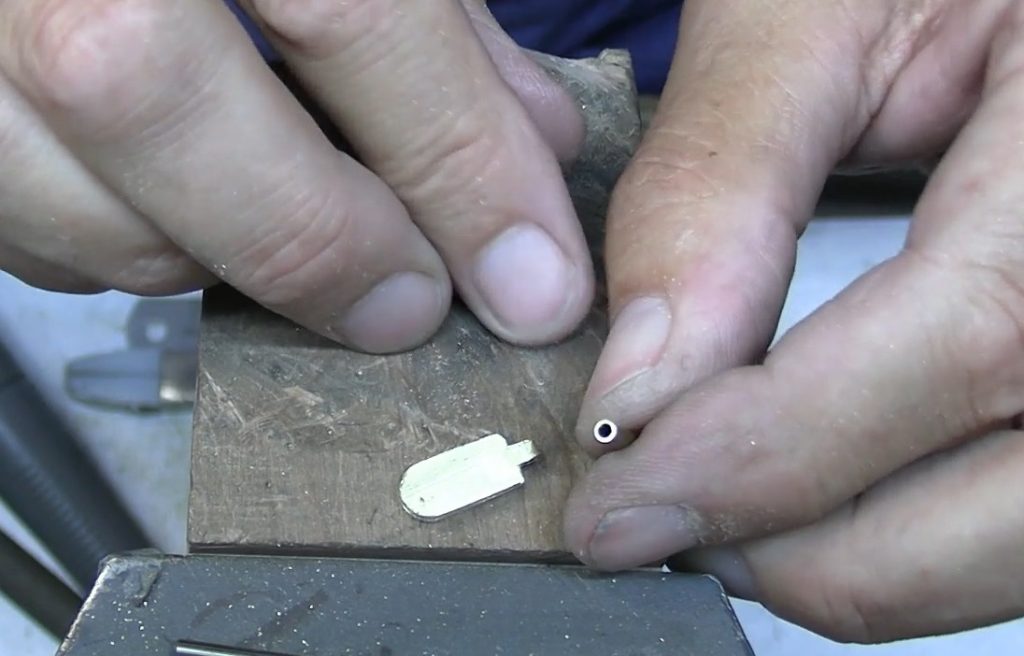
The tube to make the rivet for the catch should be around 2.5mm in diameter and be no more than 0.5mm thick. If you can’t find a suitable piece of tube, there are instructions on how to make a tube in the online course curriculum.
Step Six
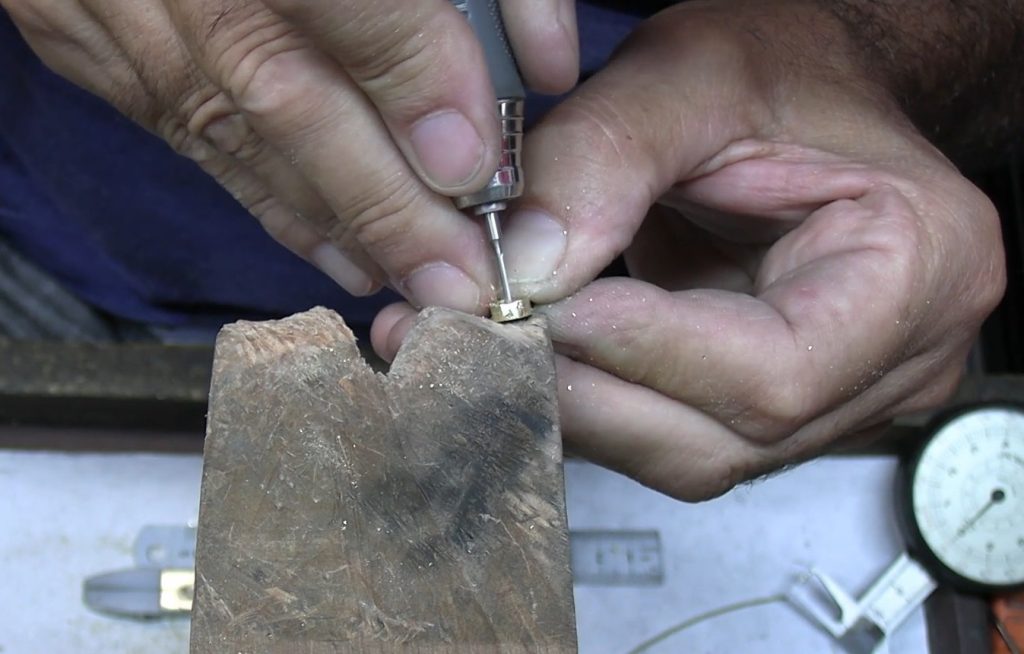
Drill a hole through the body at the rounded end using a 1.2mm drill, then use a round bur or a round needle file to open it out until the tube fits in. Make sure that the space between the hole and the catch end is at least 1.5mm.
Step Seven
To create the catch opening, drill two holes into the body and open them out to the same size as the rivet hole. The spacing between the holes and the edge of the catch should be around 1.5mm.
Step Eight
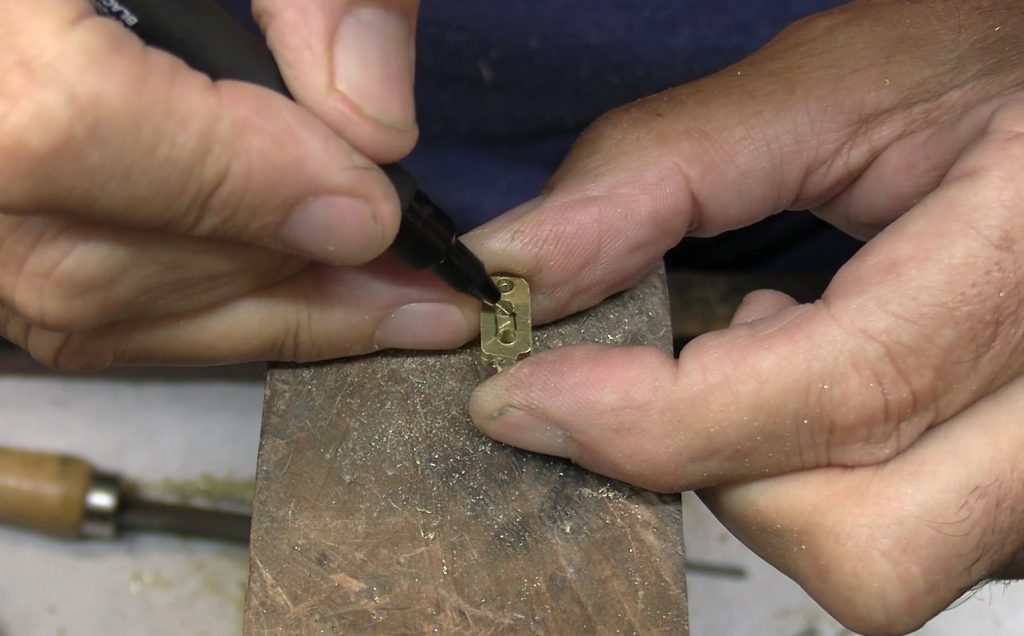
Now cut out the section between the holes and file into an oval shape. The catch will look and feel better if the edges are rounded off, so before the folded strip is cut off, file the catch into shape and prepare the surfaces for polishing.
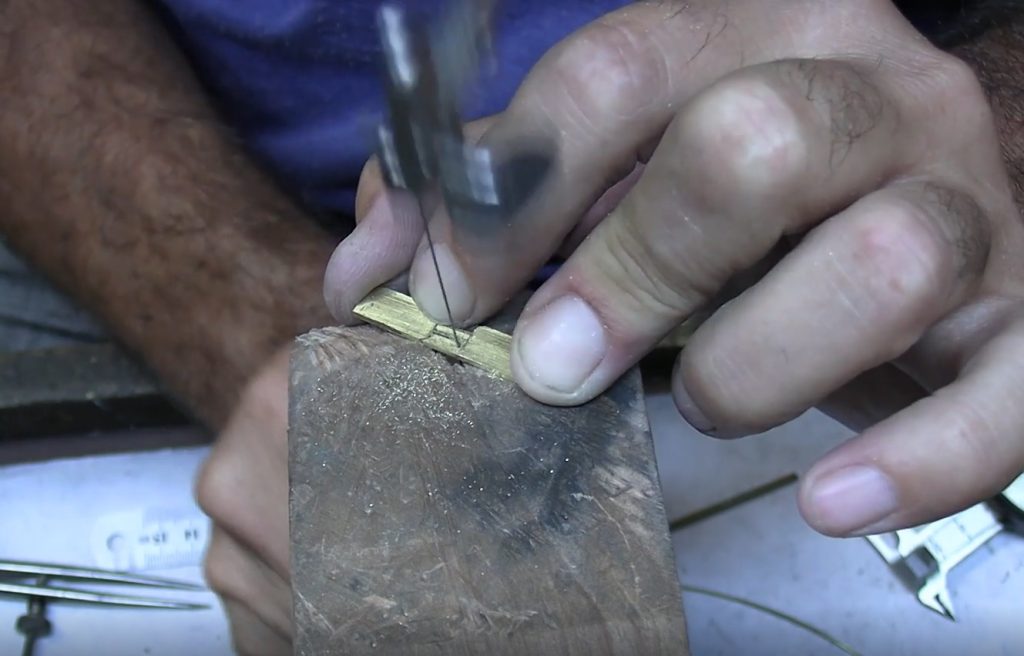
Step Nine
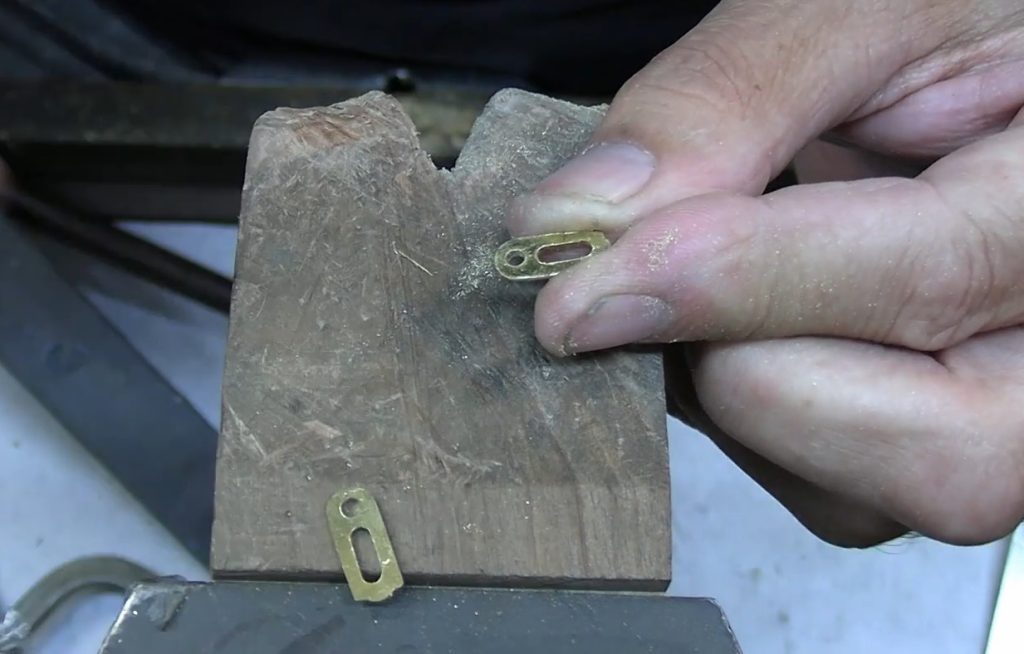
Carefully cut the strip off to separate the two sides and sand the inside surface of the catch using 1800 – 2000 grit emery paper. Cut off a small section of tube and fit the sections together.
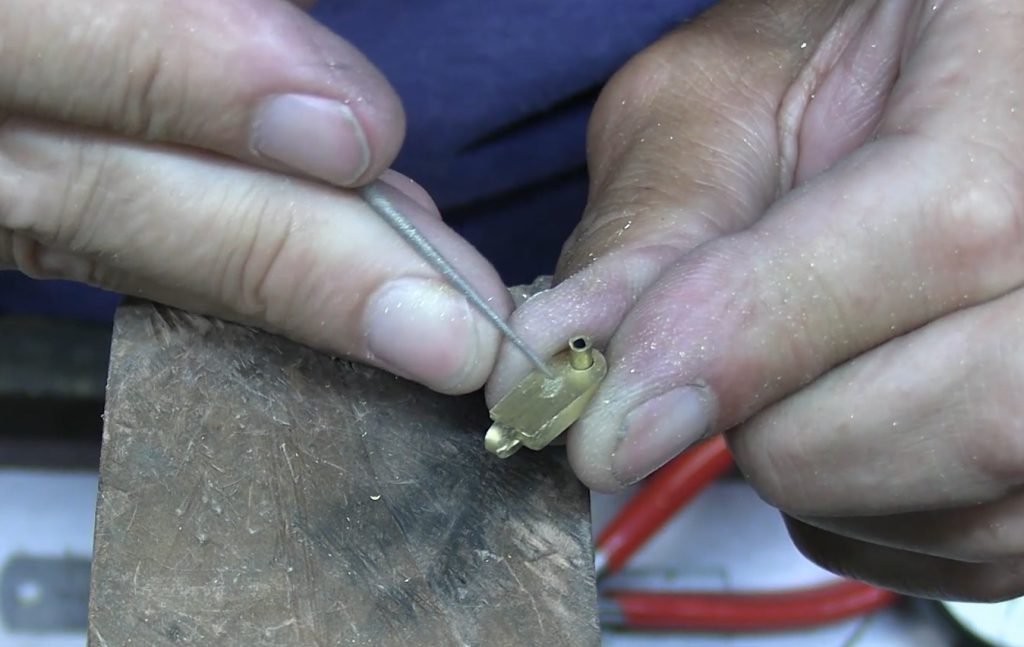
Step Ten
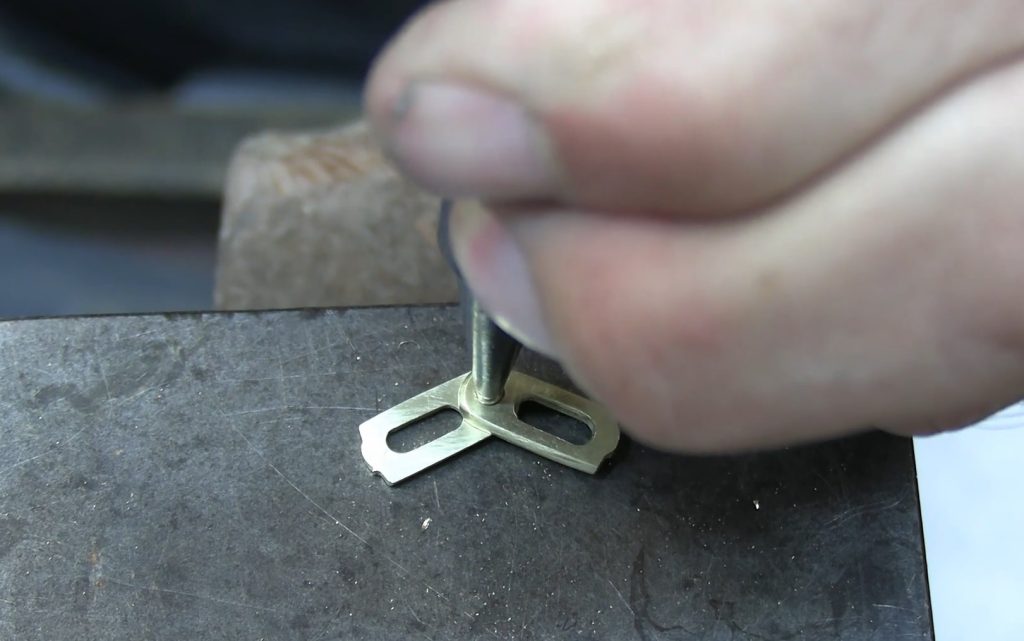
File the tube ends down until around 0.5mm is protruding from either side. Working on a steel block, carefully flare the tube ends open using a tapered punch. Make sure that you keep flipping the catch over to work the two ends of the tube evenly.
Step Eleven
The catch should open & close smoothly, so keep checking during the riveting stage. Once the riveting is finished, cut out the openings where the fastening jump ring will enter the catch.
Step Twelve
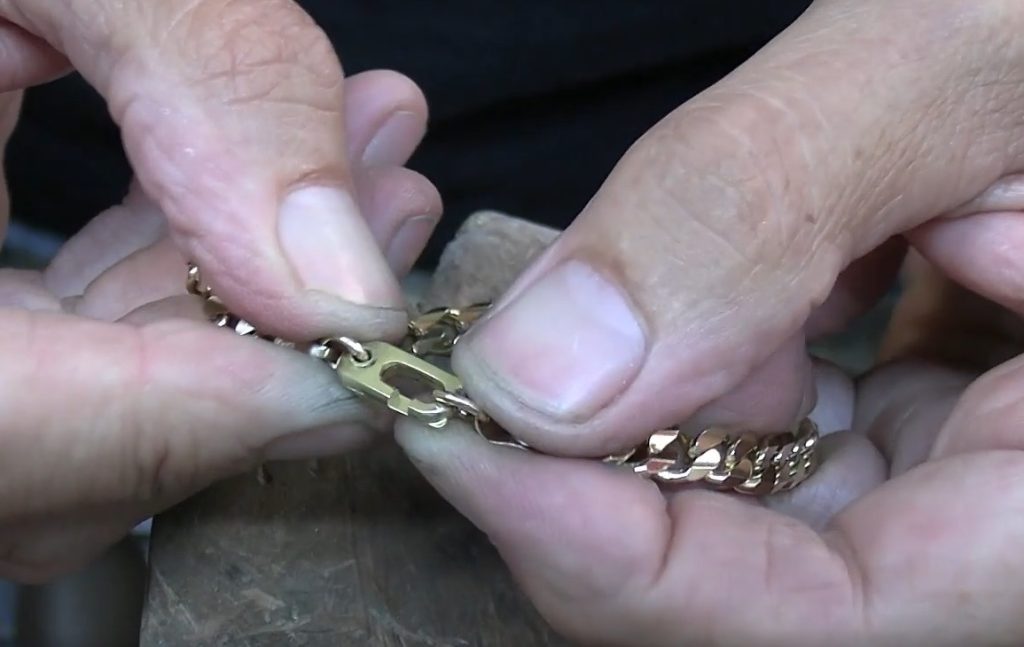
Finally, file the nail grips into the opposite sides of the catch ends so that you can open it with your finger nails. To fit the catch to your necklace or bracelet, link a jump ring through the tube and solder it to your chain.
Peter Keep is a master jeweller and teacher. He offers structured online courses that have helped thousands of students around the world improve their skills. Jewellery Training Solutions offers video training for jewellery students and professionals. For the video of this project go to: jewellerytrainingsolutions.com.au/courses/sister-hook-catch. Check out the other courses and options: jewellerytrainingsolutions.com.au.
Further reading: