It’s essential for apprentices to learn drawing skills to be able to accurately translate their ideas and designs to customers. This lesson will show you how to create an isometric drawing of a bezel set solitaire ring.
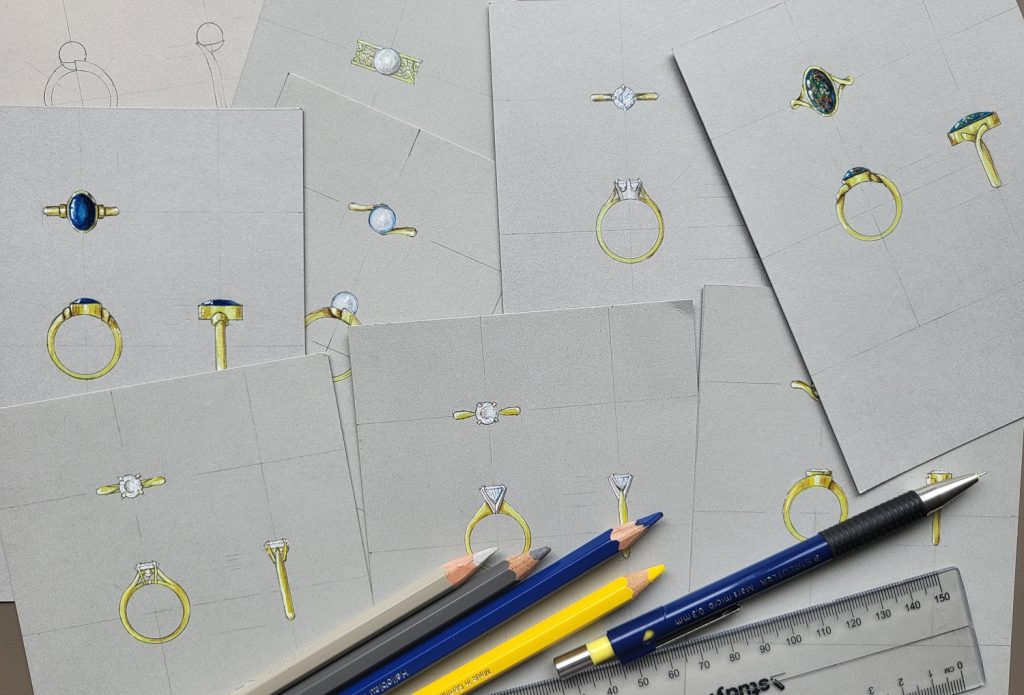
This lesson is taken from one of a series of online videos that will train you to draw and render ring designs in the time it takes for your customer to have a coffee.
Step 1
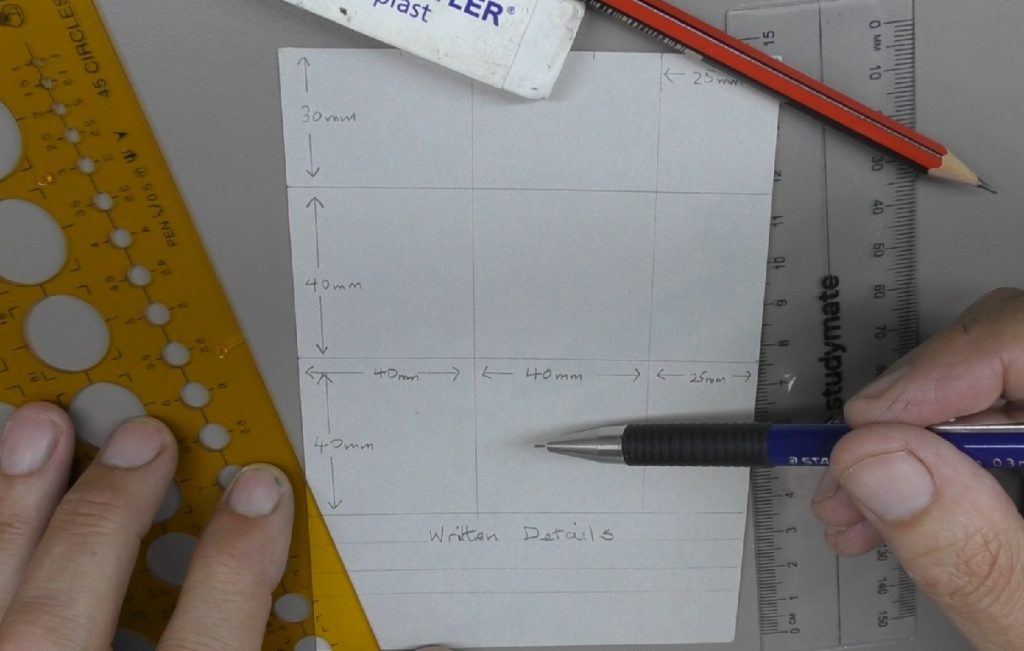
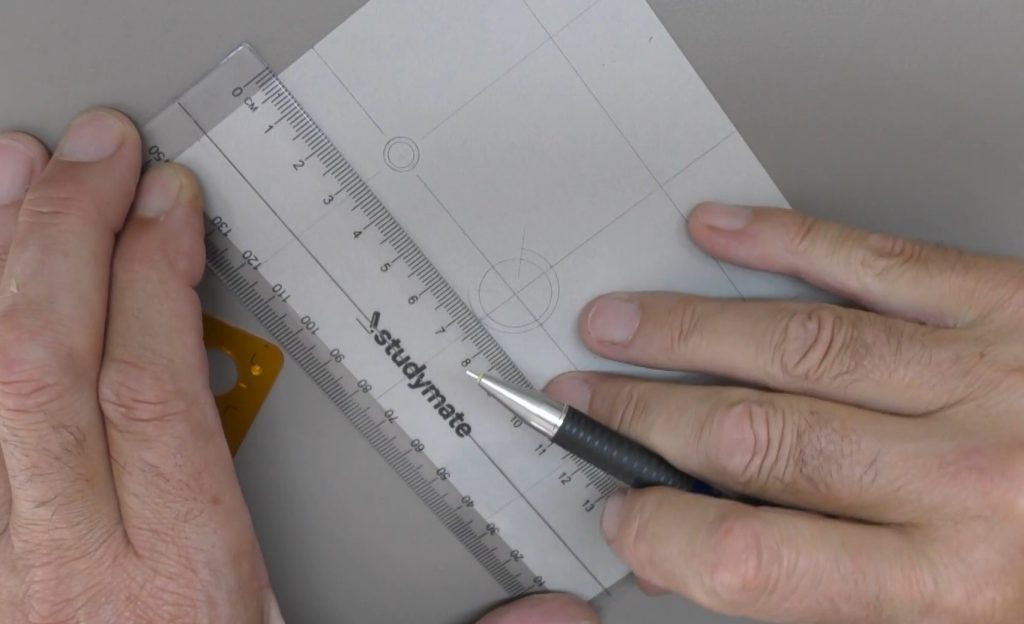
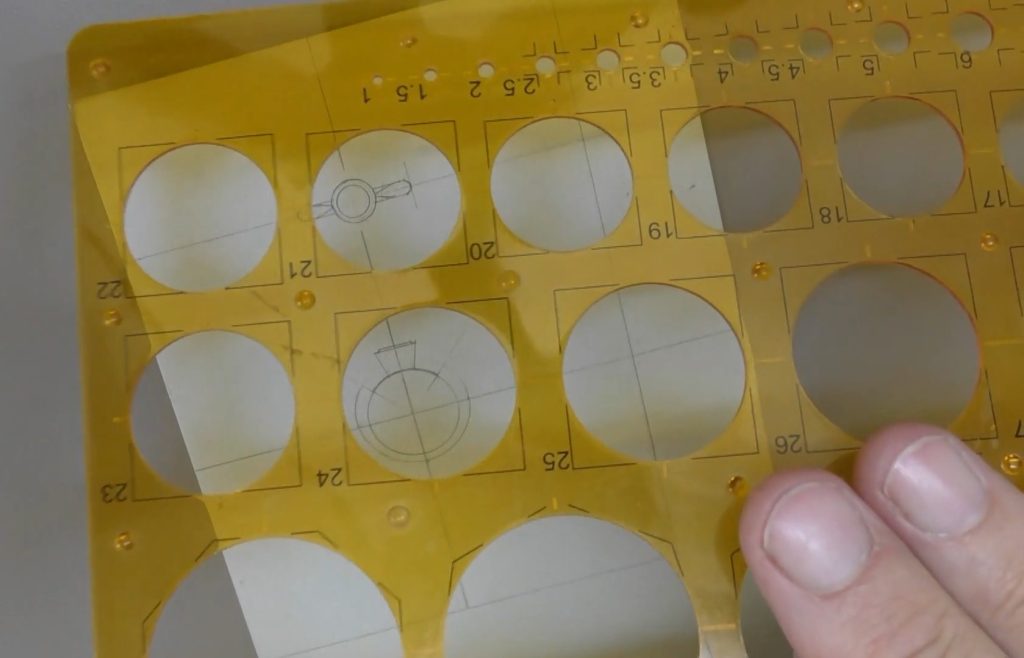
I recommend using grey 180gsm or 210gsm card, a 2H pencil or a retractable 0.3mm pencil, and a round template.
Cut the A4 card into four (A6 size). Lightly draw the grid lines as shown. Leave space at the bottom to write details and notes. This way of preparing the cards is convenient and will save time in the future.
Step 2
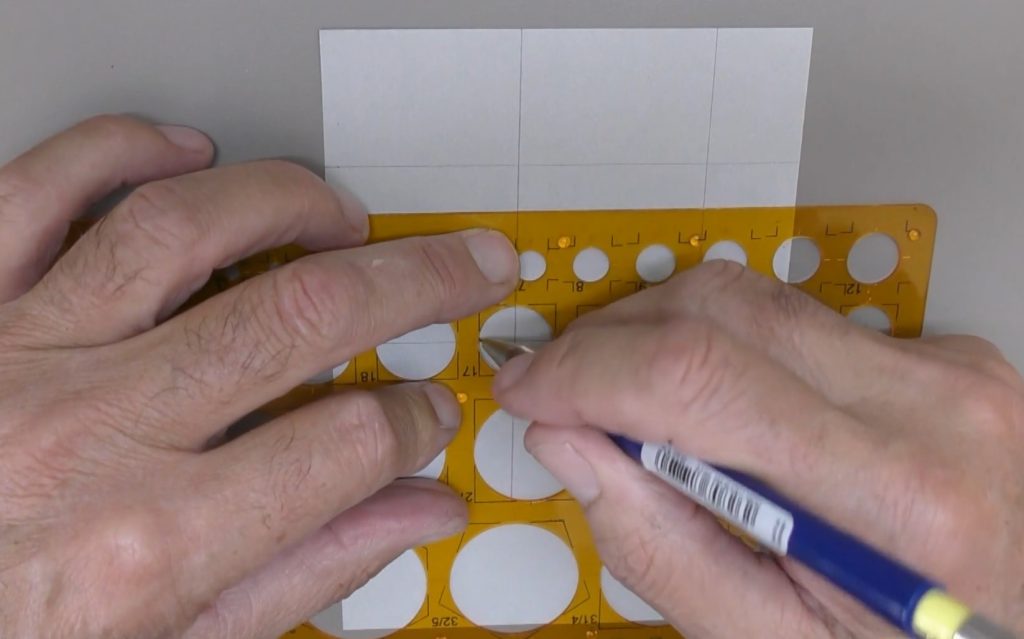
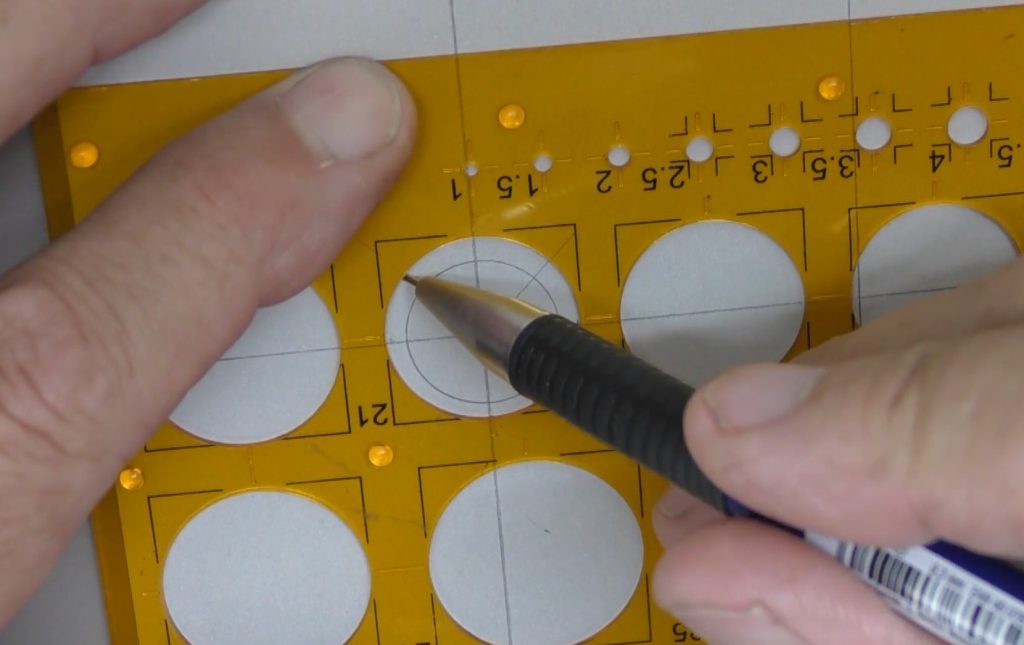
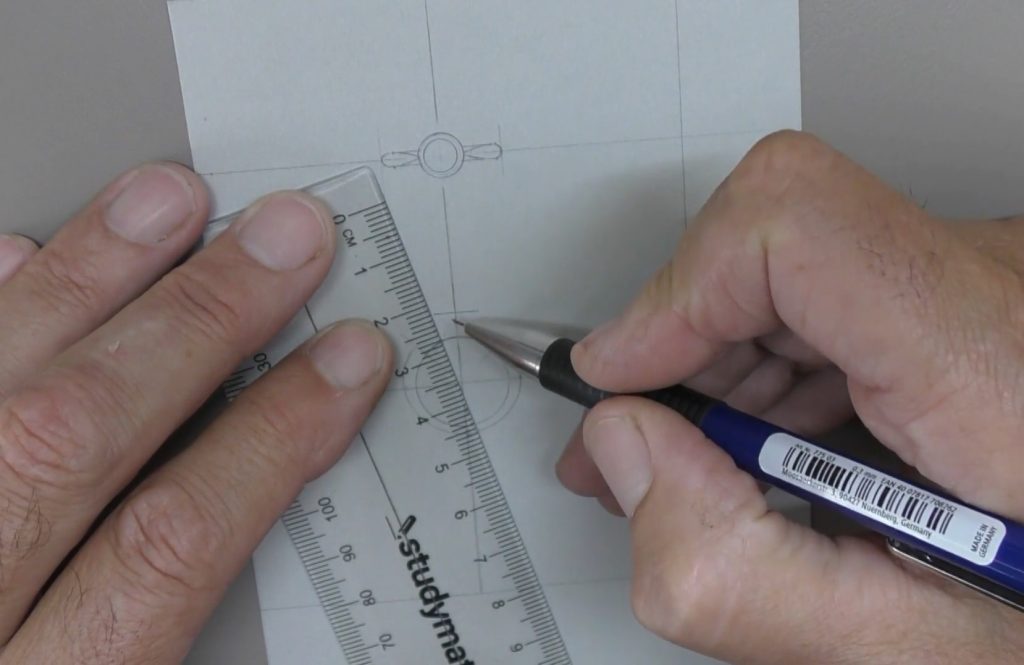
Start by drawing the front view inside ring circle around the lower cross point using the 17mm circle on your template. This is an average ring size the exact finger size can be noted at the bottom of the card. Your template should have quarter markings on the circles to help you position the template correctly on the cross markings.
Step 3
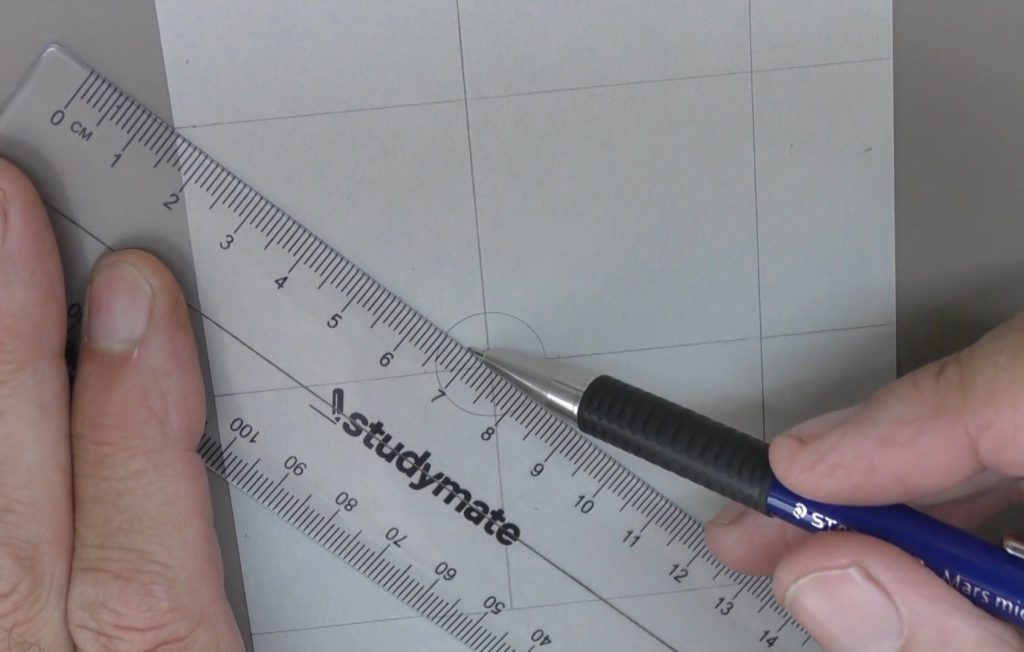
It will be beneficial to have a reference marking for where the ring shoulders start.
Line your ruler up with the corners of the middle square sections and draw a faint line across the left and right top quarters of the circle. Keep all reference marking light as they need to be rubbed out later.
Step 4
The shank thickness for this ring will be just under 2mm, so mark the thickness on the line from the bottom of the circle. Now use a larger template circle to draw the outside line of the shank (I’m using the 21mm circle). The shank should thicken slightly towards the shoulders, so shift the template up slightly. Do not draw past the shoulder lines.
Step 5
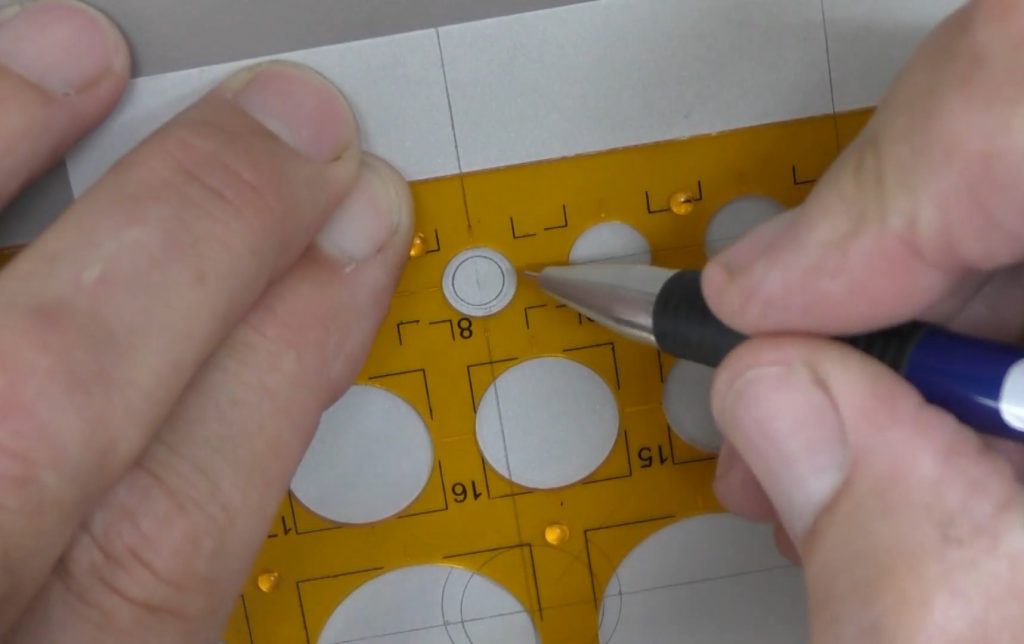
Now turn your attention to the top view. Draw a circle to represent the stone on the cross point above. This design has a one carat diamond, so I will use the 6mm circle as the template only has 1mm increments. Exact details about the stone can be noted in the space below. Draw the outer bezel with a larger circle. In this case the 8mm circle makes the correct bezel thickness.
Step 6
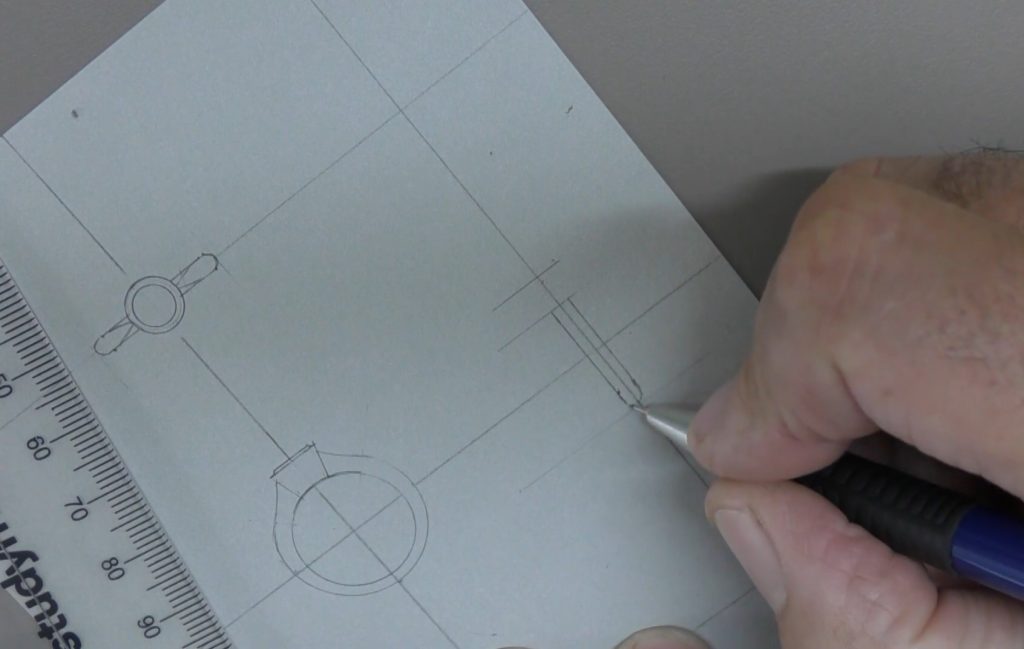
Draw a faint line from the edges of the ring on the front view up to the top view cross line.
For this design the shank width will be 2.5mm, so draw the parallel shank lines from the setting. Don’t draw all the way to the ring end markings as the shank profile needs to be drawn in.
Step 7
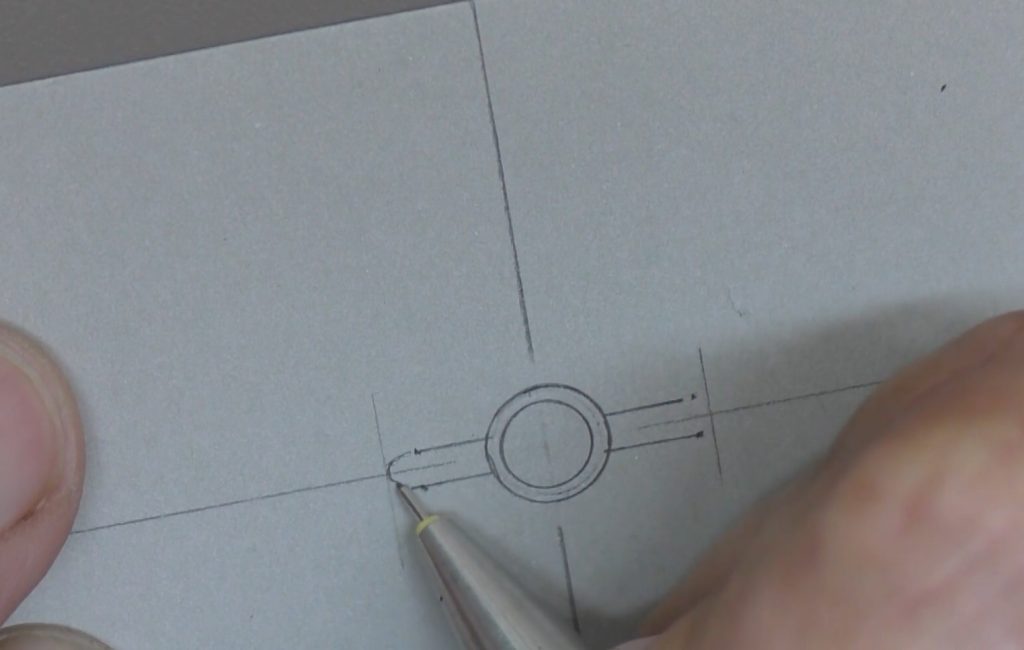
The ring profile is half round, so carefully draw the half circle shape in by hand, joining up to the parallel shank lines.
The ring will also have knife edge shoulders that taper to the setting, so draw this detail in by hand.
Step 8
Now draw the setting details on the front view. Measure the bezel height at 5mm from the inside circle and draw the 8mm line for the top of the bezel. Line up your ruler from the ends of the bezel to the centre of the circle and draw the bezel setting sides in from the setting top to the circle.
Step 9
The concaved curved shoulders can be carefully drawn in free hand, but if your template has large circles, you can create a perfect mirror image. Mark 1mm from the top of the bezel and position a 32mm – 35mm circle from that point to the shoulder cross line. Use the template circle that will create the most suitable curve.
Step 10
Draw very light reference lines across from the front view over to the side view.
You will need lines for the bezel top, bezel bottom andshank bottom. Draw the 2.5mm wide shank lines up to the bottom of the bezel and draw the half round profile at the bottom.
Step 11

Line your ruler up from the ends of the 8mm bezel to the centre cross point and draw the line to the bottom of the bezel.
Measure 1mm from the bezel top and draw in the tapered shoulder from the bottom of the bezel.
Step 12
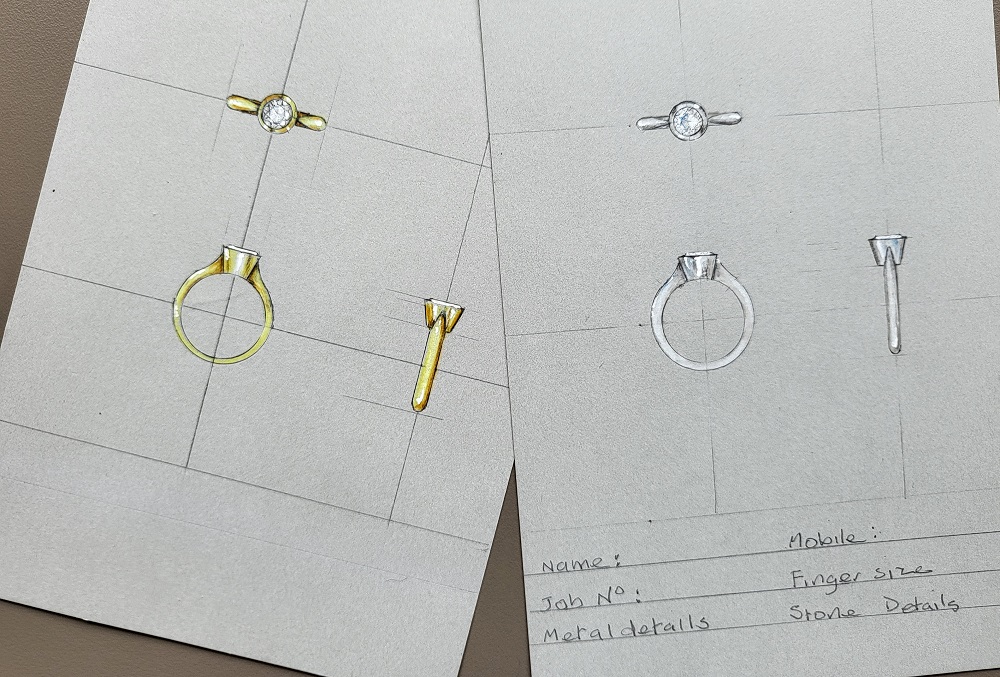
Add the diamond side profile to the front and end view by drawing a 4mm parallel line 1mm from the bezel, then angle the ends to create the crown of the stone.
The online lesson will also show you how to render the drawings using water colour pencils.

Peter Keep is a master jeweller and teacher. He offers structured online courses that have helped thousands of students around the world improve their skills.
Jewellery Training Solutions offers video training for jewellery students and professionals.
For the video of this project go to: jewellery-training-solutions.thinkific.com/courses/drawing-rings
Check out the other courses and options: jewellerytrainingsolutions.com.au
Further reading: