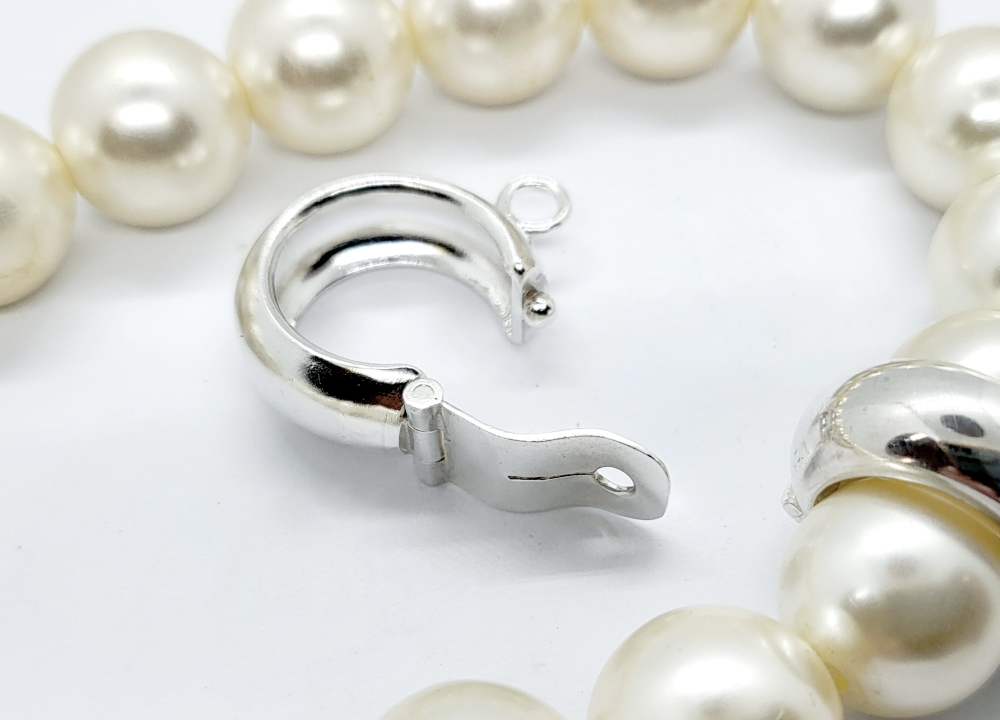
This tutorial will show you how to make a hollow-formed hinge clip that can fit onto a pearl necklace. This project introduces second-year apprentices to hollow forming techniques and hinge and clip making.
Step 1:
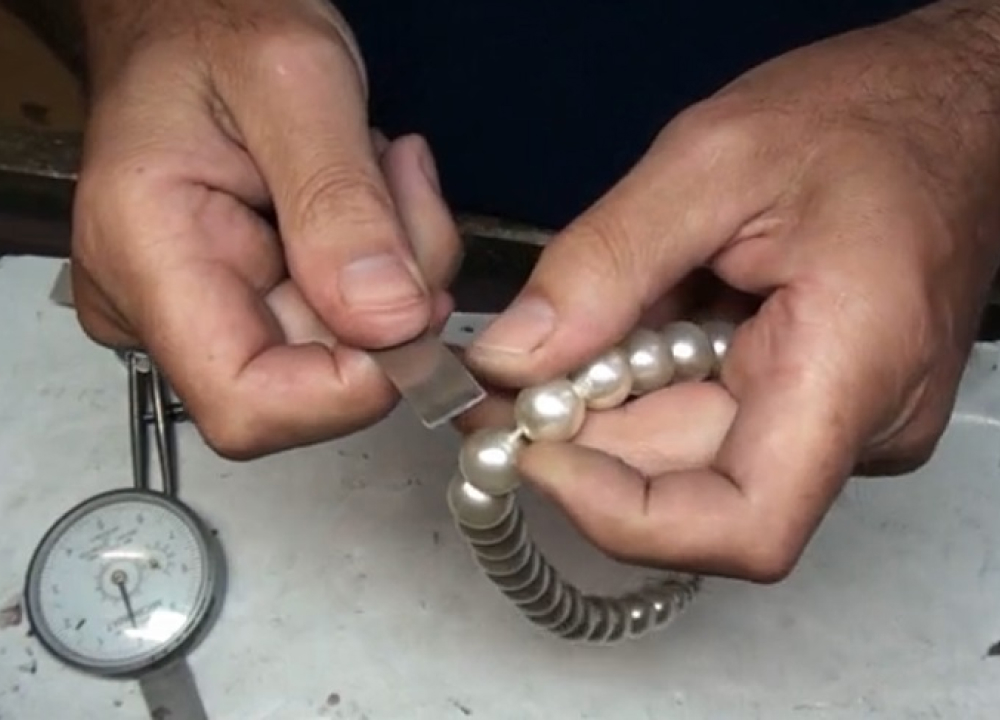
This enhancer was made to fit between 13mm pearls. Working out the metal strip measurements to start the project is somewhat arbitrary. However, there is scope to adjust for the final fitting between the pearls later. In this case, the strip I’m starting with is 1mm thick x 12.5mm wide x 55mm.
Step 2:
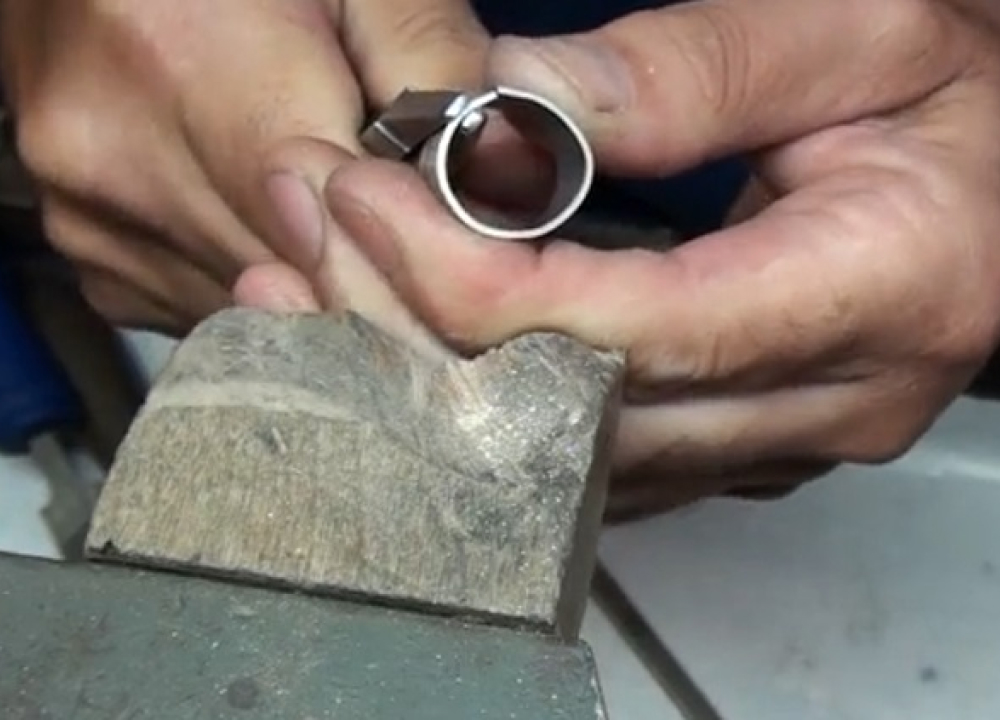
Form the strip into a ring and solder the joint. Once it has been pickled, tap it on a mandrel until it’s perfectly round. The ring should have a diameter of around 18mm. If you are working with a different size pearl necklace the ring diameter should be about 5mm more than the pearl size.
Step 3:
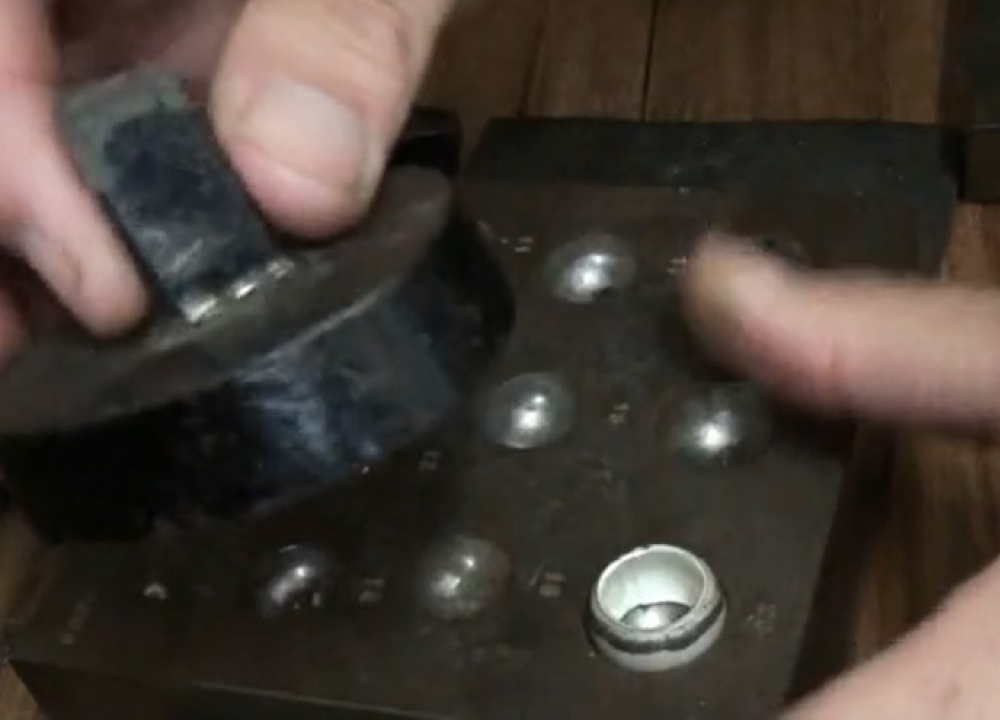
To create the barrel shape, very carefully hammer the ring into your doming block. Do not use a hammer directly on the ring as this will distort it. Instead, position a flat stake or a piston valve on the ring, making sure that it is parallel to the block. Strike it three or four times before turning the ring over to repeat the process.
Step 4:
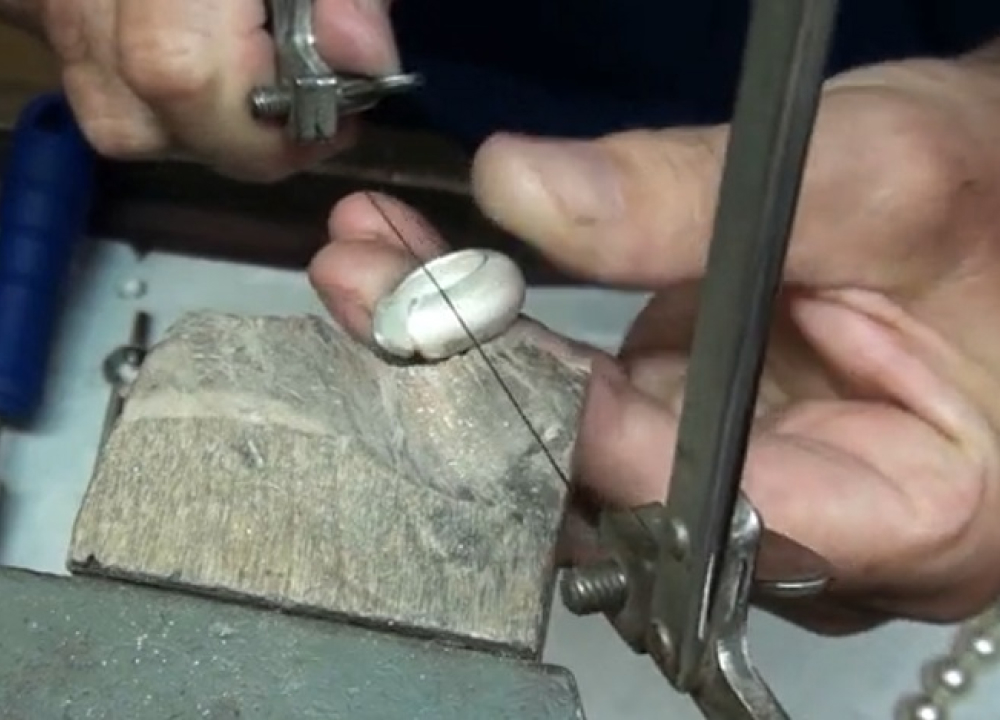
Creating a symmetrical barrel-shaped ring can take a few attempts, so don’t be too hard on yourself if you don’t get it right straight away. Keep tapping and turning until you create the desired shape. Now, cut a section of the ring out. Start by removing around a third of the ring, then try to fit it between the pearls. Cut a little more until it fits.
Step 5:
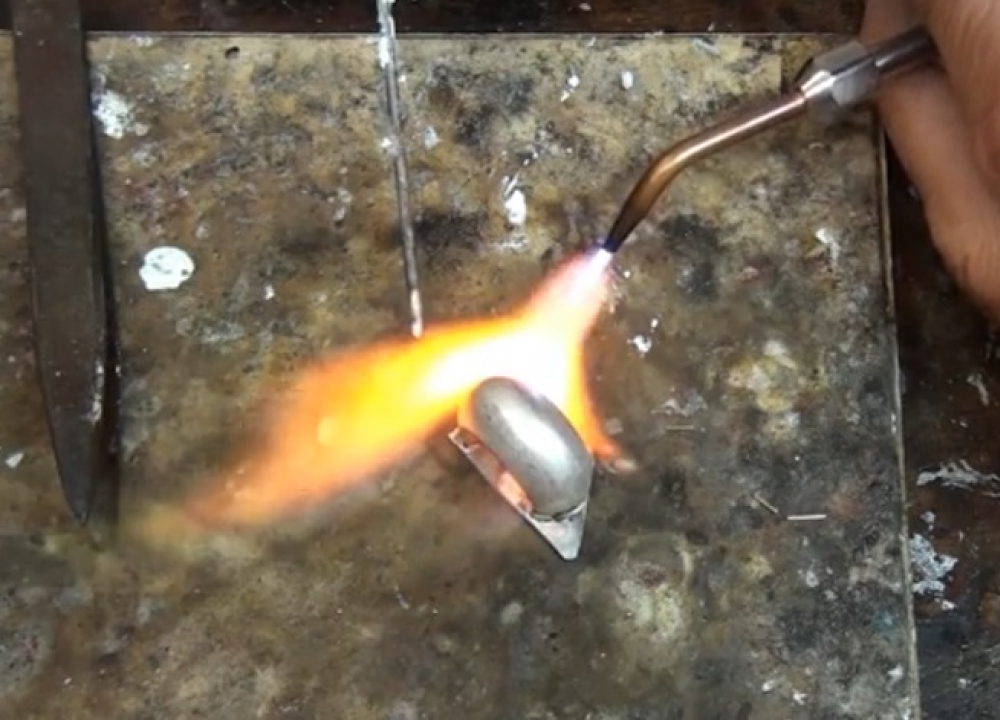
The ends of the enhancer need to be capped to be able to fit the hinge and clip. File the ends perfectly flat, and hard solder a 1mm thick silver strip onto both ends.
Step 6:
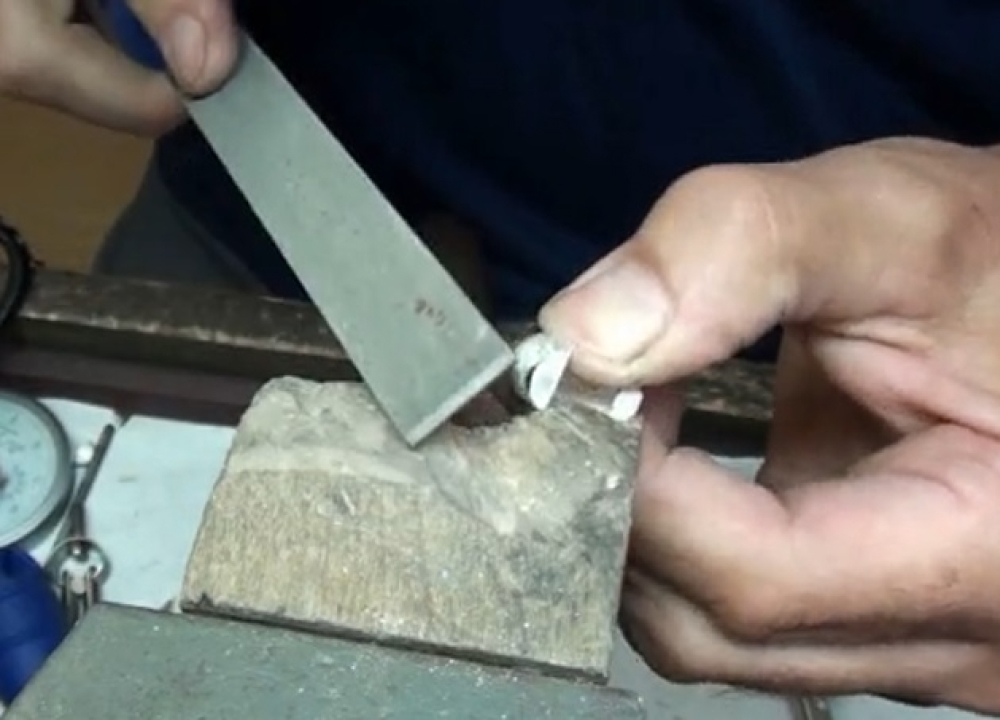
Use your piercing saw to cut the middle section of the strip out and file around the joints to blend them into the enhancer body. The capped ends should look like ‘D’ shapes. Now, emery clean the enhancer body.
Step 7:
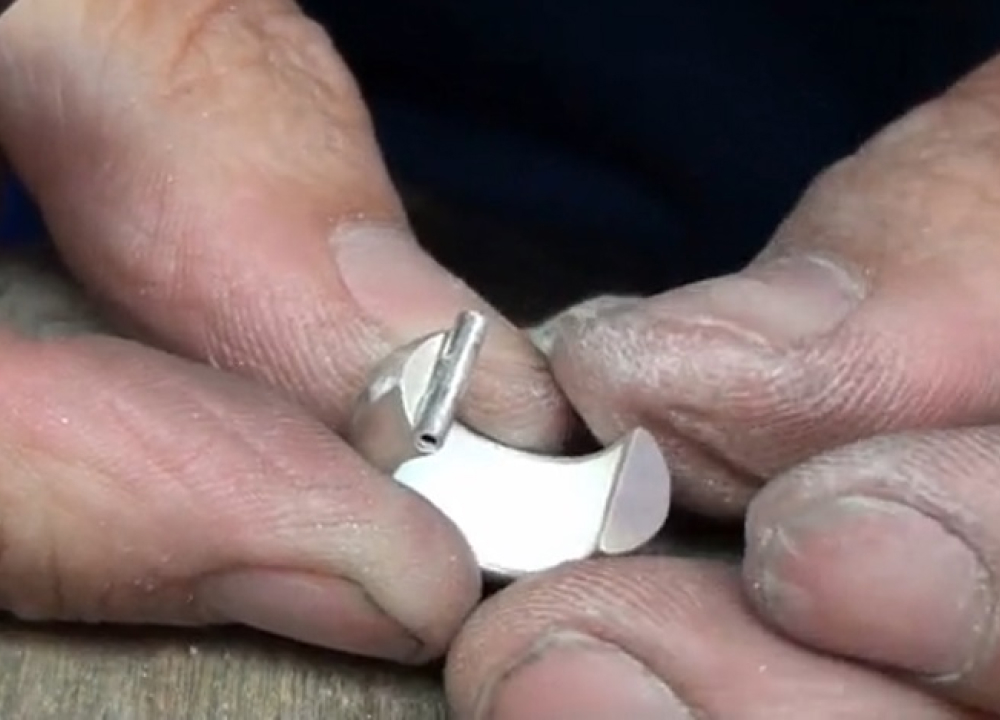
Prepare a section of a 2mm tube the same length as the end cap. Use your round needle file to file a groove for the tube to sit into. Before you solder it, cut a half section of the tube out from the middle. Once you’ve soldered the tube into the groove, you can cut the remainder of the tube centre section out.
Step 8:
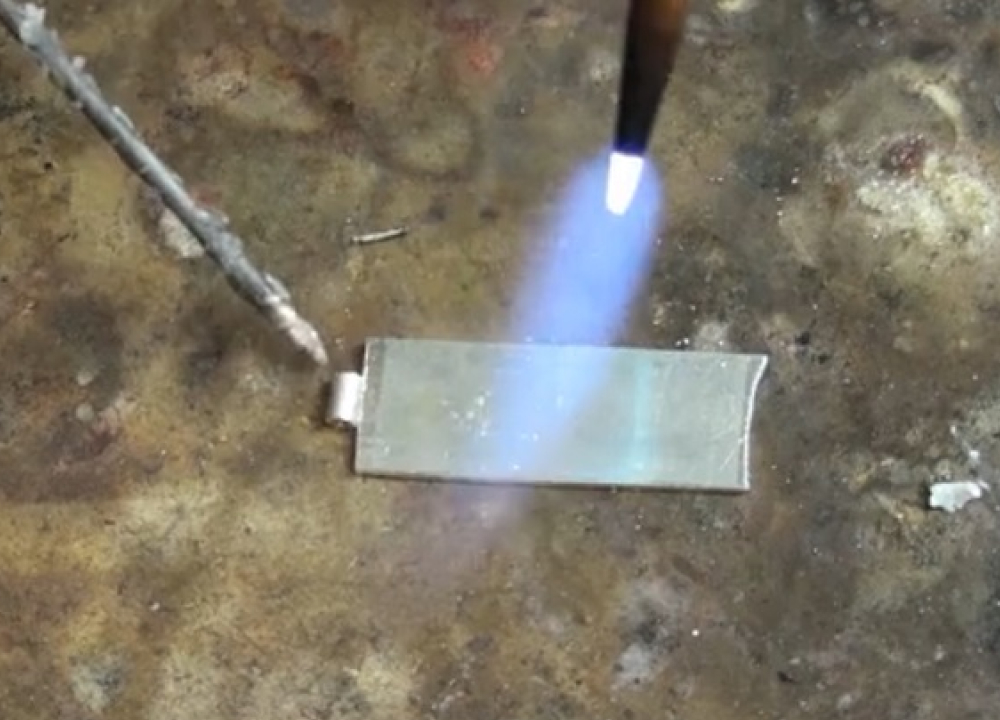
Prepare a 0.8mm thick strip of silver to the same width as the enhancer and make it approximately 10mm longer than the diameter of the enhancer. Cut a piece of the 2mm tube that will fit tightly into the hinge on the enhancer body. Now, solder it to the strip.
Step 9:
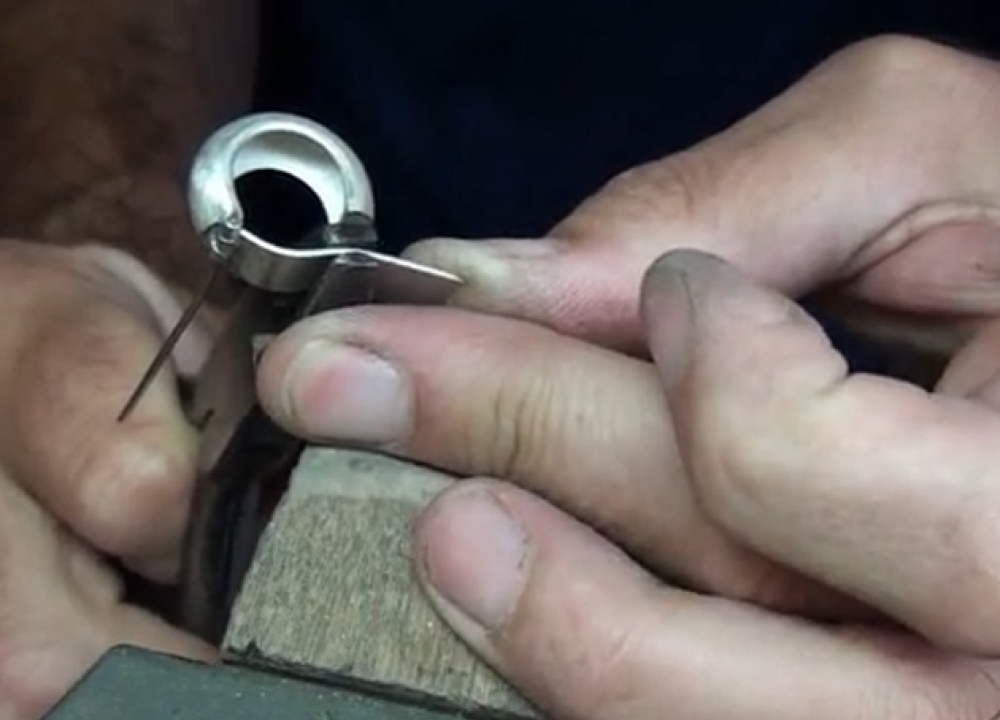
Fit the clip to the enhancer and insert the hinge pin wire. Do not cut the wire at this stage. Bend the clip with round nose pliers to create the correct curved shape to fit around the pearls. The end of the clip should bend the other way.
Step 10:
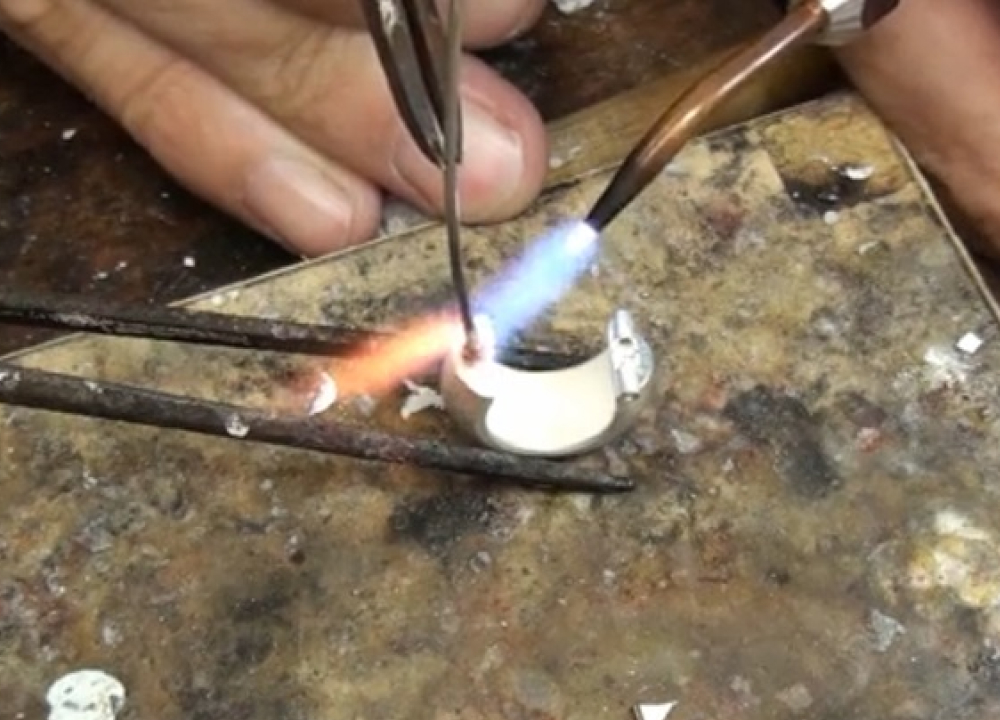
To make the ball clip, melt a small amount of silver to form a 2mm ball. The best way to do this is to melt the end of a fluxed silver wire. The end will melt into a ball shape and ride up the wire. Take the flame away when it’s the correct size, and then solder it onto the clip.
Step 11:
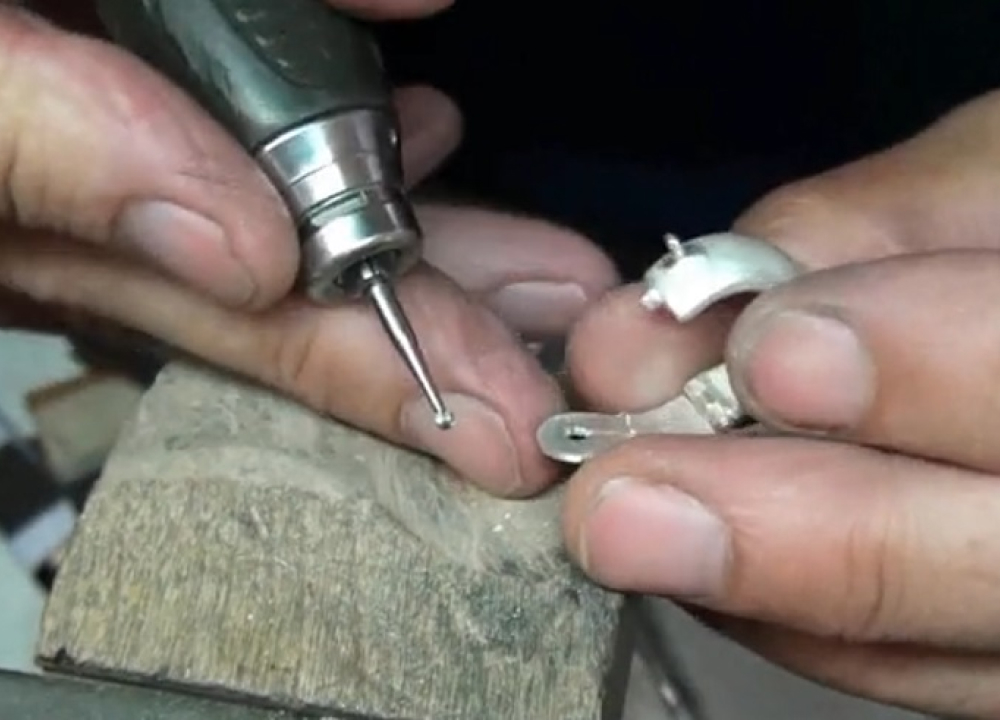
Fit the hinge back together, insert the wire pin, cut it to size and rivet the ends. Close the clip onto the ball and mark where the contact point is. Drill and bur the hole until the ball is almost catching. Cut a 7mm line from the hole towards the hinge to create the spring in the clip. The piercing saw cut will allow the hole to expand slightly. Cut a little more if required.
Step 12:
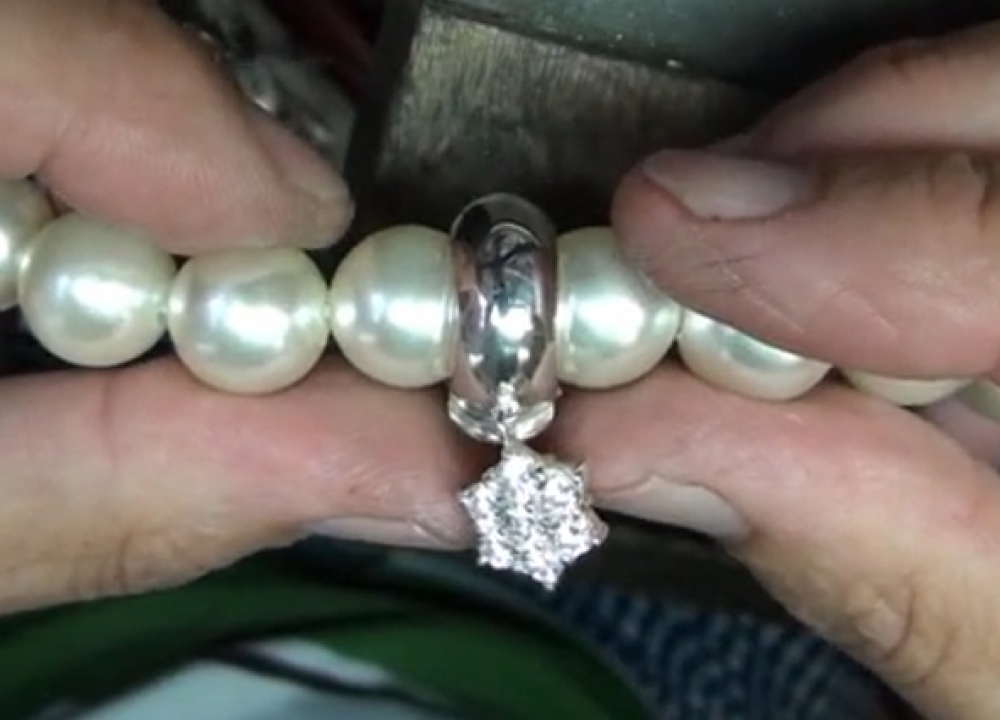
You may need to bur the hole more but be careful not to open it too much. The ideal clip should have an audible click when it closed. There are options you could add, such as the body of the enhancer could be set with stones or a pendant can be added.

Jewellery Training Solutions offers a comprehensive online training service.
The video lesson for this tutorial can be found at this link, jewellerytrainingsolutions.com.au/courses/pearl-enhancer
Check out other courses at www.jewellerytrainingsolutions.com.au
Further re