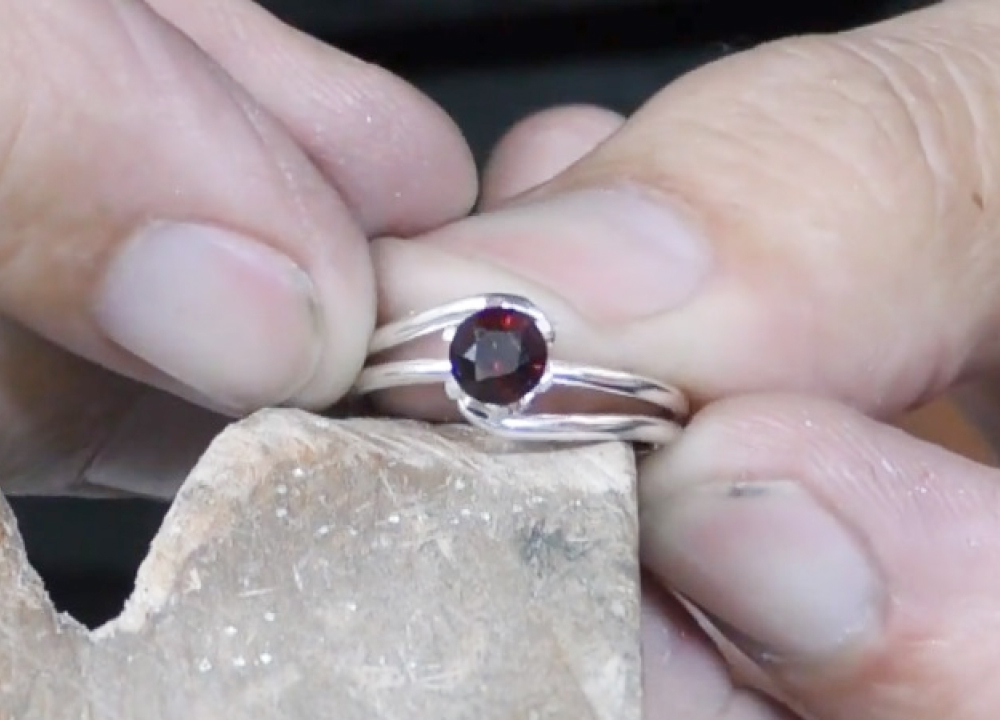
The following tutorial will demonstrate an easy way to make a crown setting on a wire wrap-around ring. This is a great project for beginners who want to try their hand at commercial jewellery making.
This ring is set with a 5mm garnet. You can make this ring for any size stone as long as the tube is the same diameter.
Step 1:

I’m starting with a 50mm length of 1mm thick tube with an outer diameter of 5mm. Using a longer tube than needed gives you something to hold on to while you cut the setting. Square off the end of the tube and mark off at 5mm. It will be cut off at this point later. Also, mark off at 3mm. This acts as a guide for the cut work.
Step 2:
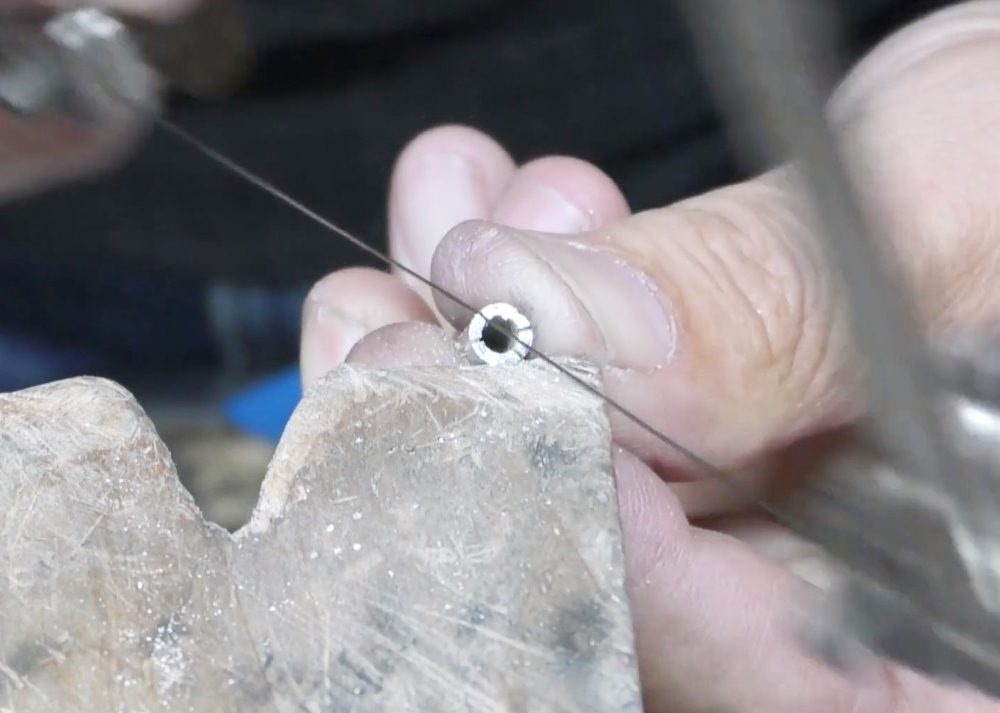
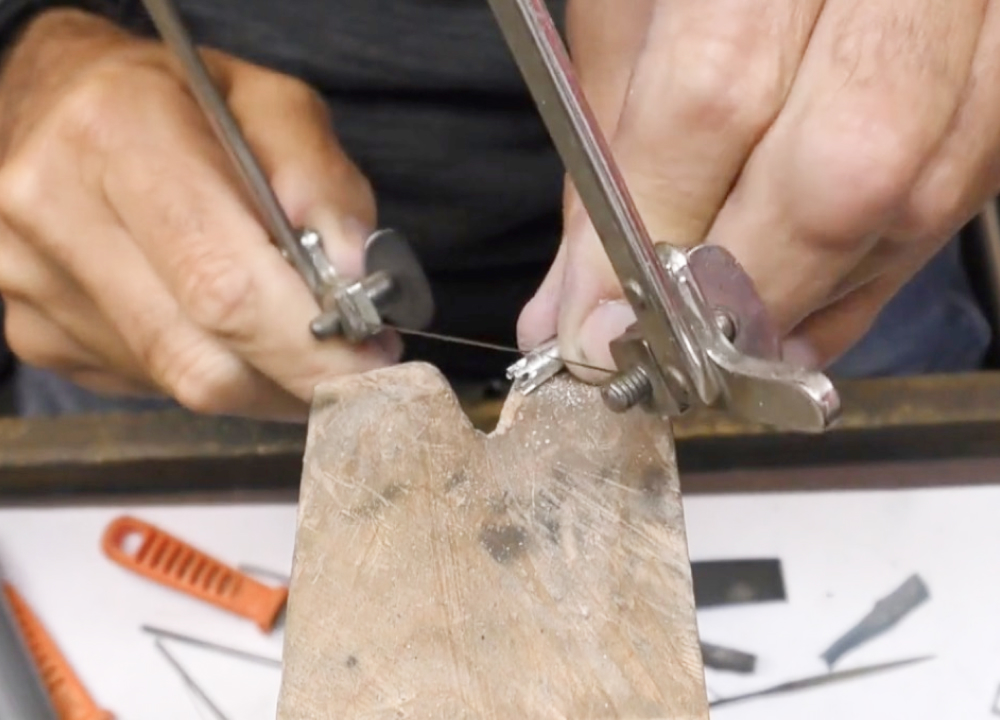
Using your piercing saw, cut six even points around the top. If you have made your own tube, make sure that one of the cuts is on the solder seam. Cut down to the 3mm mark with a 45-degree angle.
It is a good idea to blacken the end of the tube with a permanent marker to make it easier to assess the cut work.
Step 3:
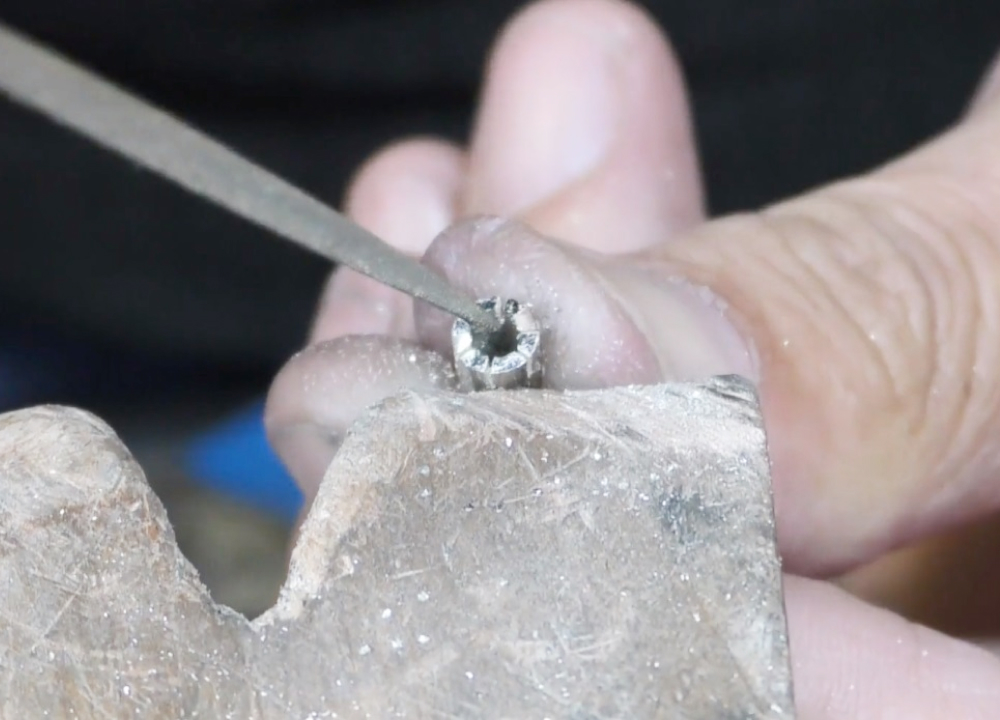
Carefully, follow the saw cuts with a three-square needle file. This will widen the top cuts and narrow the claw tips. Make sure that the file is not leaning as this will affect the shape of the groove cuts. The claws of the setting will begin to form. Make sure they are all the same size and shape.
Step 4:

To create the correct drape shapes at the bottom of the groove cuts, I will use a 1mm crosscut tapered bur.
Once you have finished the cut work, remove the tool marks with emery paper wrapped around a knife-edge needle file.
Step 5:
Polish between the claws using string coated with a cutting compound, such as Hyfin or Tripoli.
The setting can now be cut from the tube. You can use a chenier block or if you don’t have one, carefully cut around the scribe line to ensure that it is cut straight.
Step 6:

Prepare a 150mm section of 1.4mm round wire. Use a 1.4mm round bur to cut two opposing grooves into the bottom of the setting. Make sure the grooves line up with the setting cuts. Bur down to around 1.2mm deep.
Step 7:
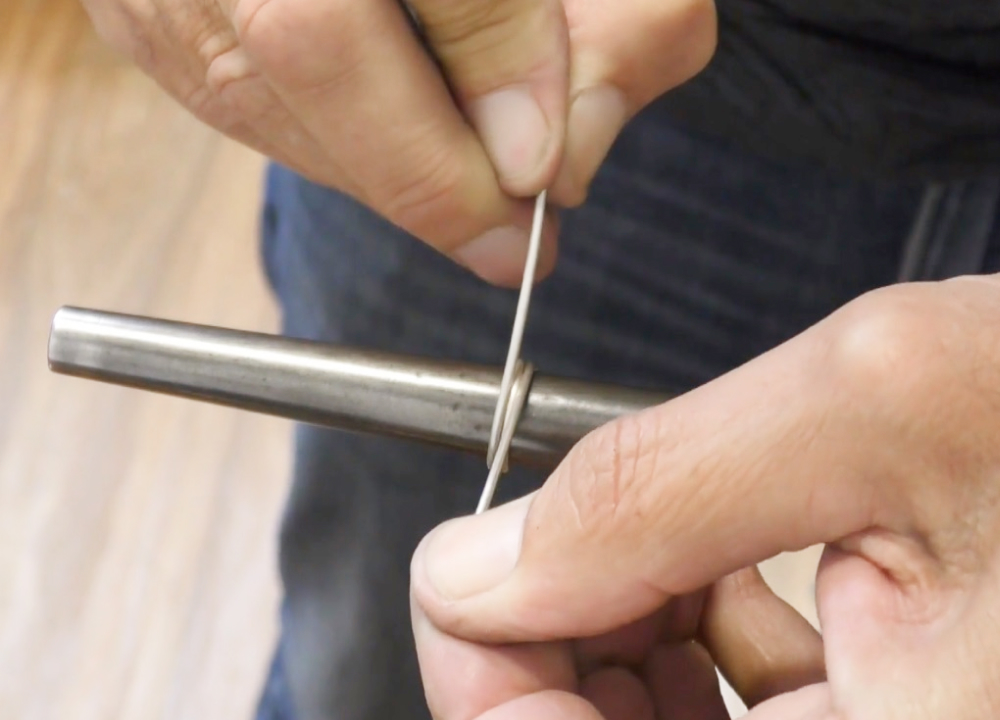
Now, wrap the wire tightly around your mandrel. At this stage make the finger size around three sizes smaller than your intended finger size, and then push it up the mandrel to the correct size. Overlap the wire ends. They will form the shoulders.
Step 8:
Test fit the setting. It should hold firmly in place. You may need to bur a little further into the bottom of the setting. You can also bur on the inside of the shoulders. This will help to hold the setting whilst you solder it.
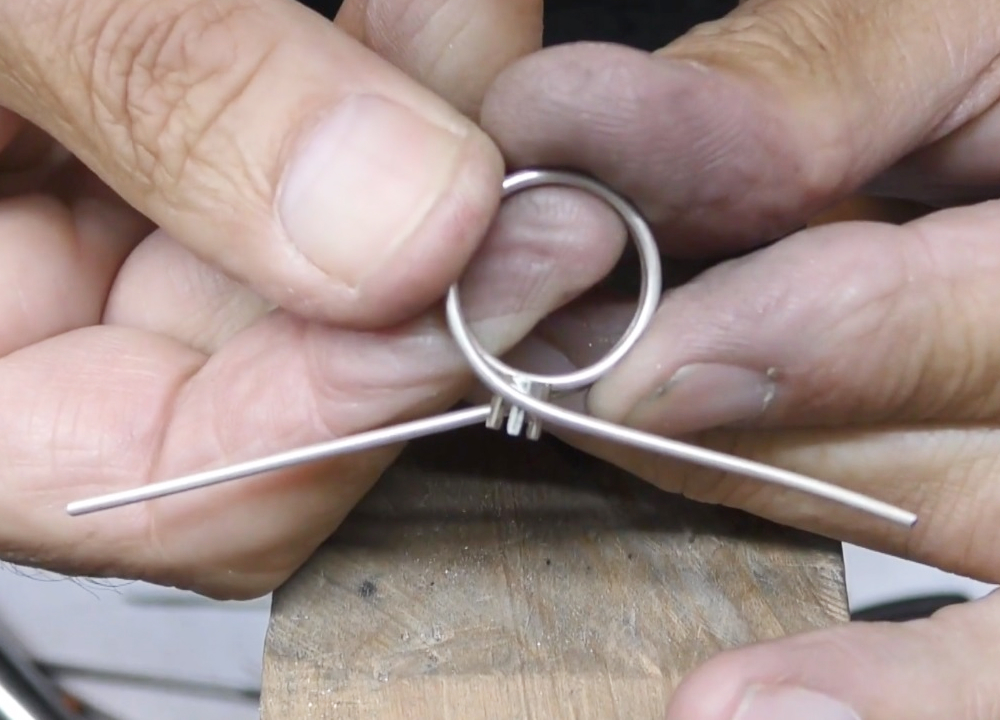
Step 9:
Make sure that the setting is level and straight.
Flux the joints at the bottom of the setting and use hard solder. If you prefer to make the ring with straight shoulders, you can solder the shoulder joints at the same time.
Step 10:
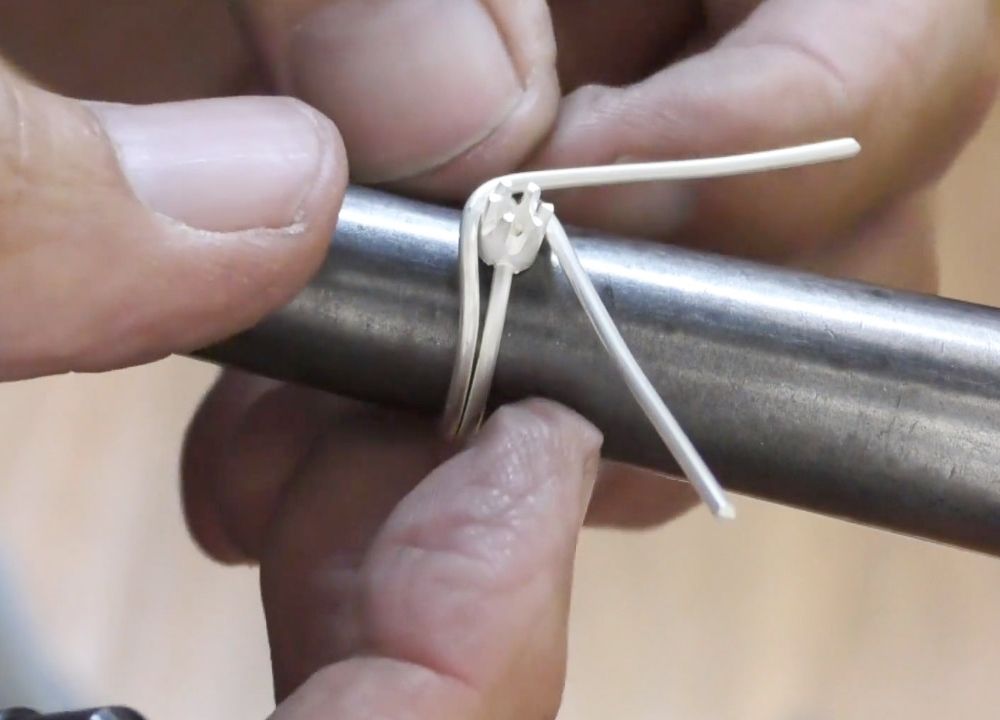
Once the ring has been pickled, place it onto the mandrel.
Carefully wrap the wire ends around the setting. The shoulder shape I’ve opted for has just a slight curve, but you can wrap the shoulders around more if you prefer.
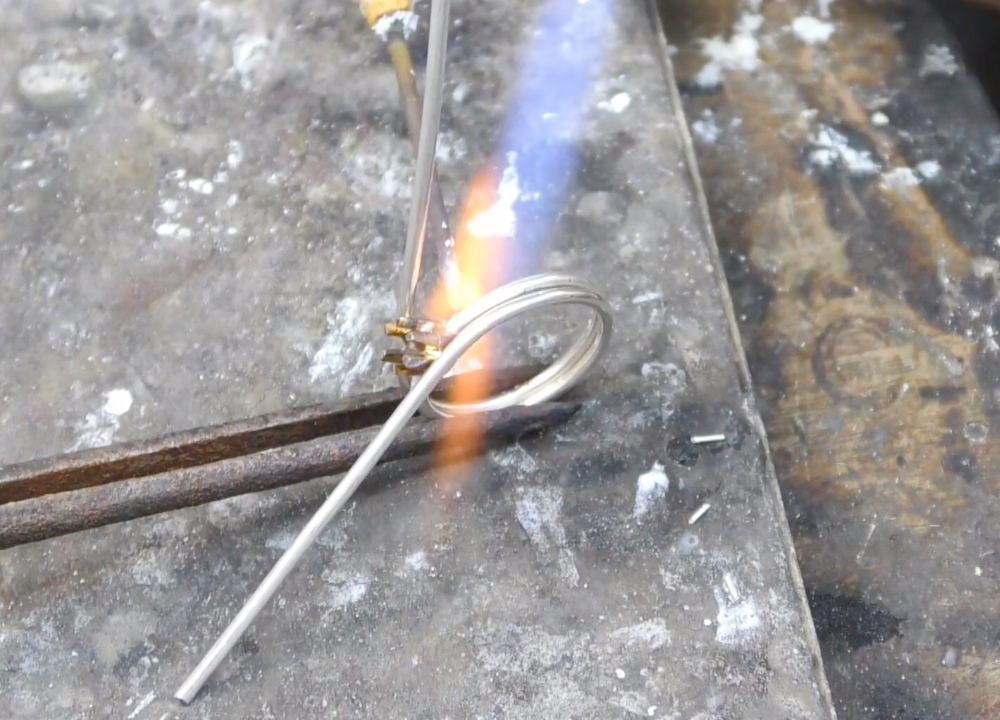
Step 11:

Once you have shaped the shoulders to your liking, flux and solder them to the setting.
Pickle the ring and cut off the excess wire. Remove all the tool marks and emery clean before you place it in the tumbler.
Step 12:
The top of the setting needs to be opened out to the correct size for the stone. Insert a beading tool or burnisher and prize the claws open evenly until the stone covers around one-third of the claw thickness. The course video includes instructions on setting the stone.
Jewellery Training Solutions offers a comprehensive online training service including the very popular Ten Stage Apprenticeship Course.
For the video of this project go to: jewellerytrainingsolutions.com.au/courses/crown-set-wire-ring.
Check out the other courses and options: jewellerytrainingsolutions.com.au
Further reading: